
Upload Files
1
Open the Uploader
Select a Teach lesson, then select Upload beside Files.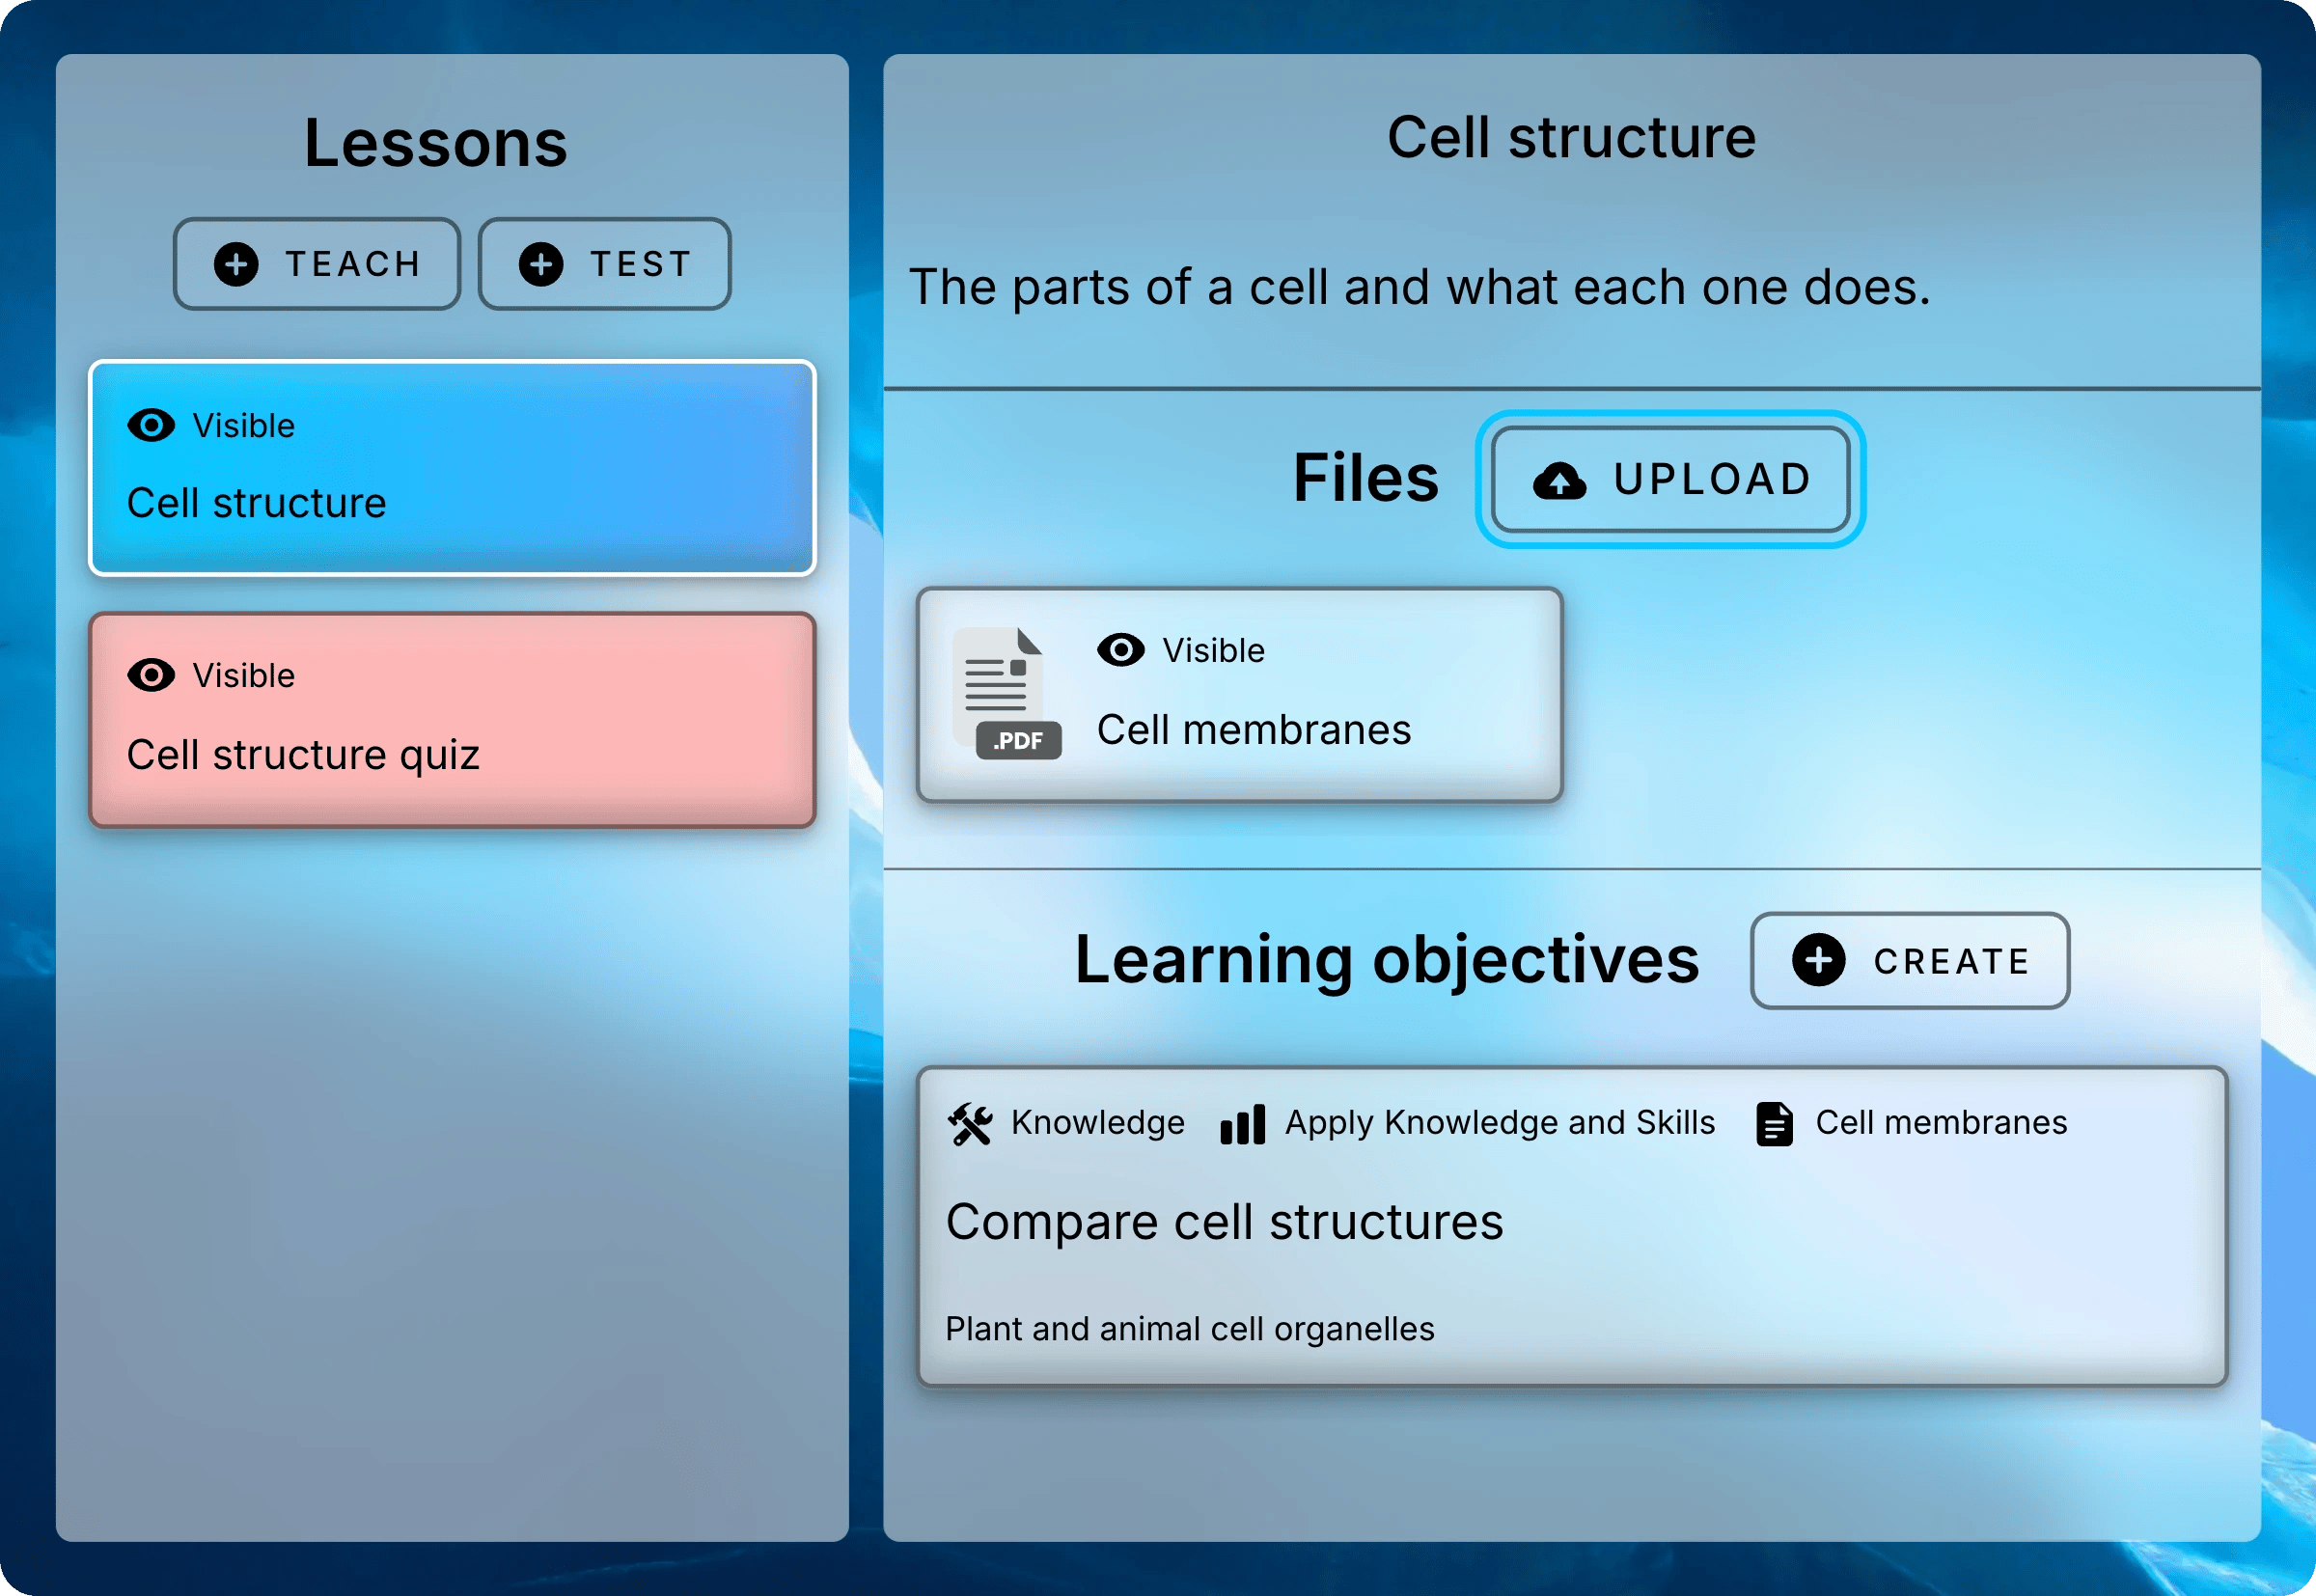
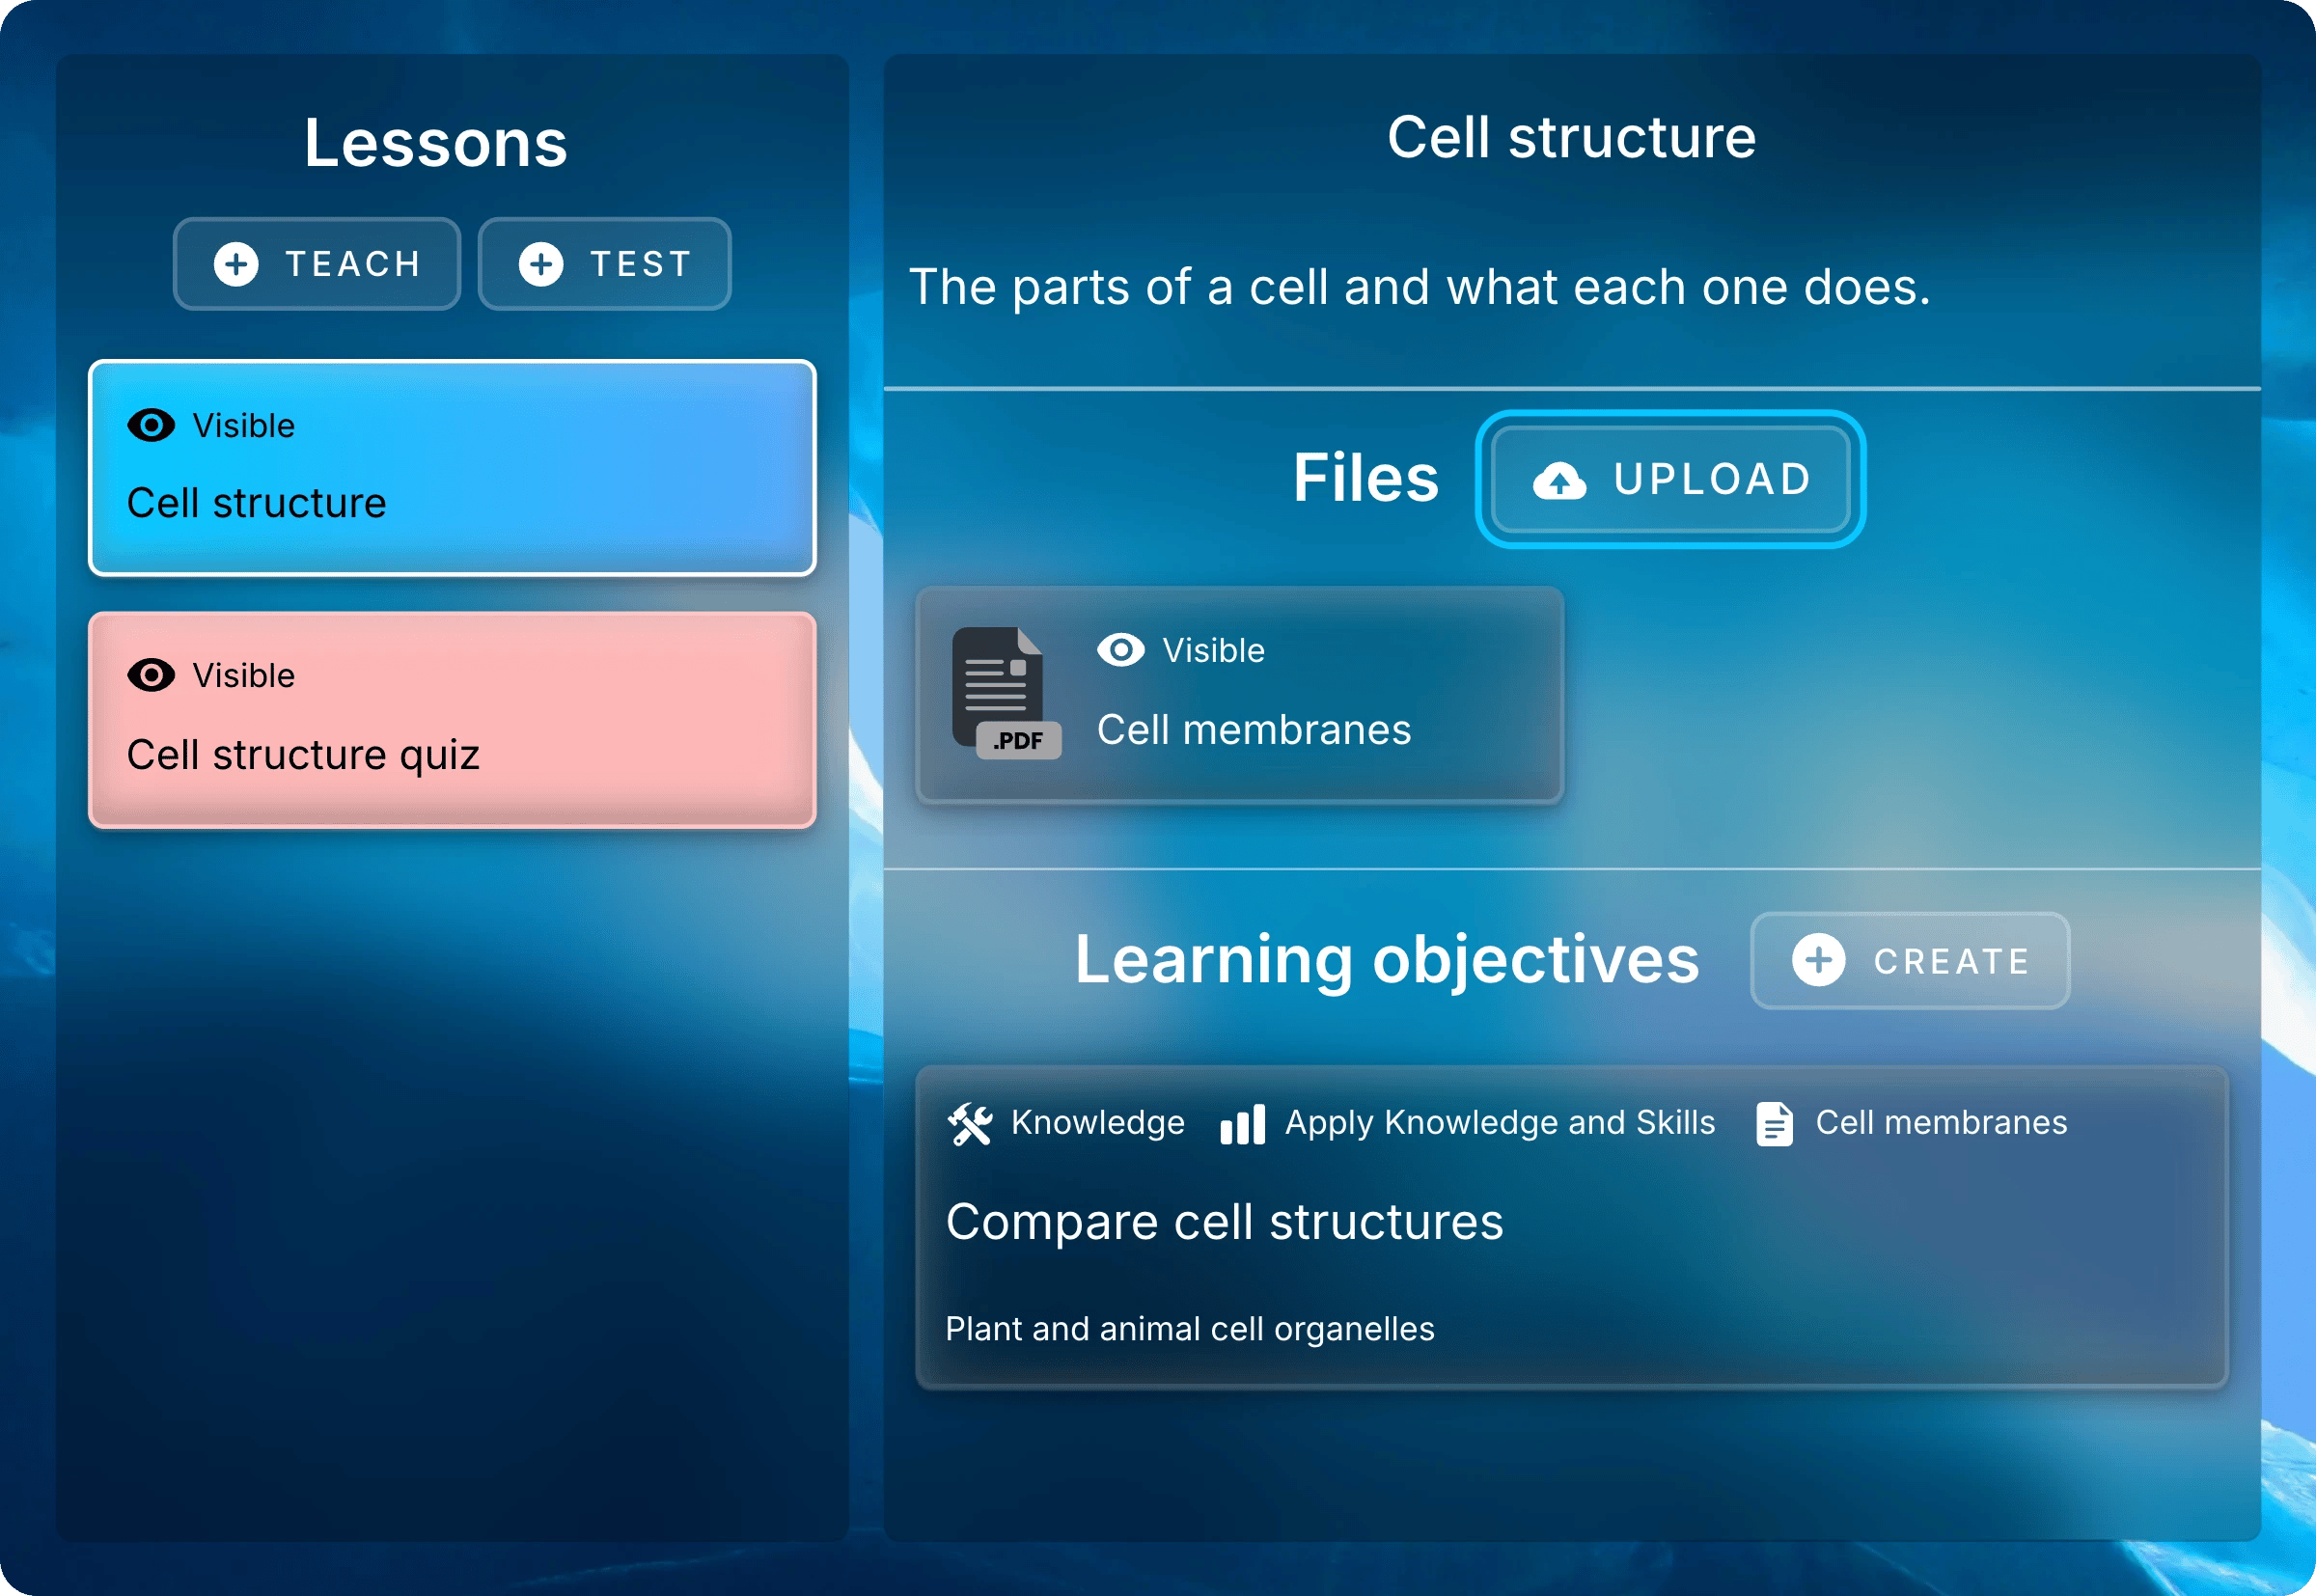
Upload sits beside the Files heading in a Teach lesson.
An empty assessment shows Import Questions here instead.
2
Add Your Files
Drag files into the box, or select a source such as your device, Google Drive, Dropbox, or OneDrive.
For a web page or video, choose Website or YouTube, paste its link, and select Import.
You can add up to 25 files at once.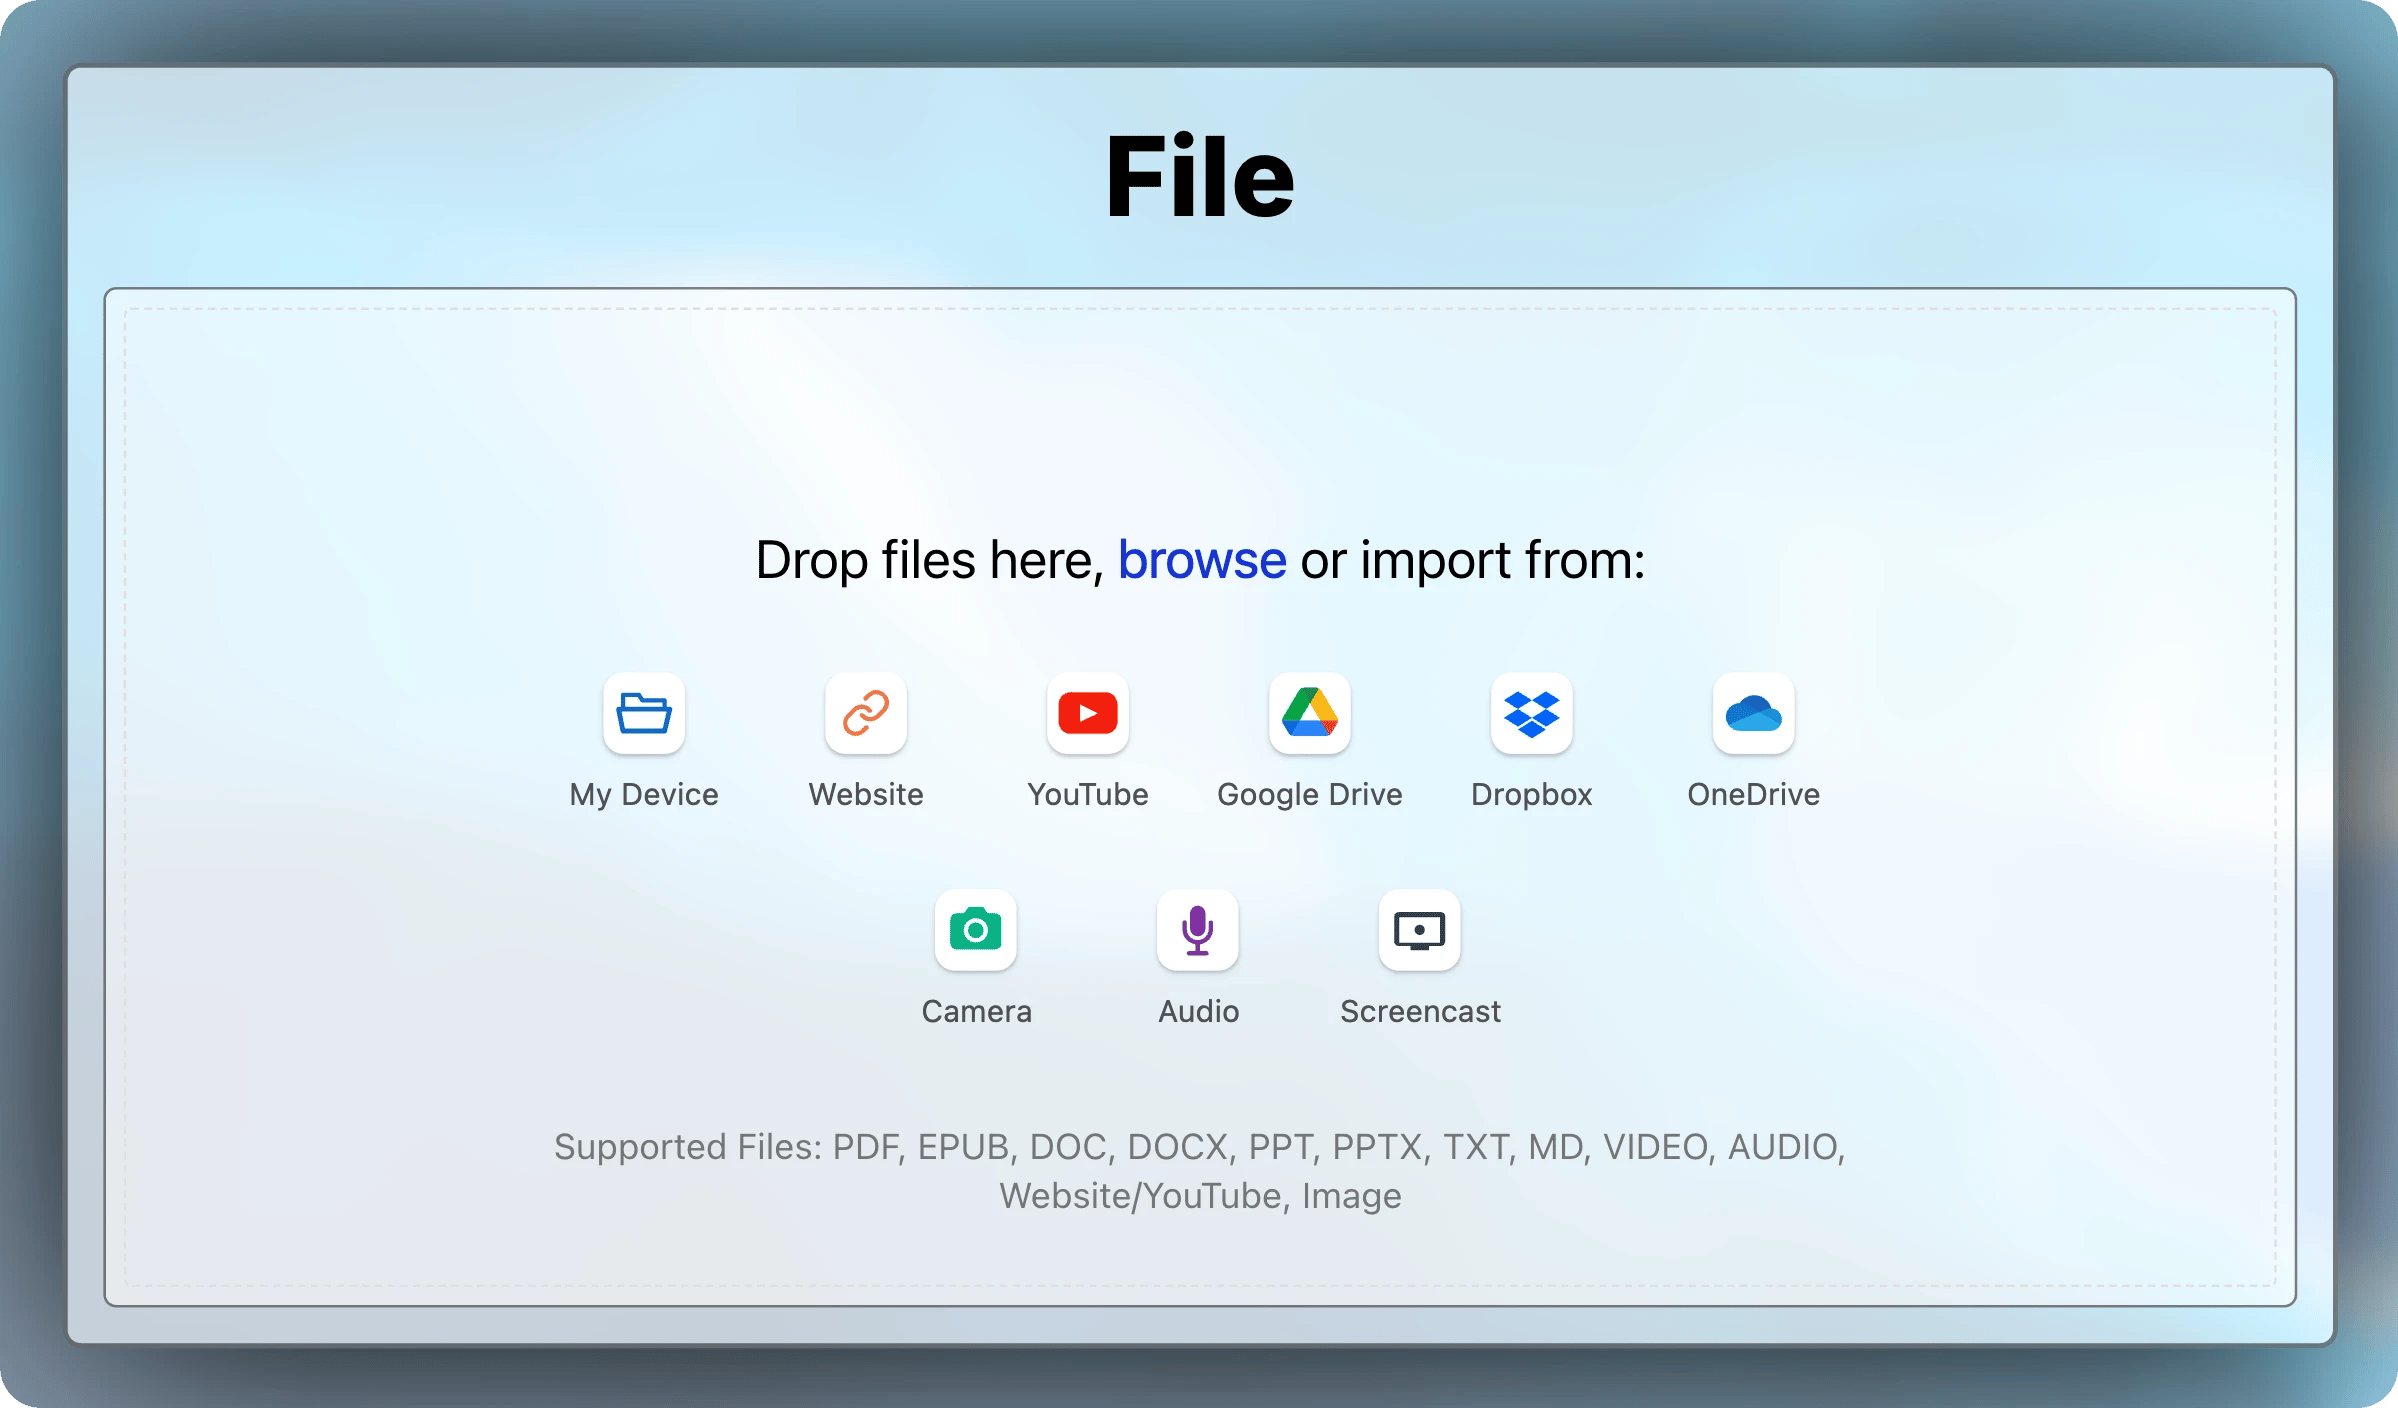
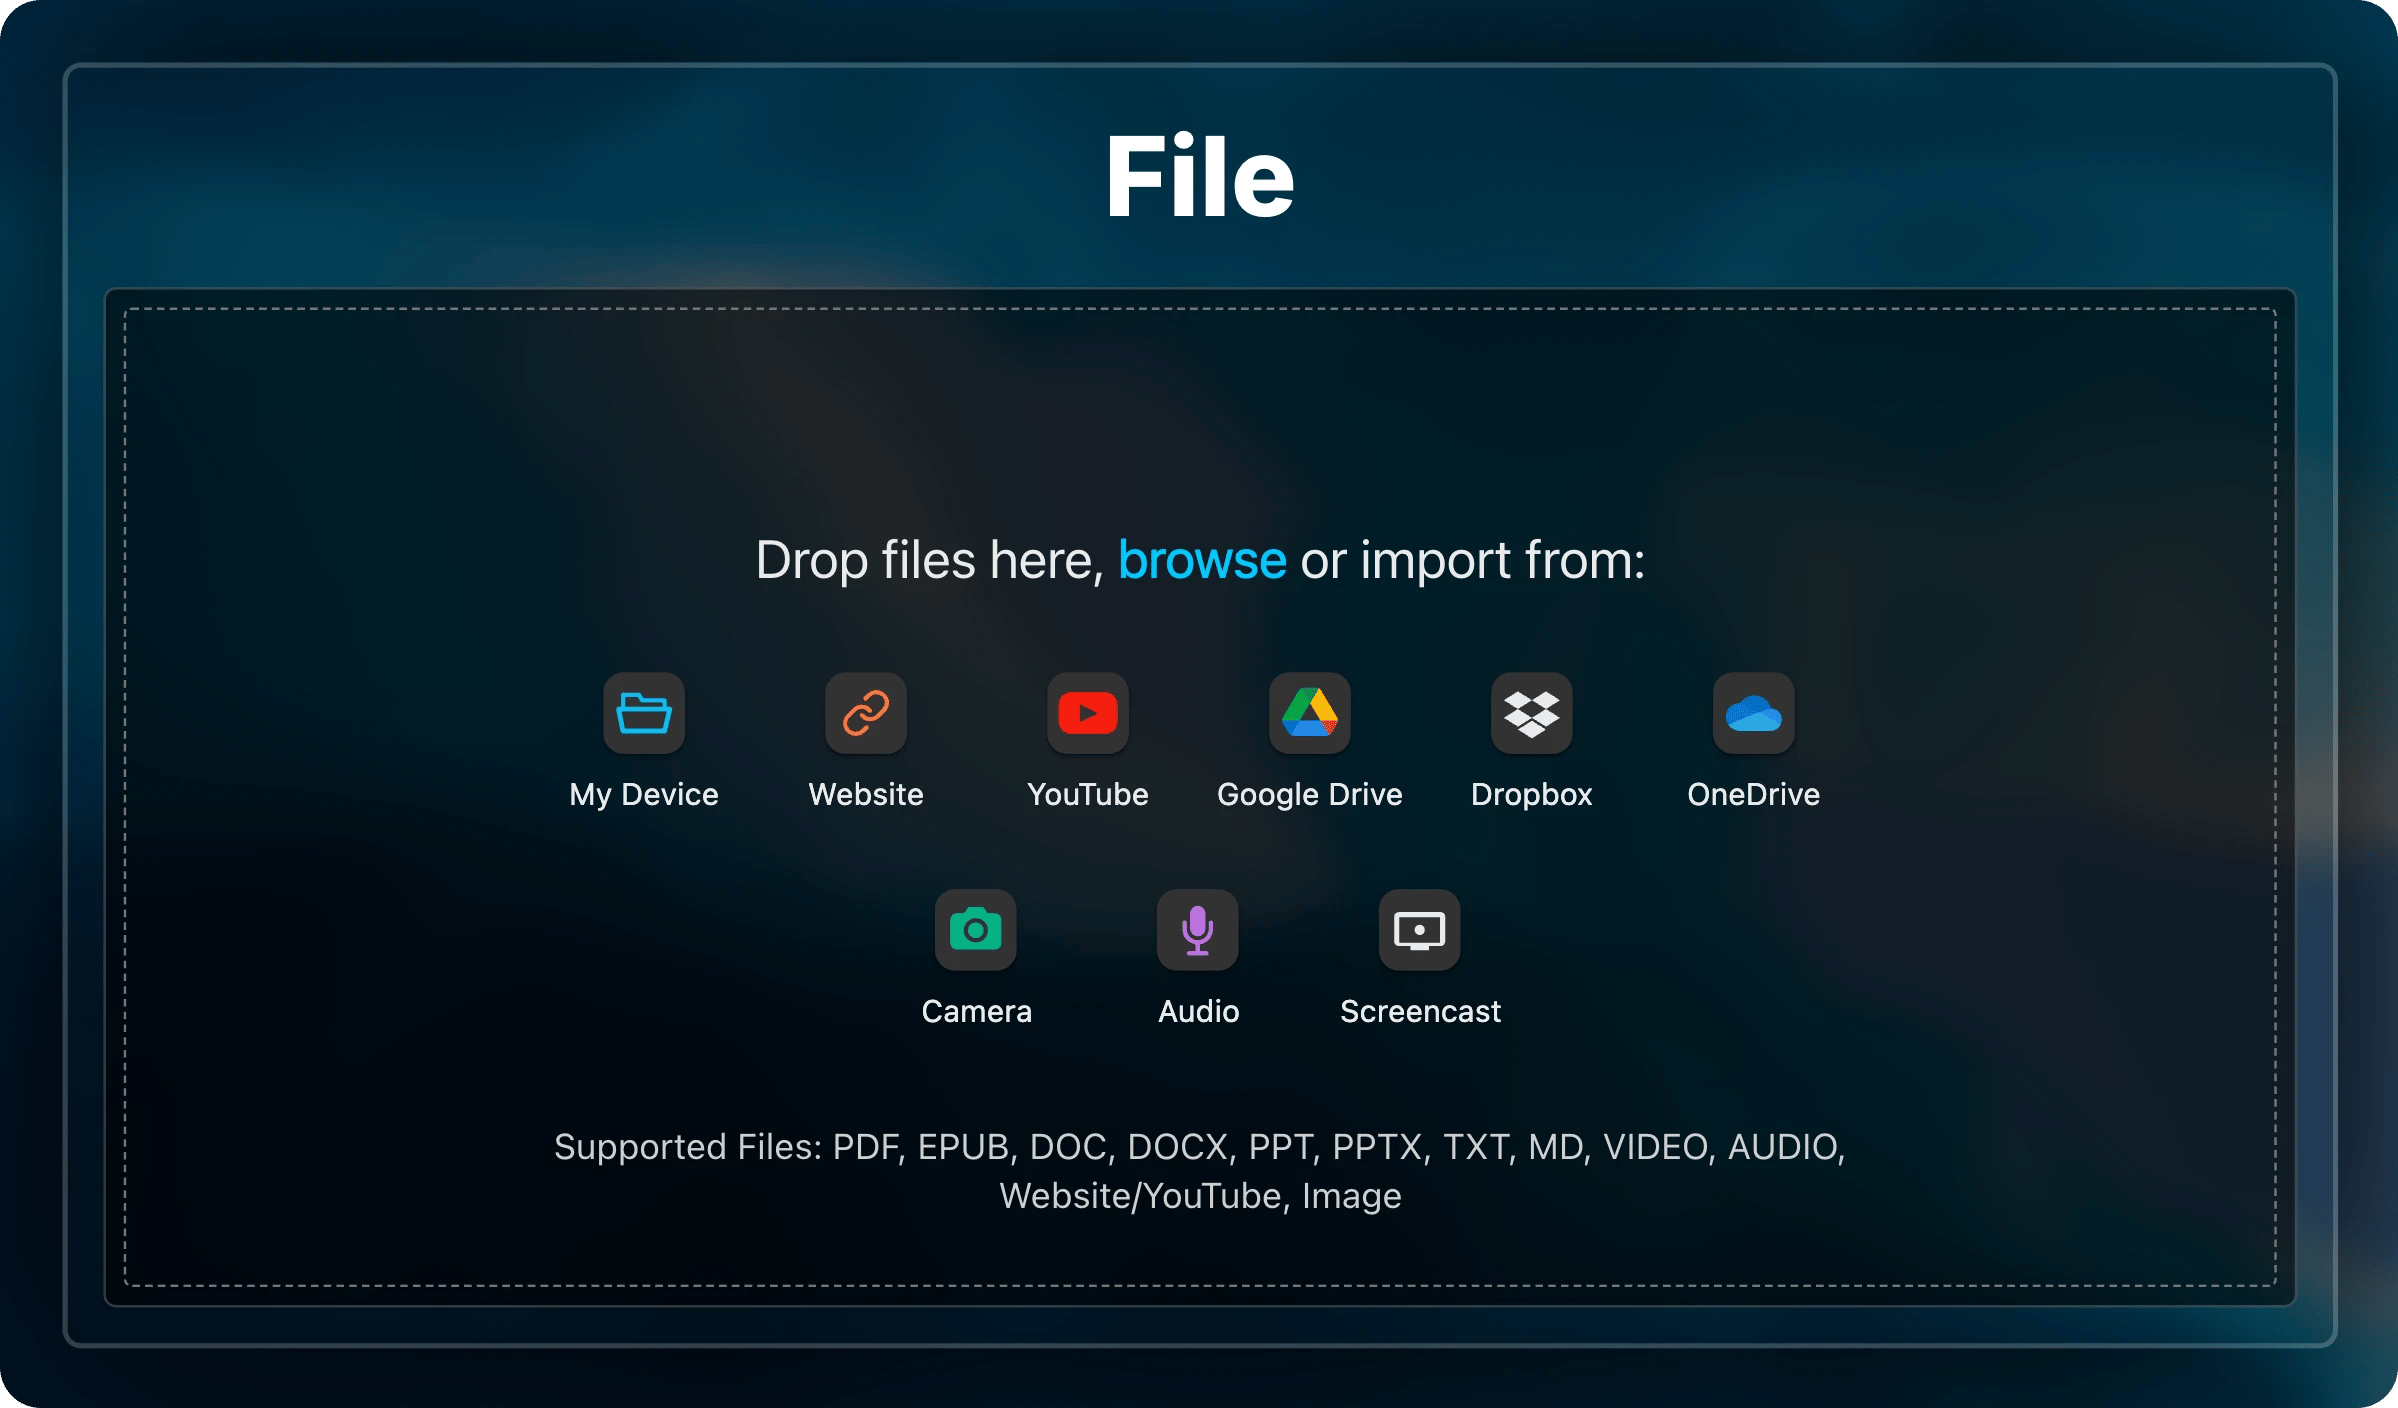
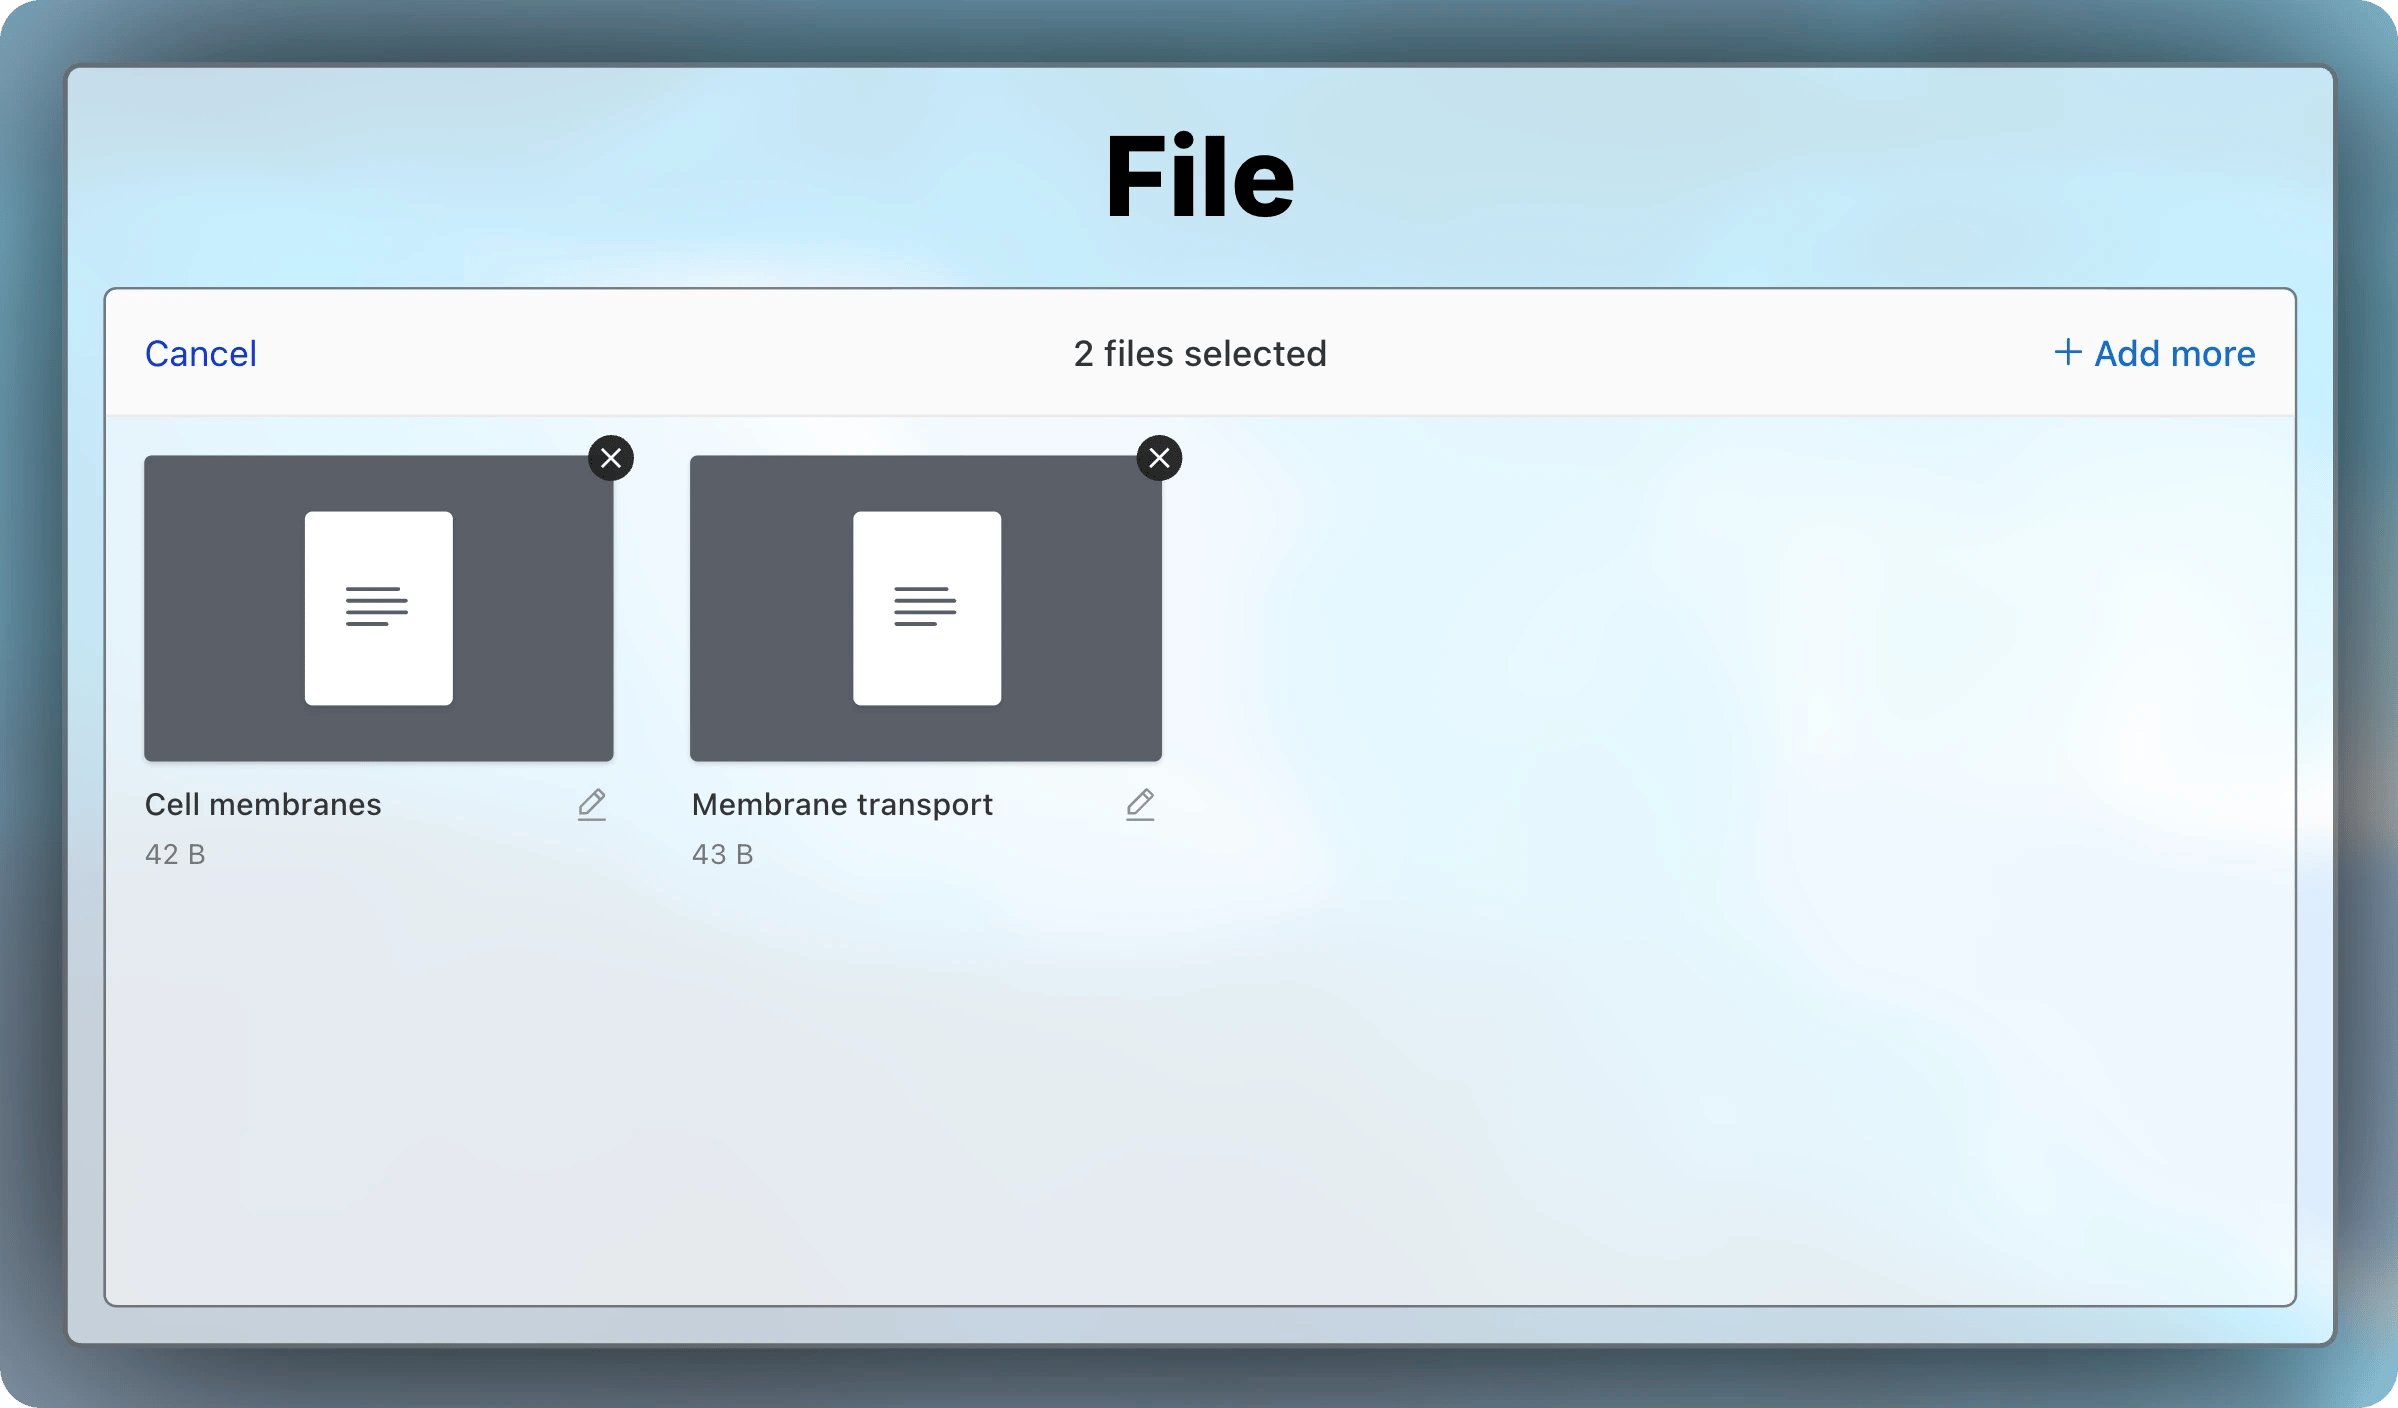
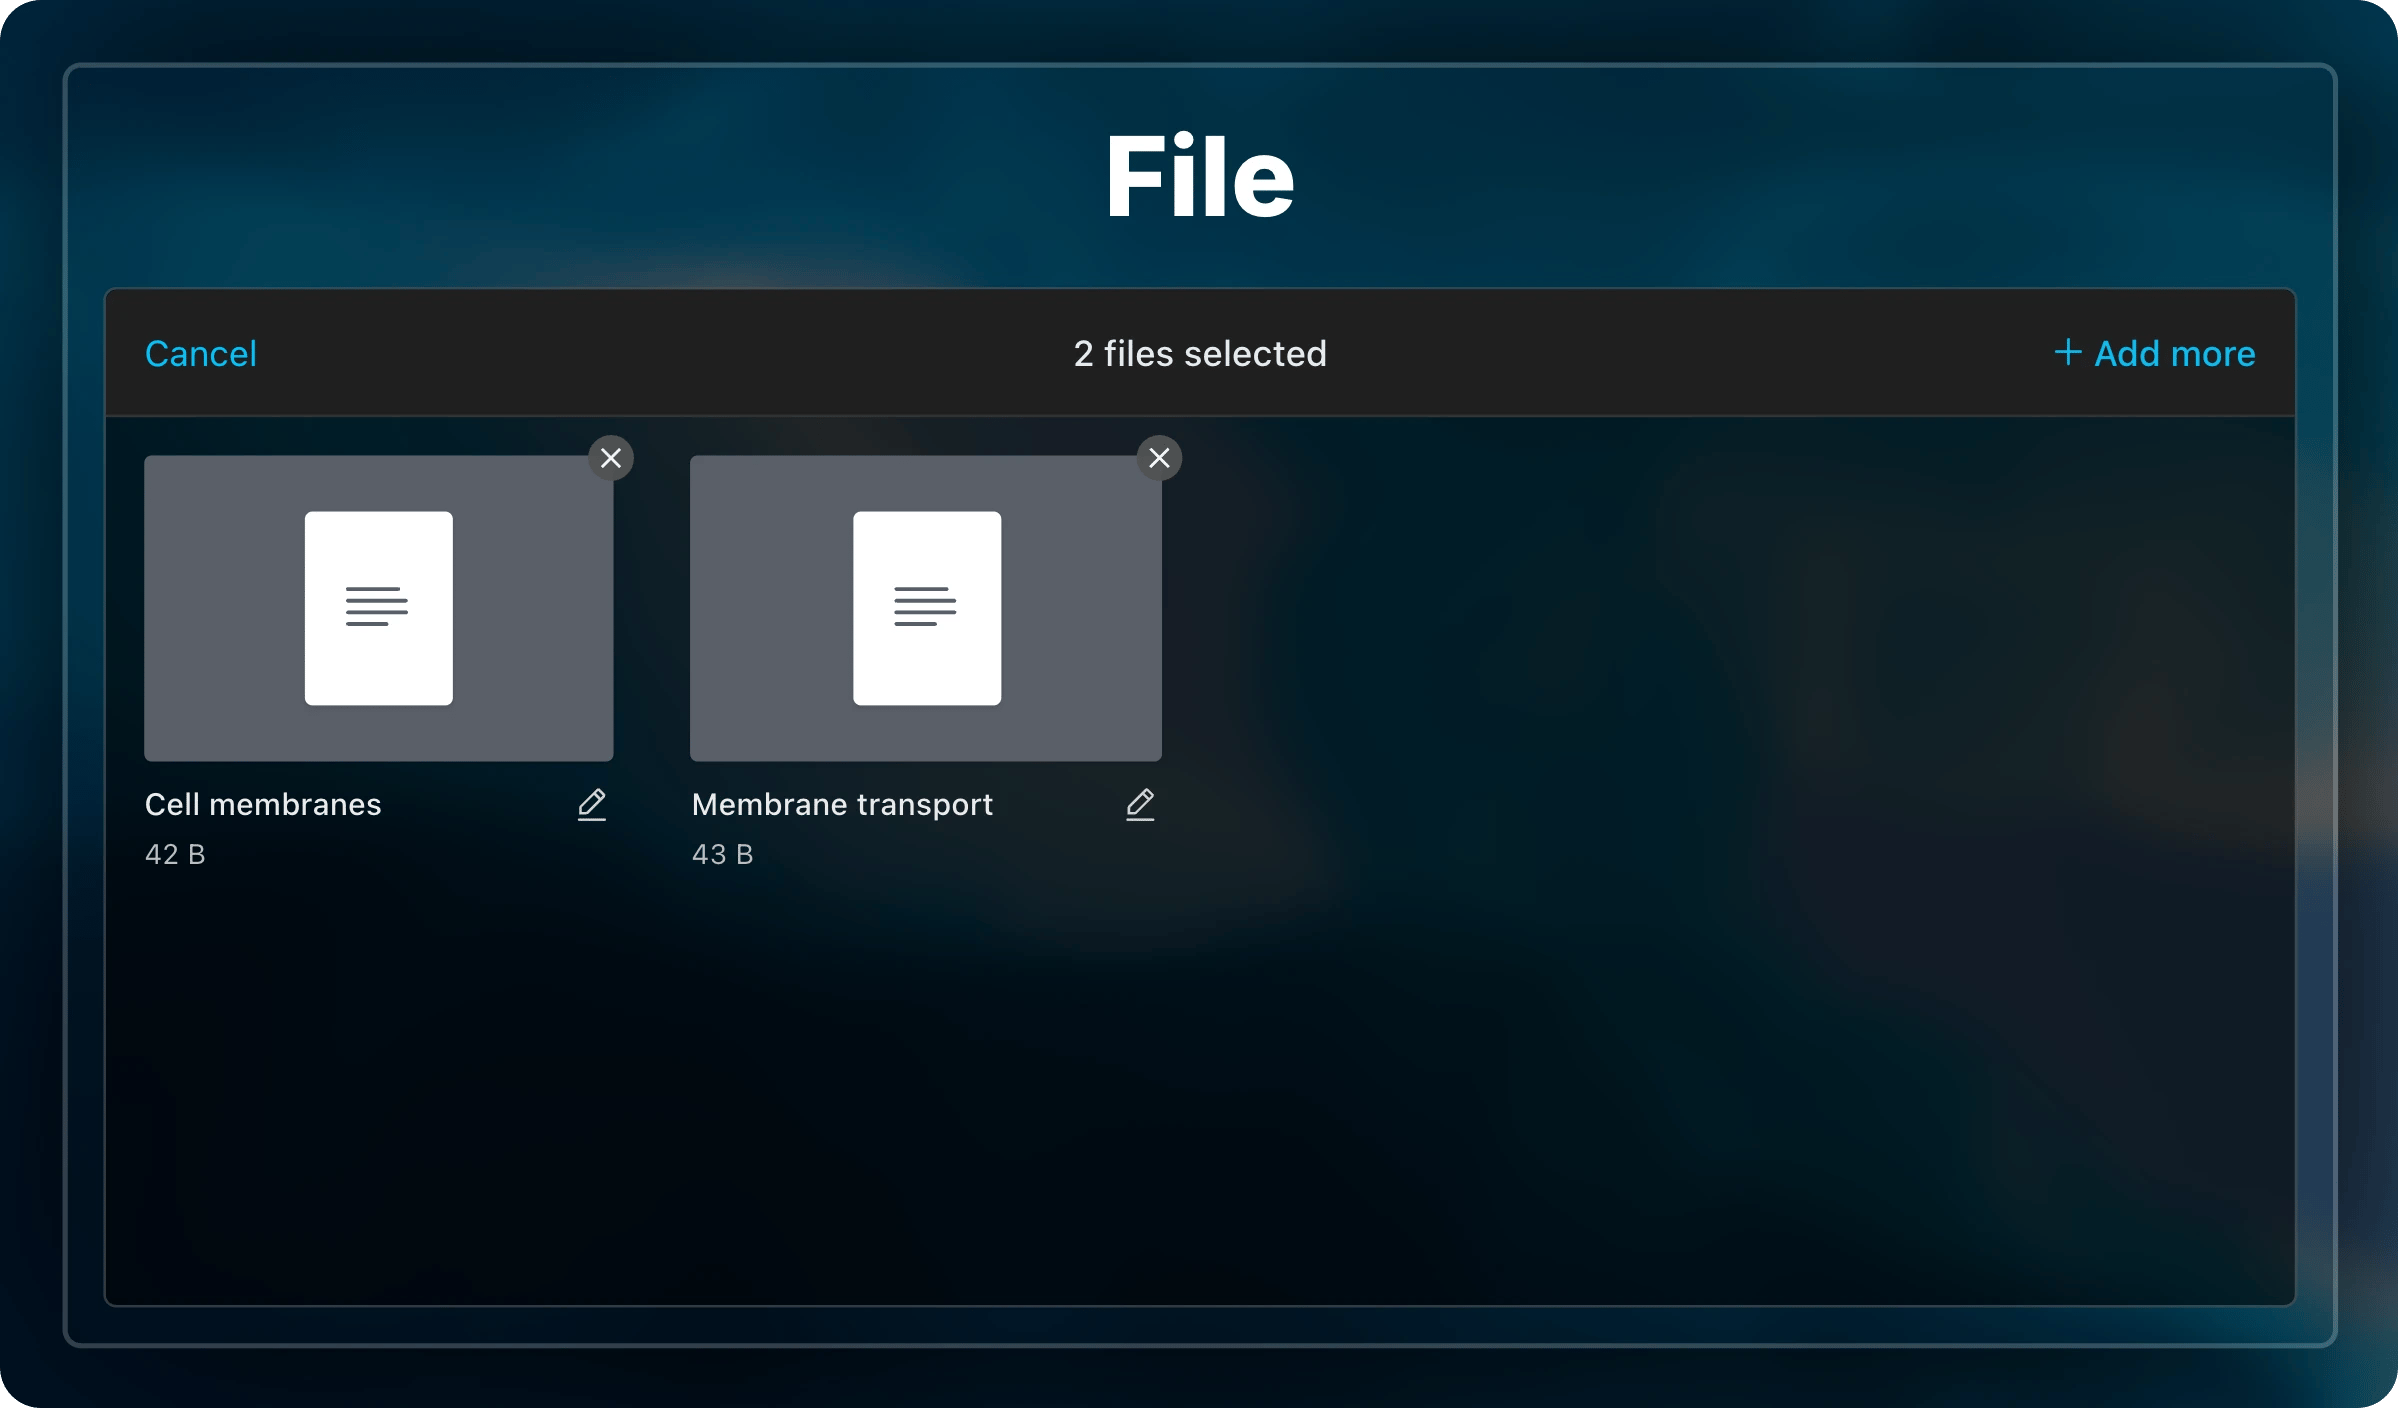
Drop files in, or pick a source.
Select the pencil beside a file to change its title. Students see this title.Check each title before you upload.
Supported files
Supported files
3
Choose the File Type
Keep Auto for most course materials.
Choose Problem Set for a document of questions, such as a worksheet. Uflo turns it into practice questions.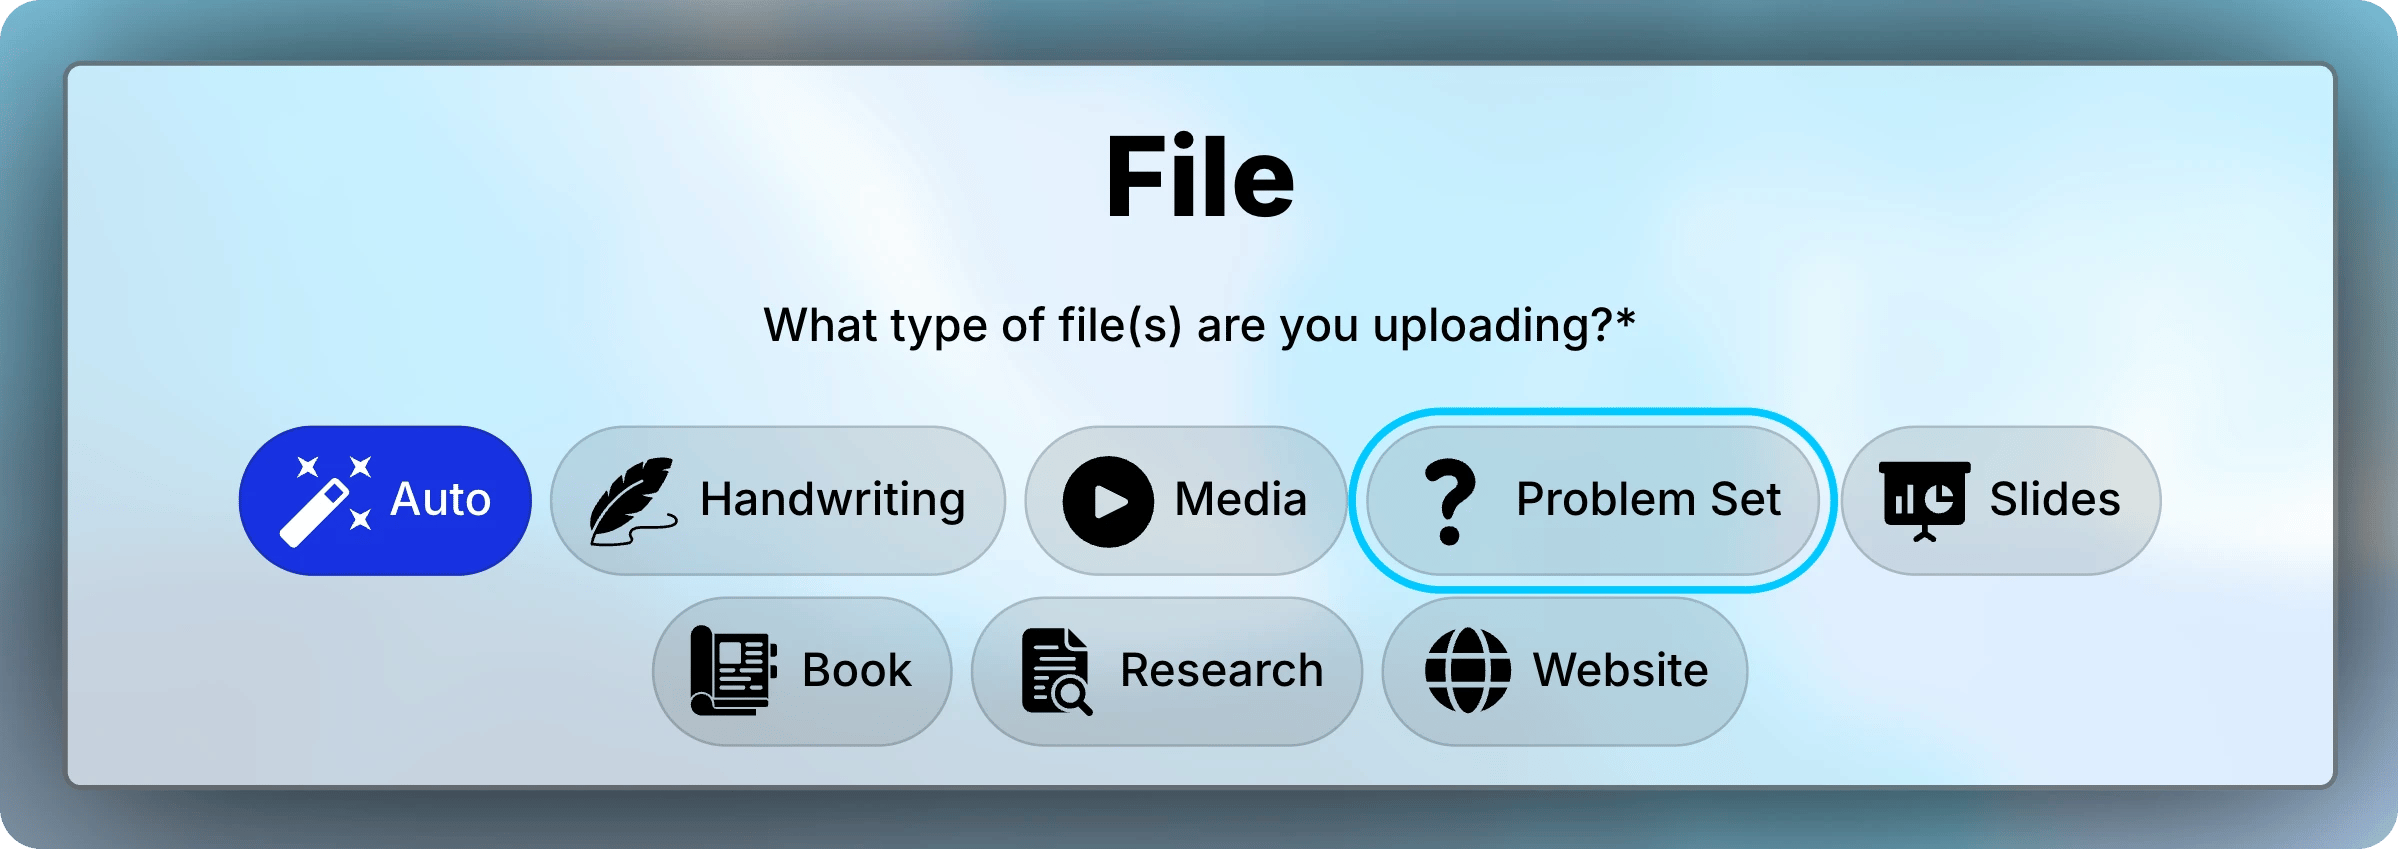
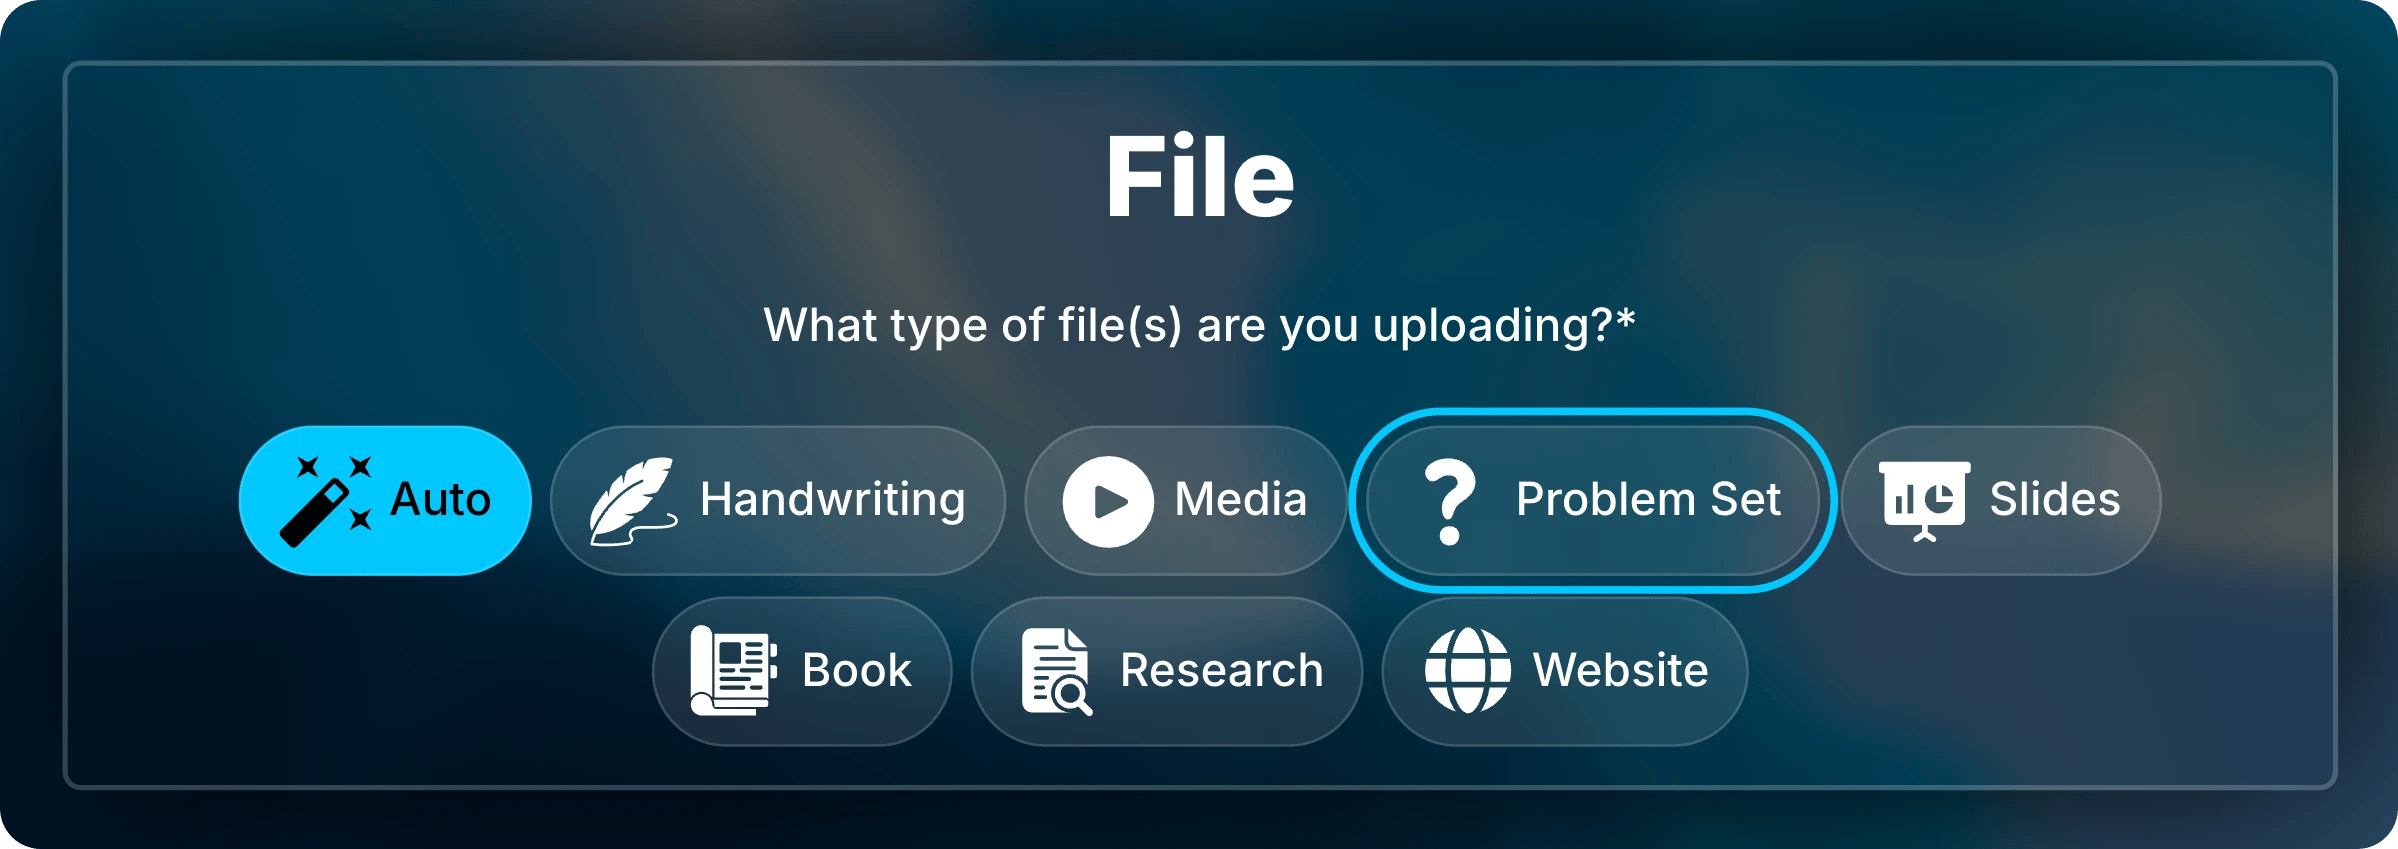
Keep Auto unless the file is a set of questions.
4
Choose Study Tools and Upload
Pick the study tools Uflo creates. A problem set skips this choice.Podcast and Visualization are off by default, so turn them on if you want them.
Select Upload.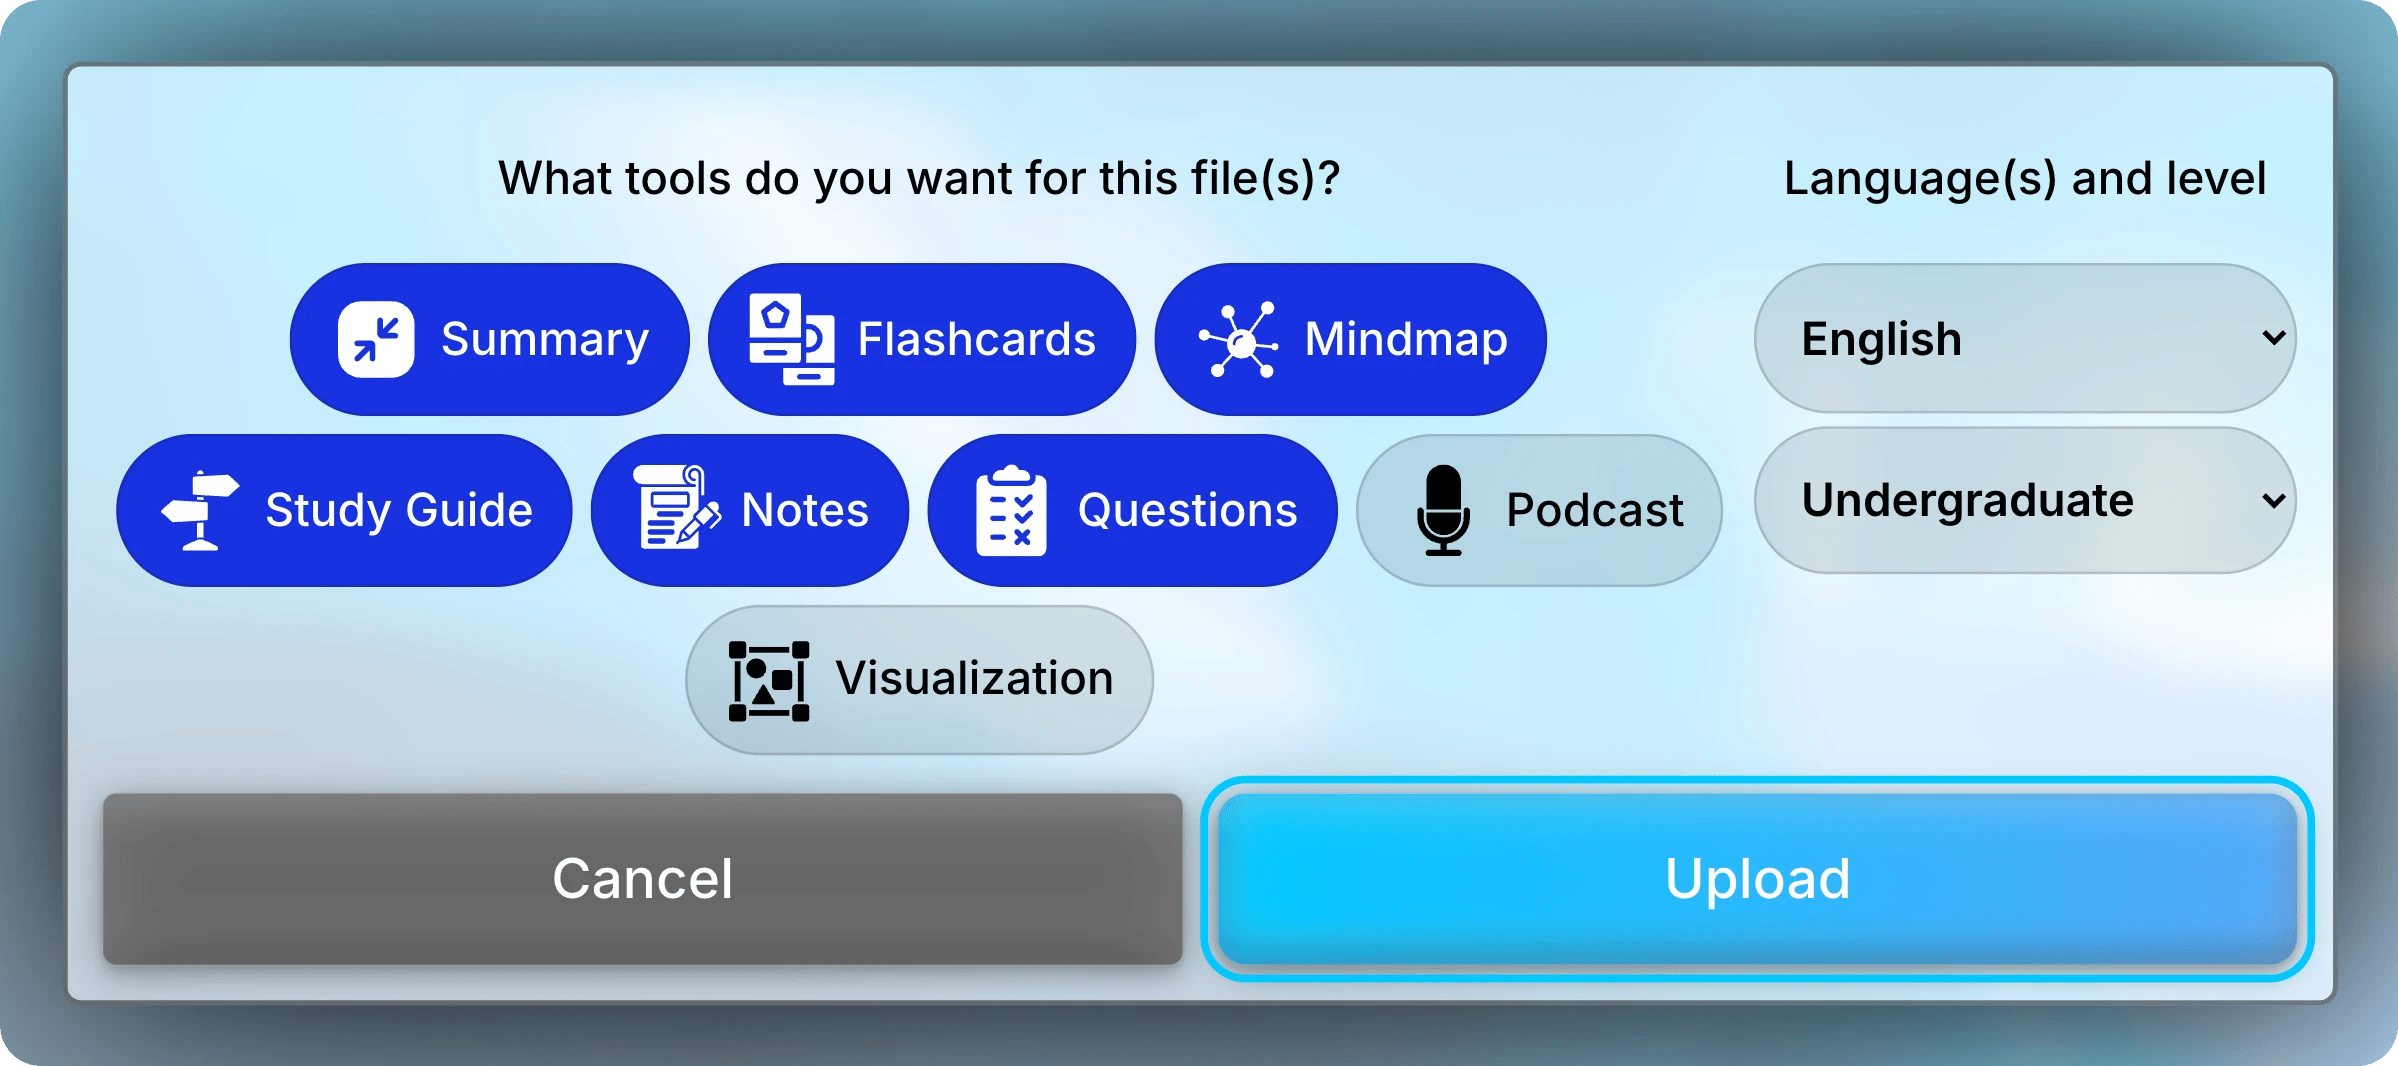
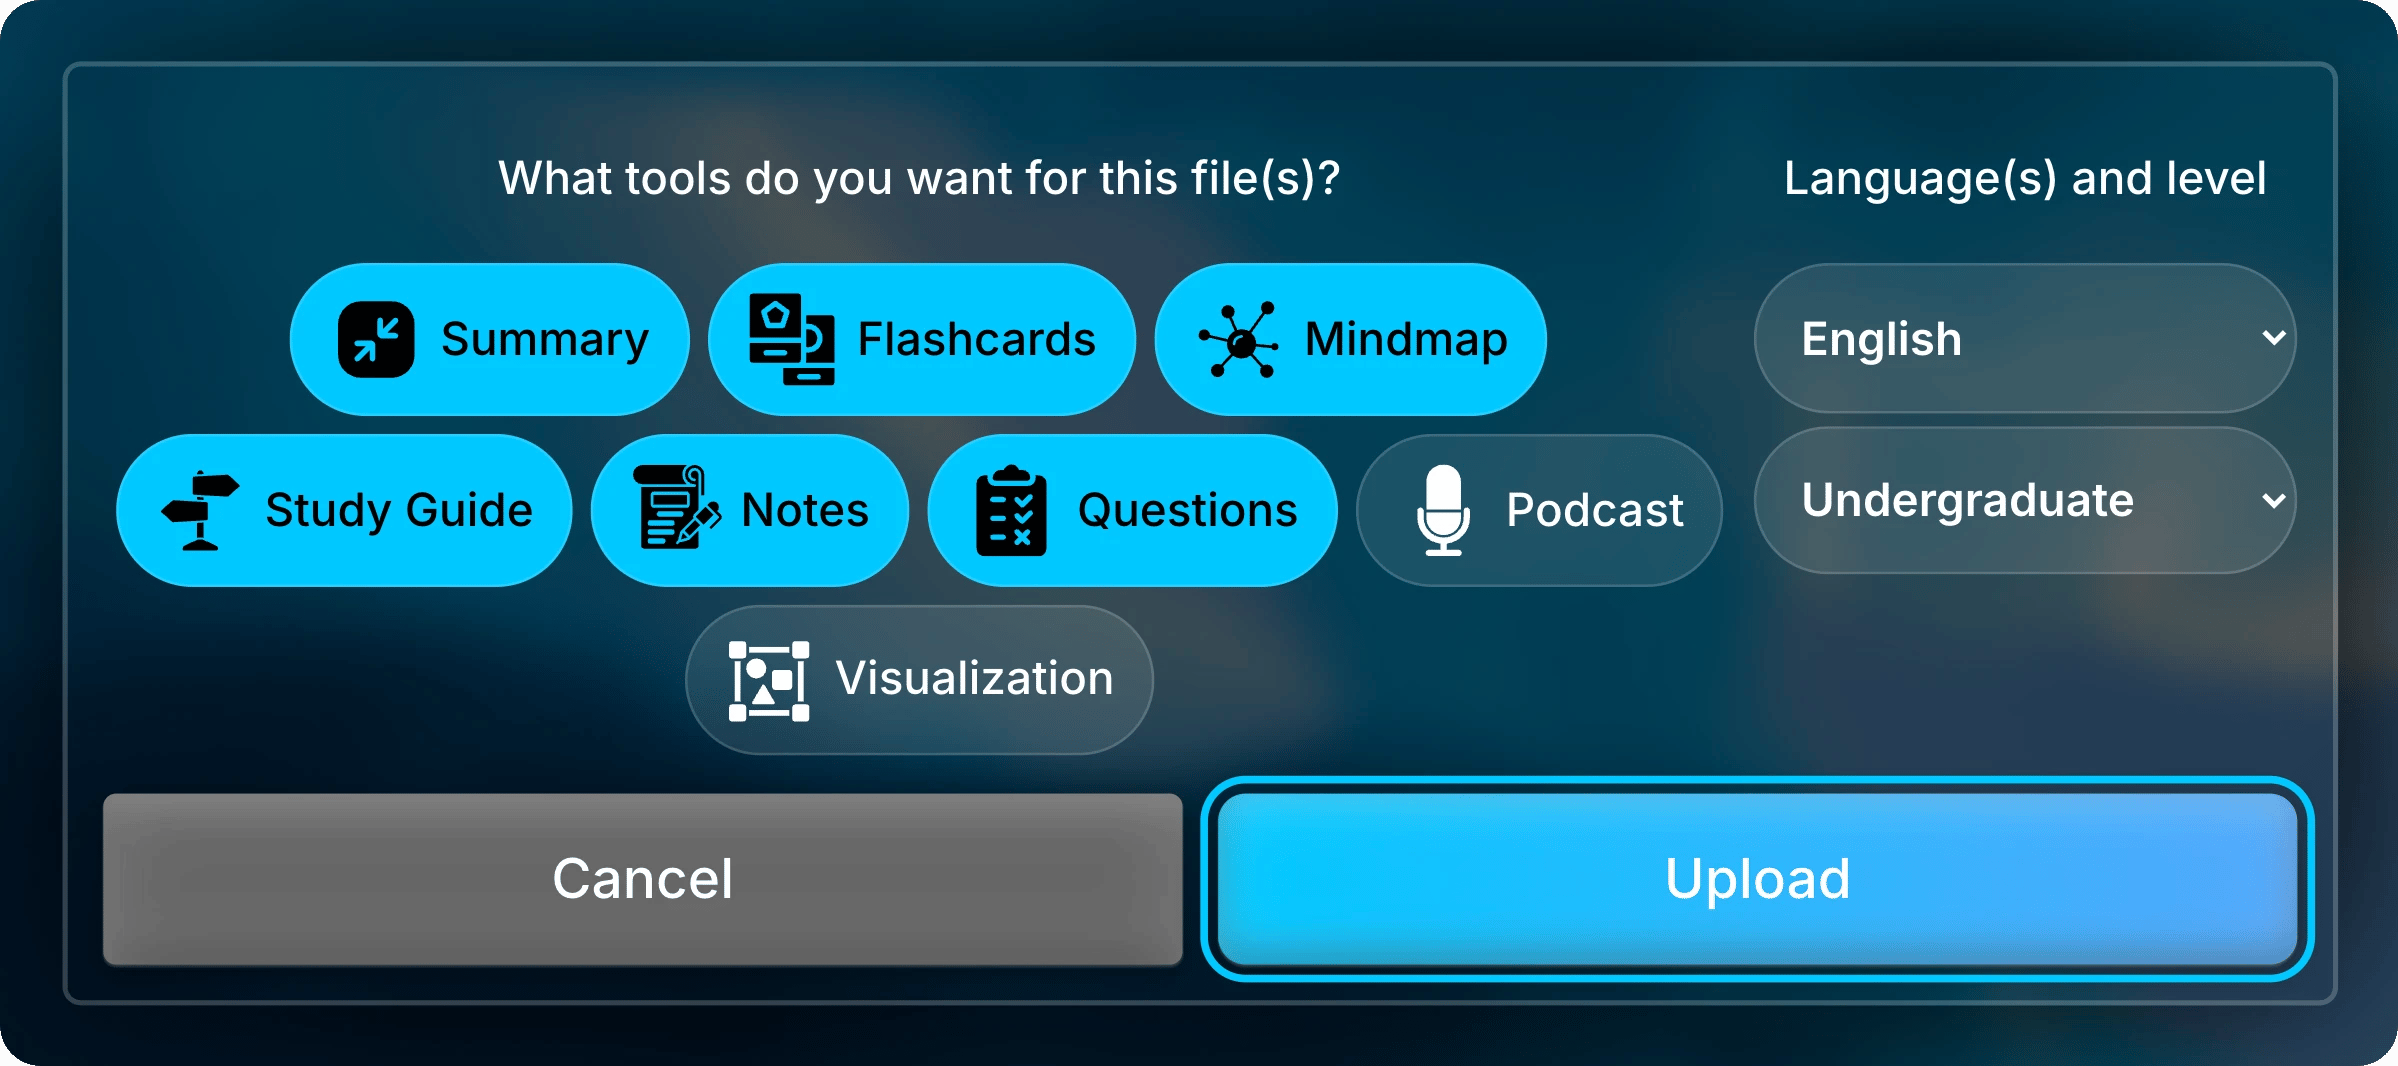
What each study tool gives students
What each study tool gives students
Turn on Podcast and Visualization if you want them.
Follow the Progress
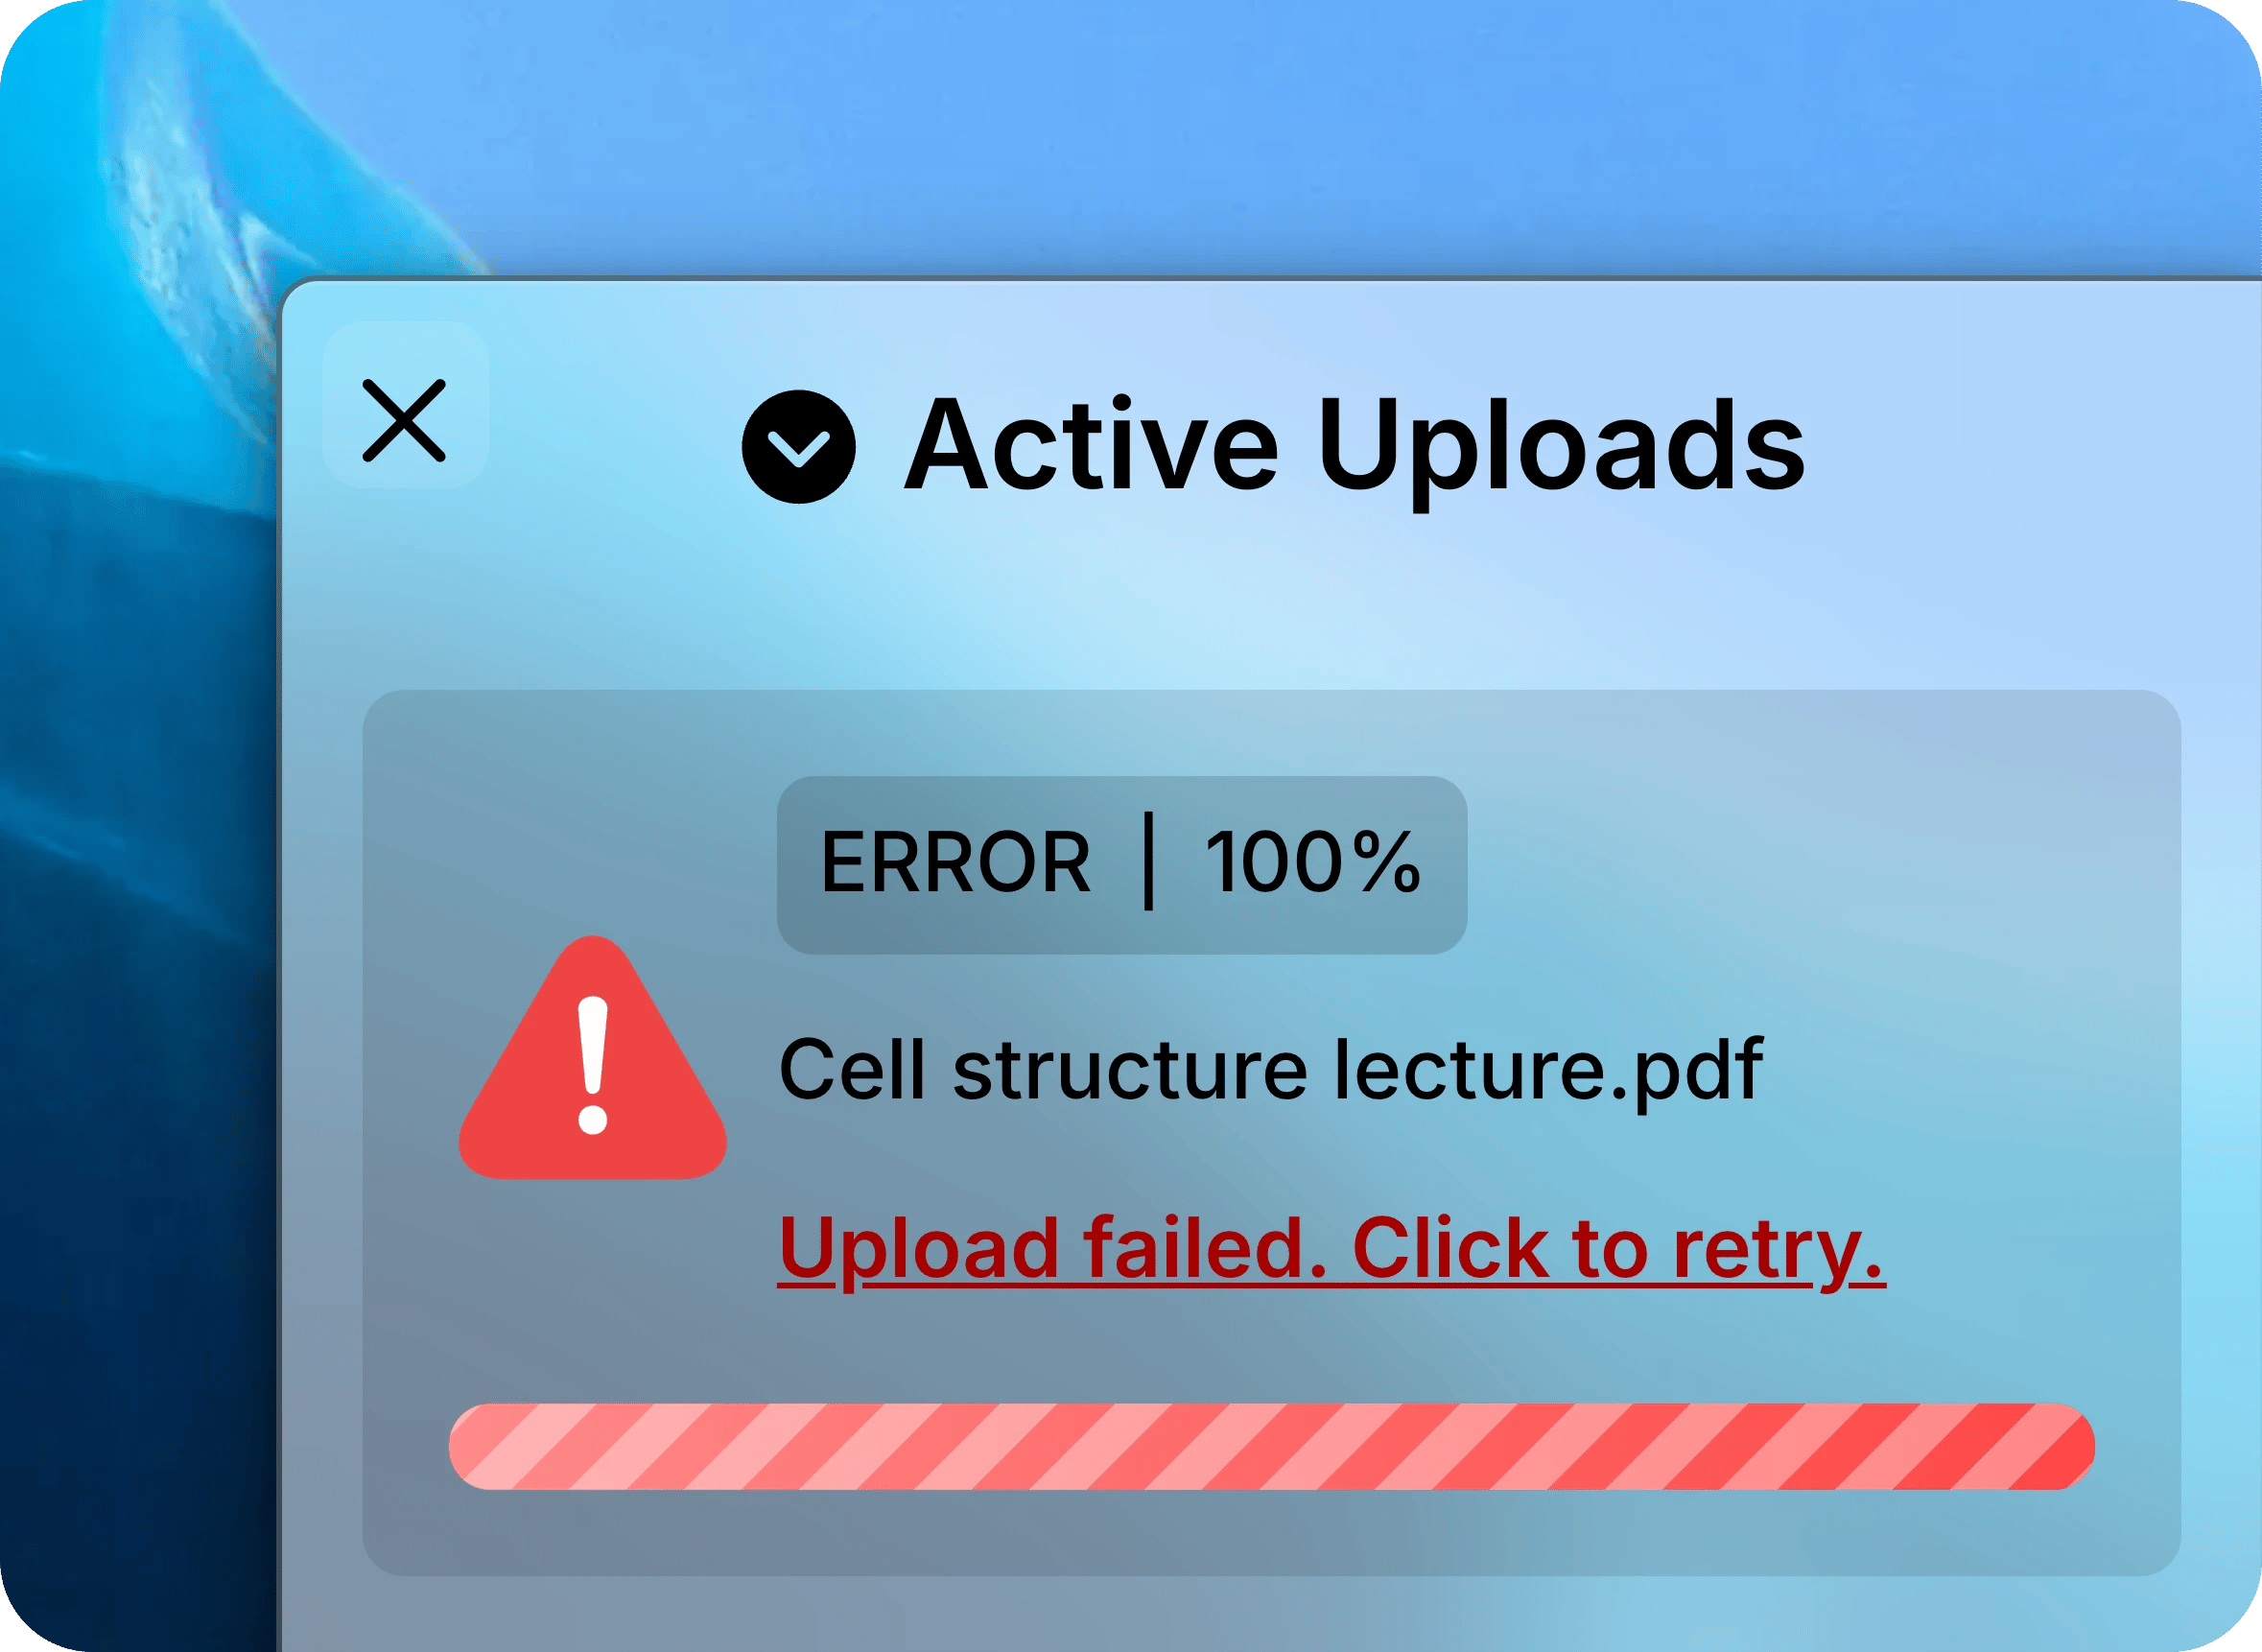
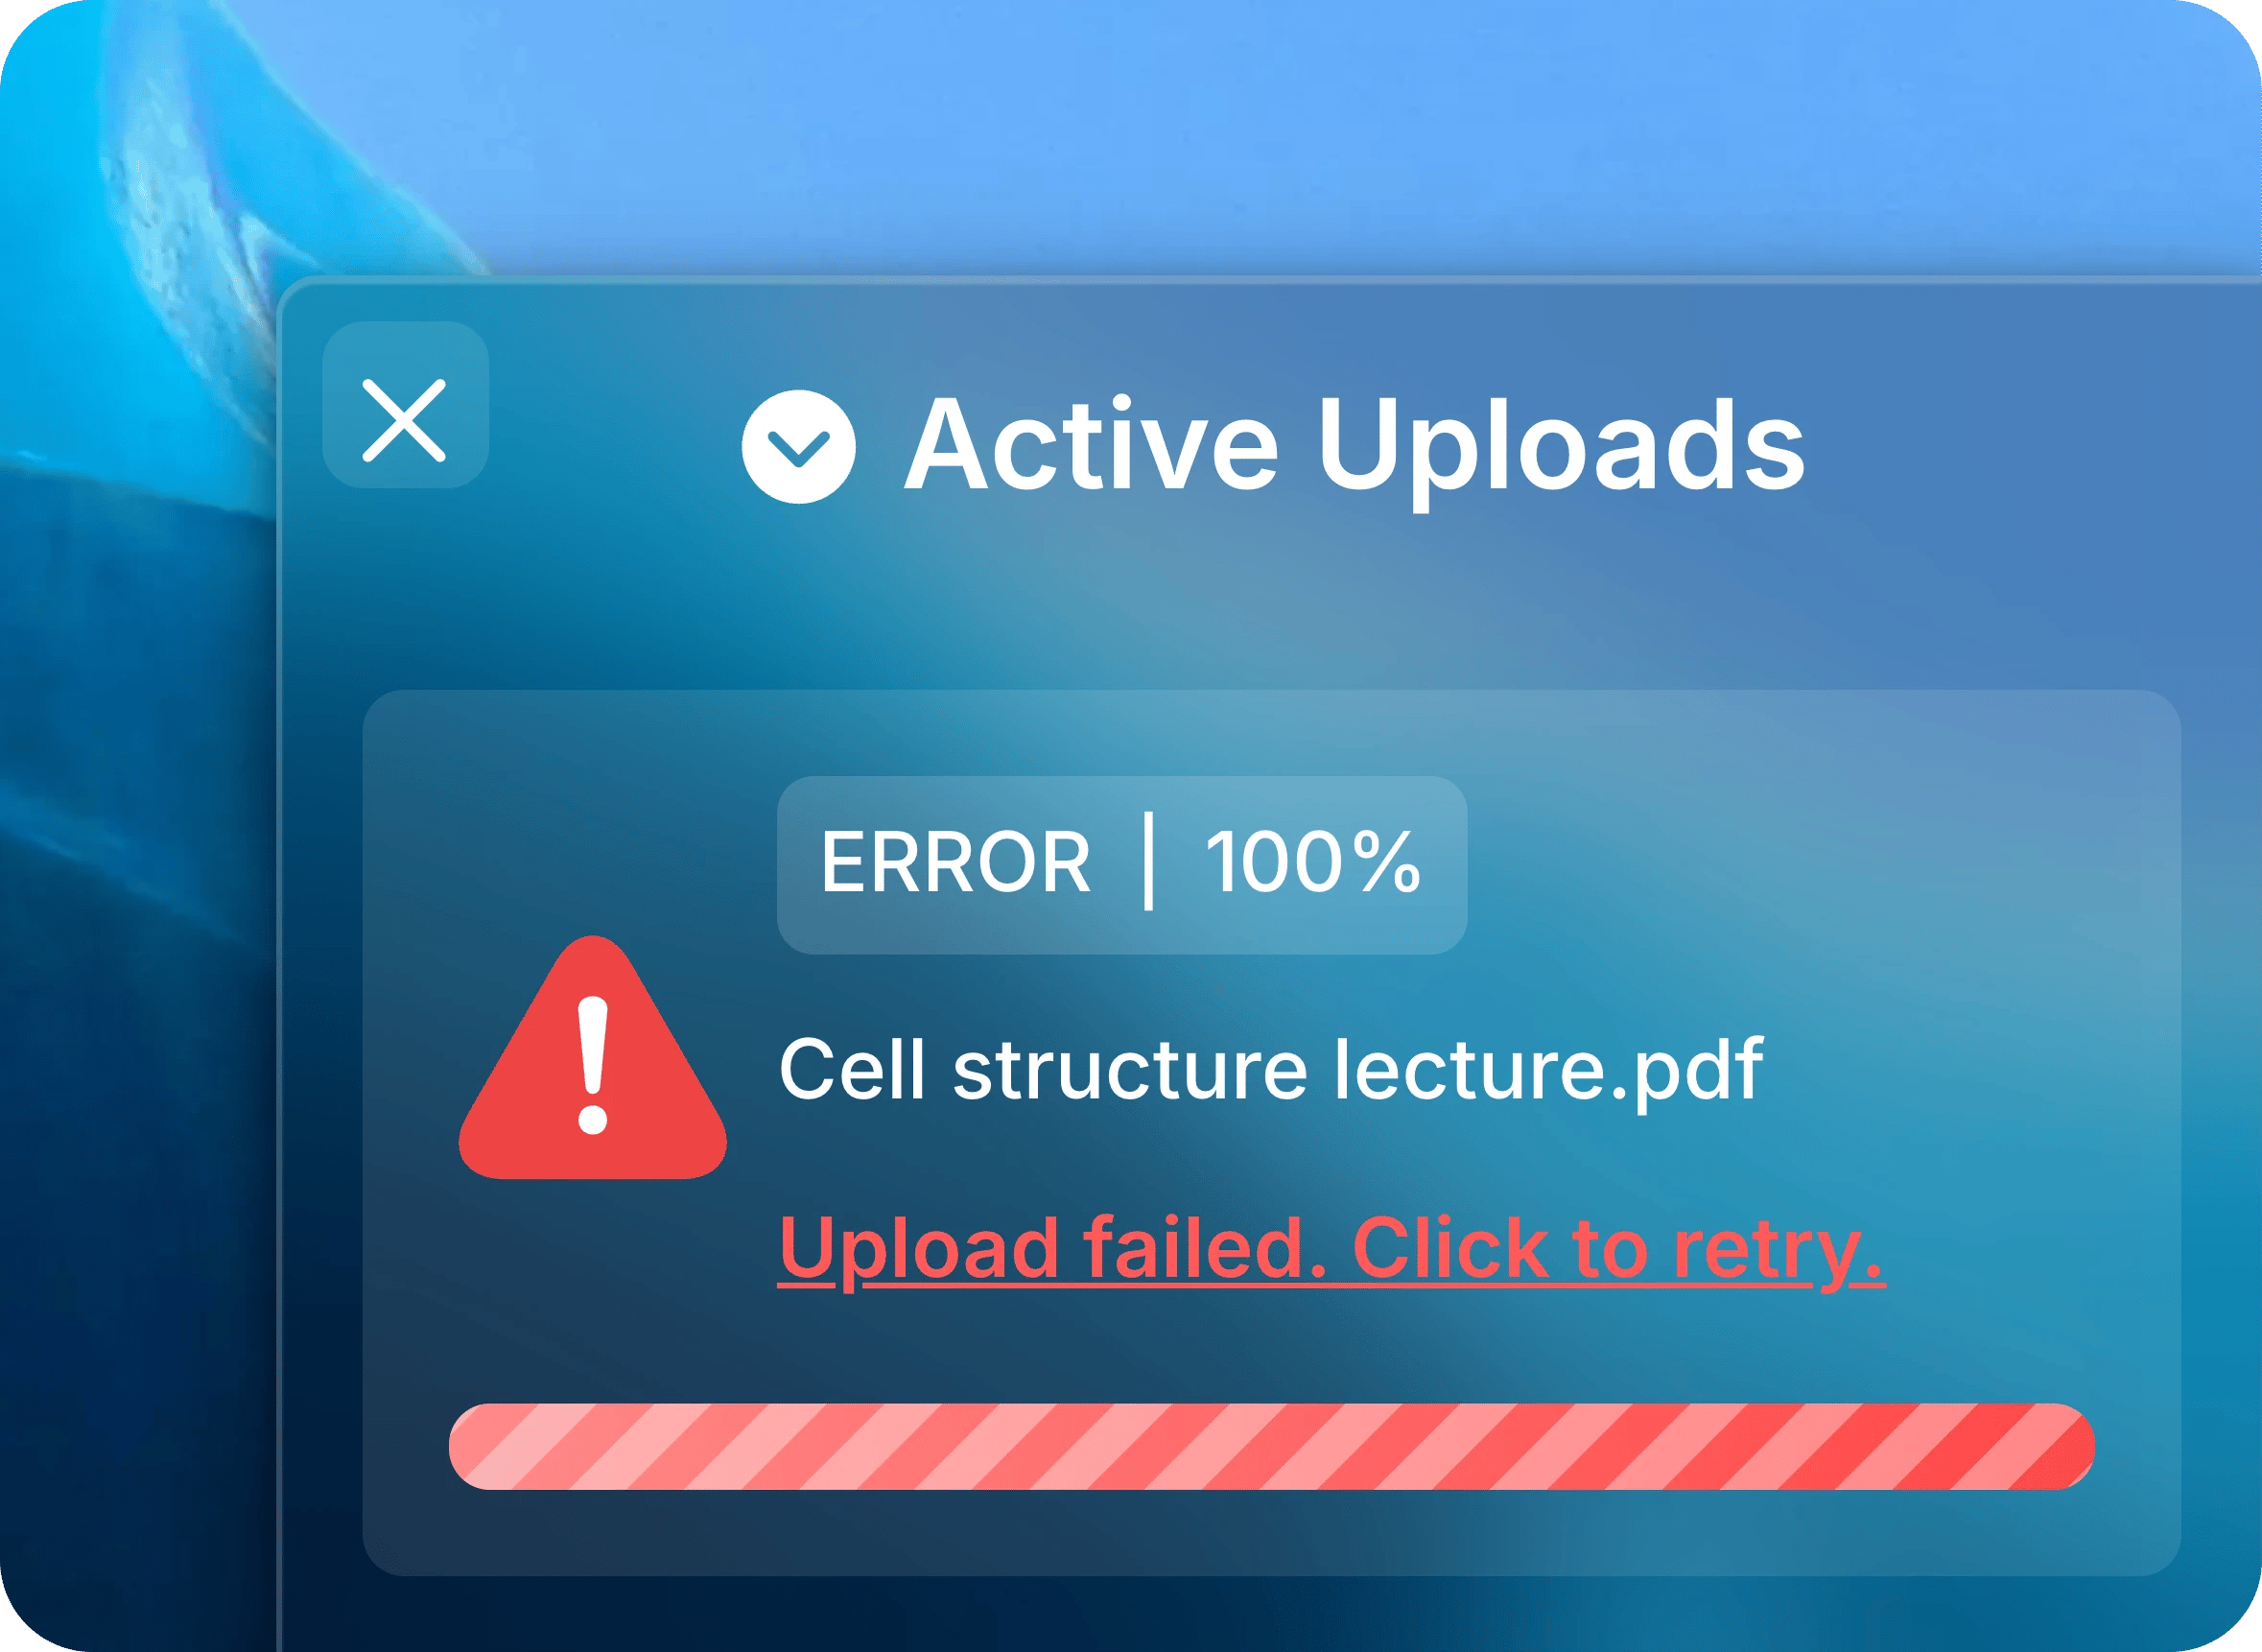
Active Uploads shows each file as Uflo processes it, even if you leave and come back. Only you see your own uploads there.- Success
- Upload Failed
When a file shows Success, it’s ready, with its study tools.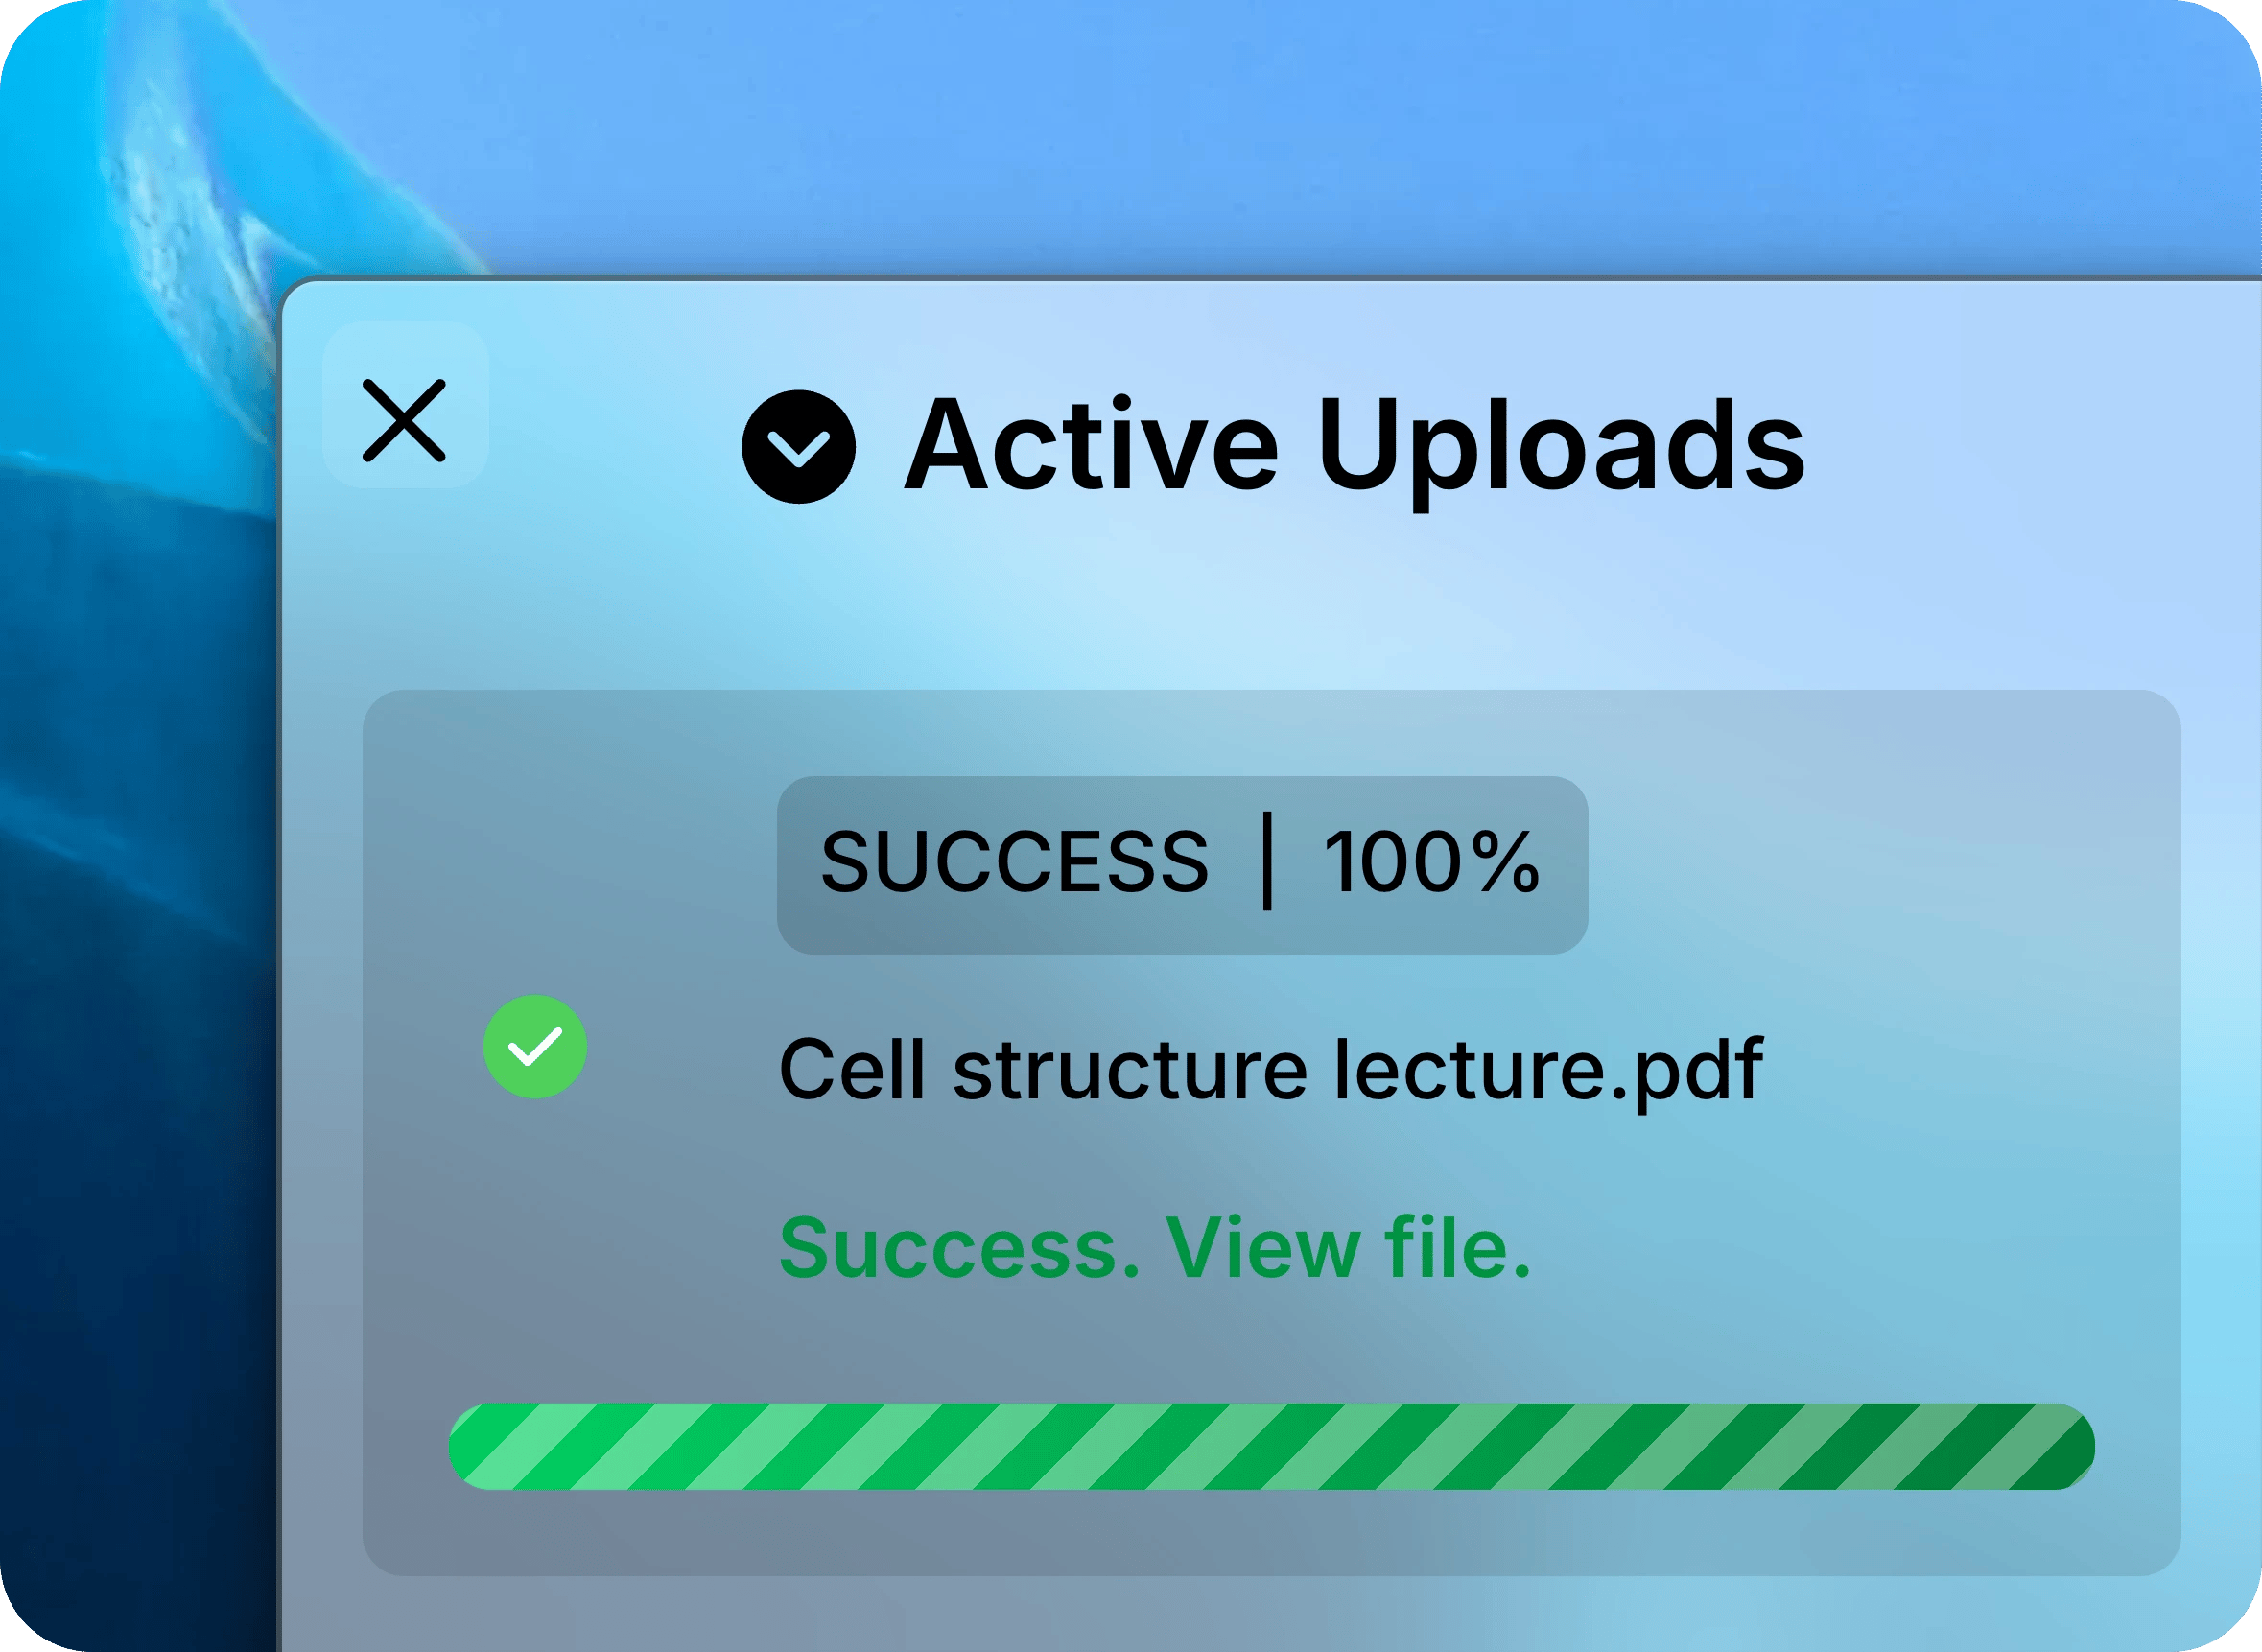
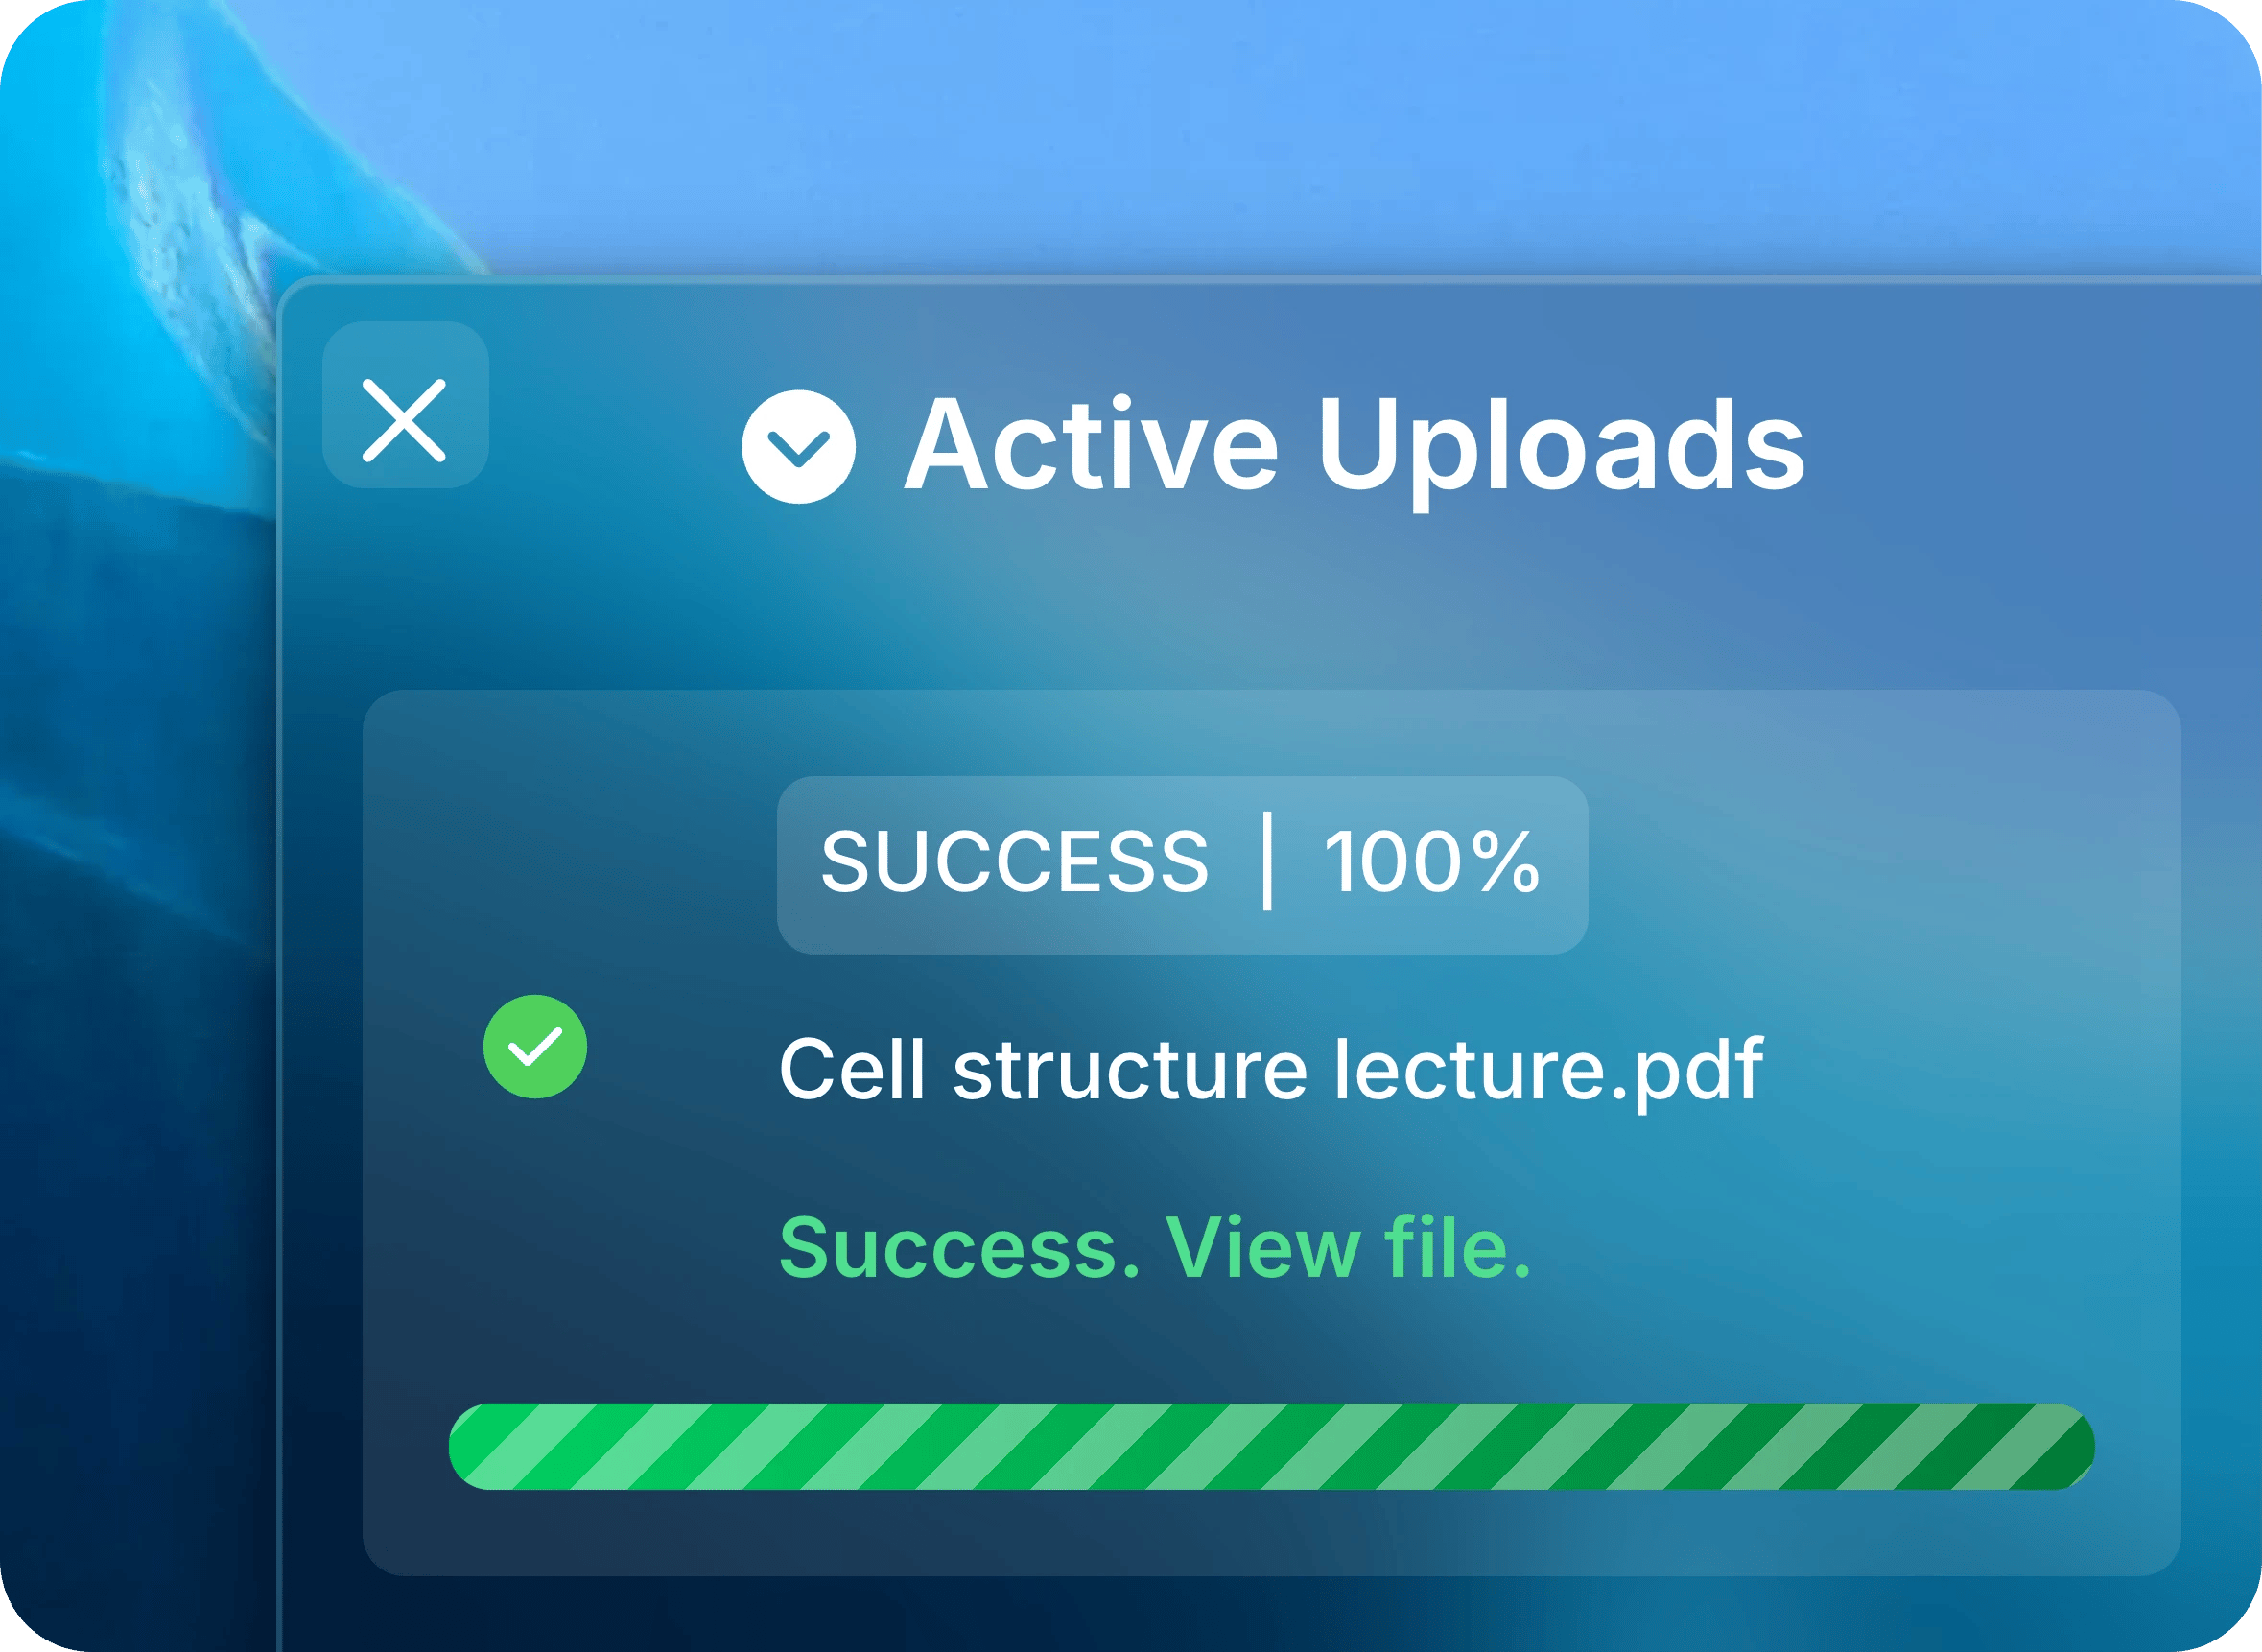
Success means the file is ready.
Update a File
Right-click a file to open its menu, or press and hold it on a touch screen. Select Update, make your changes, then select Submit.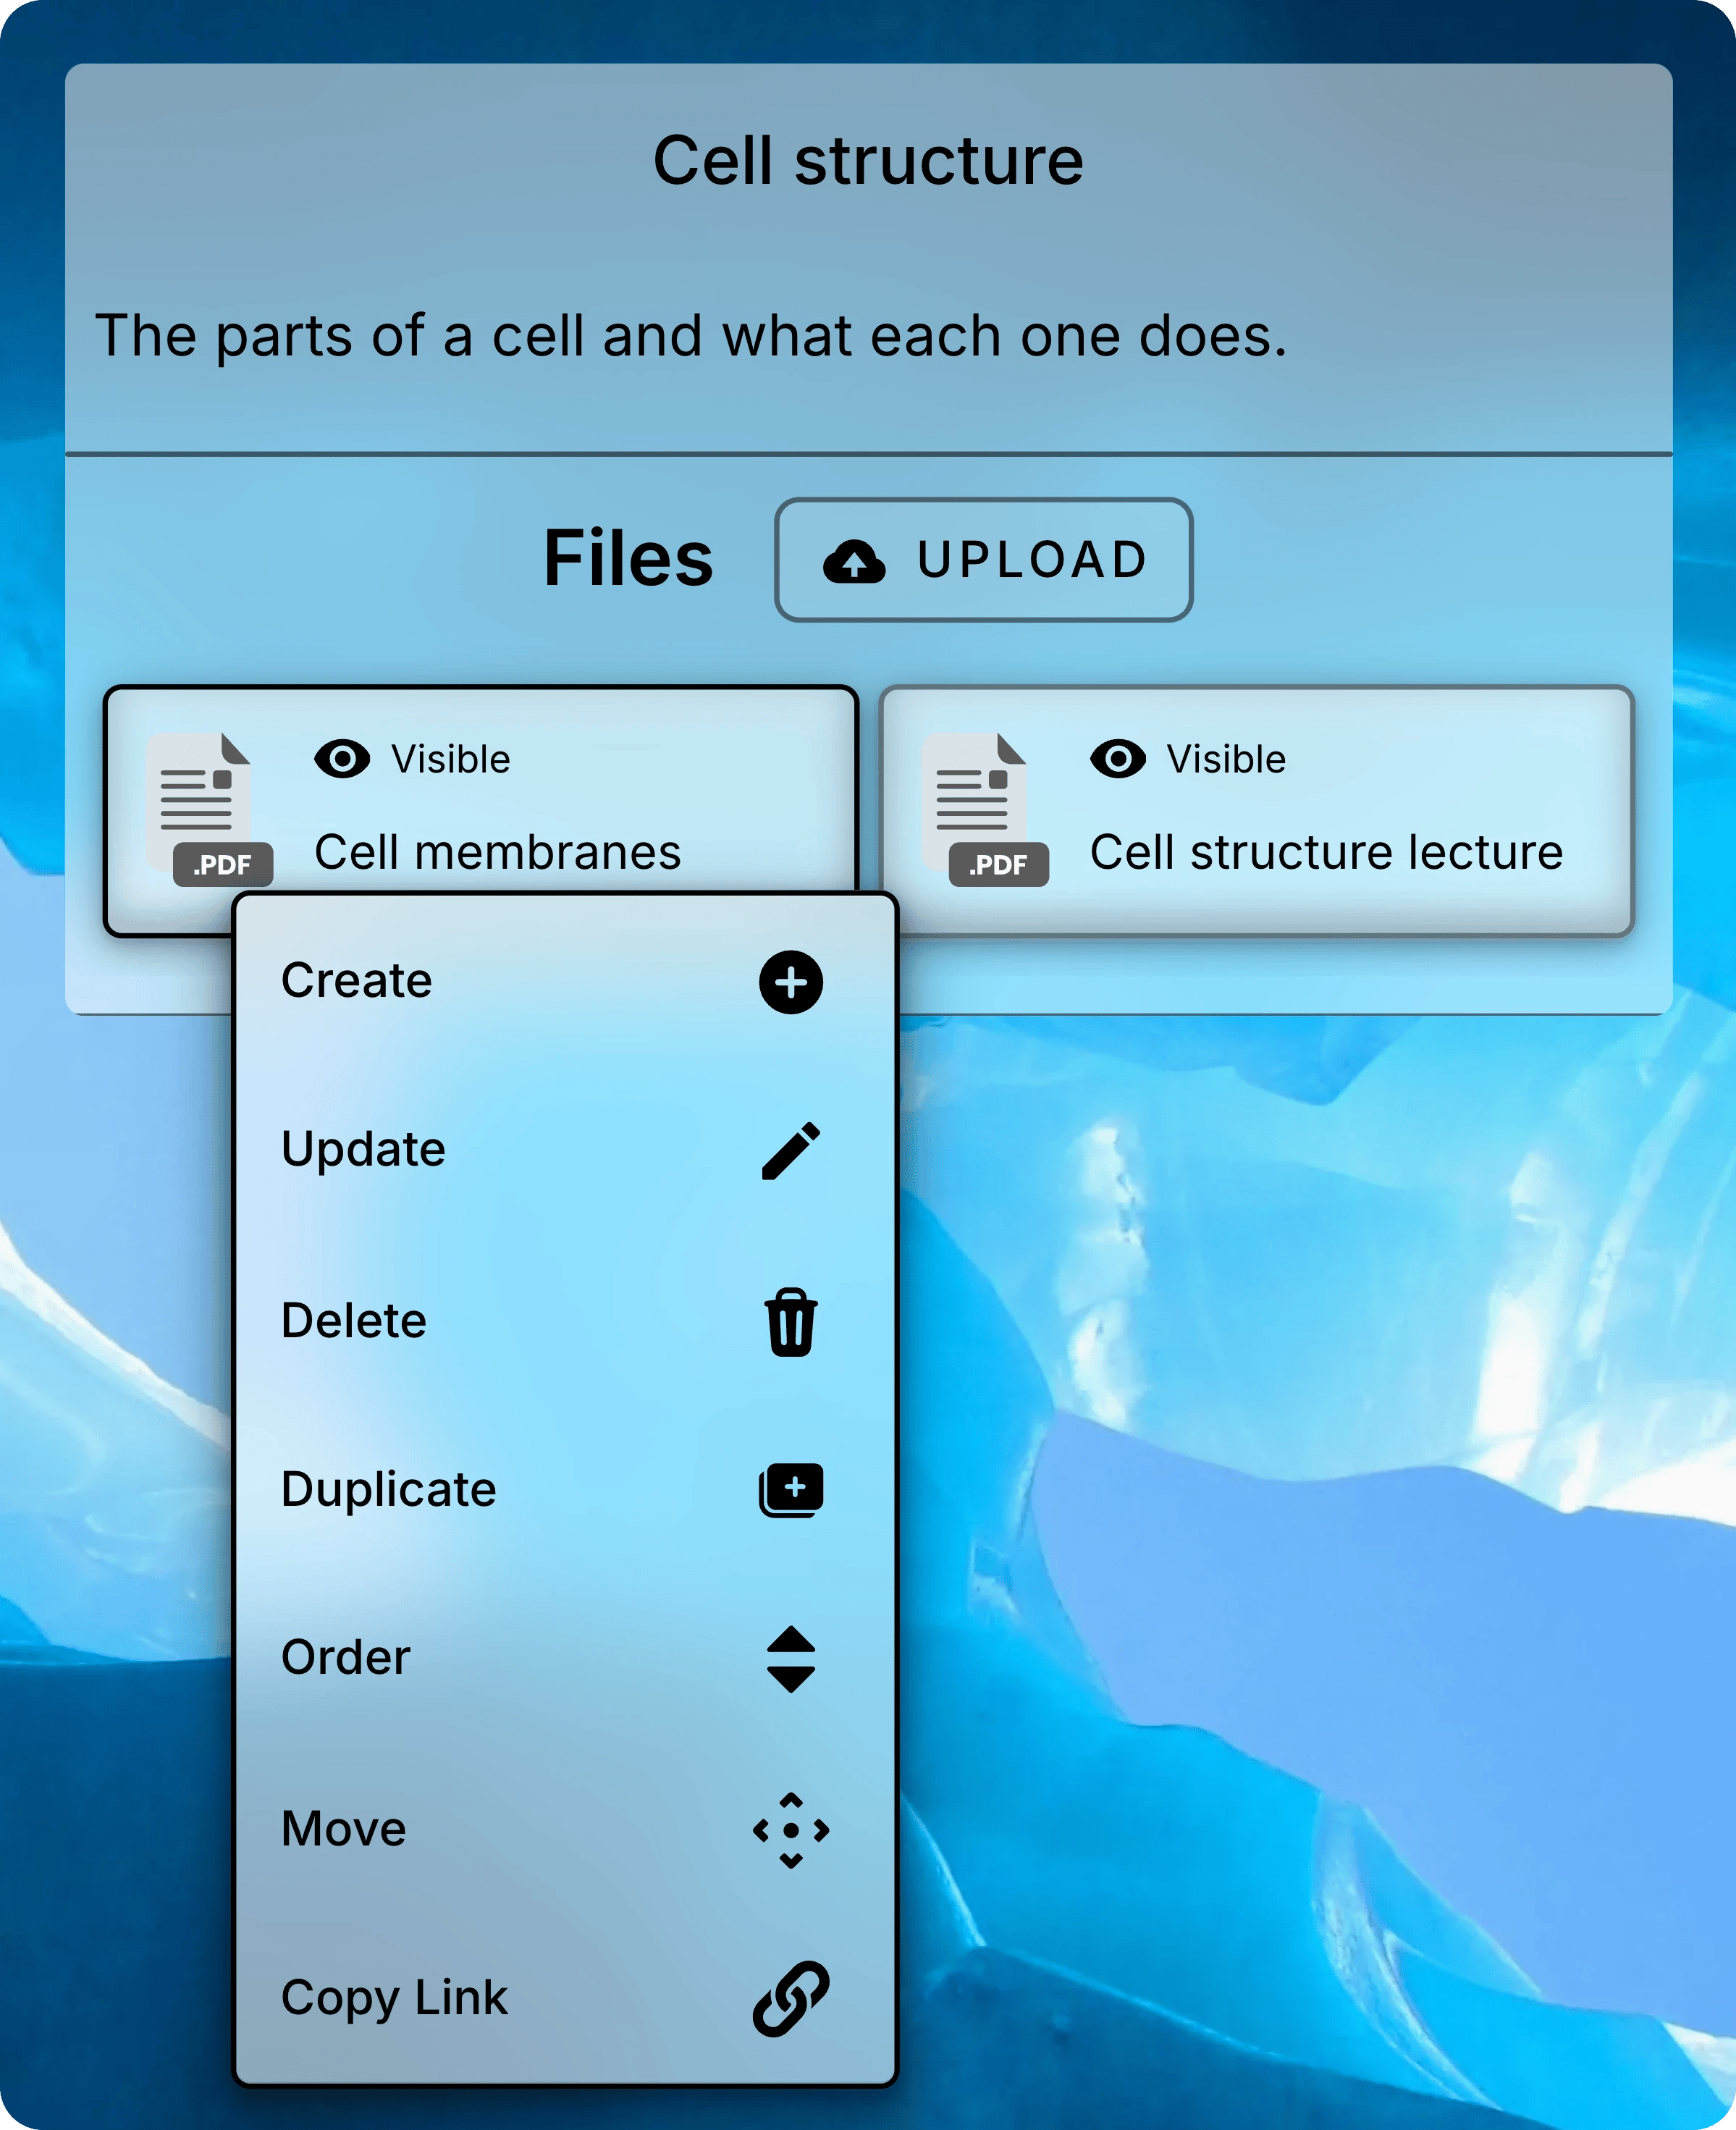
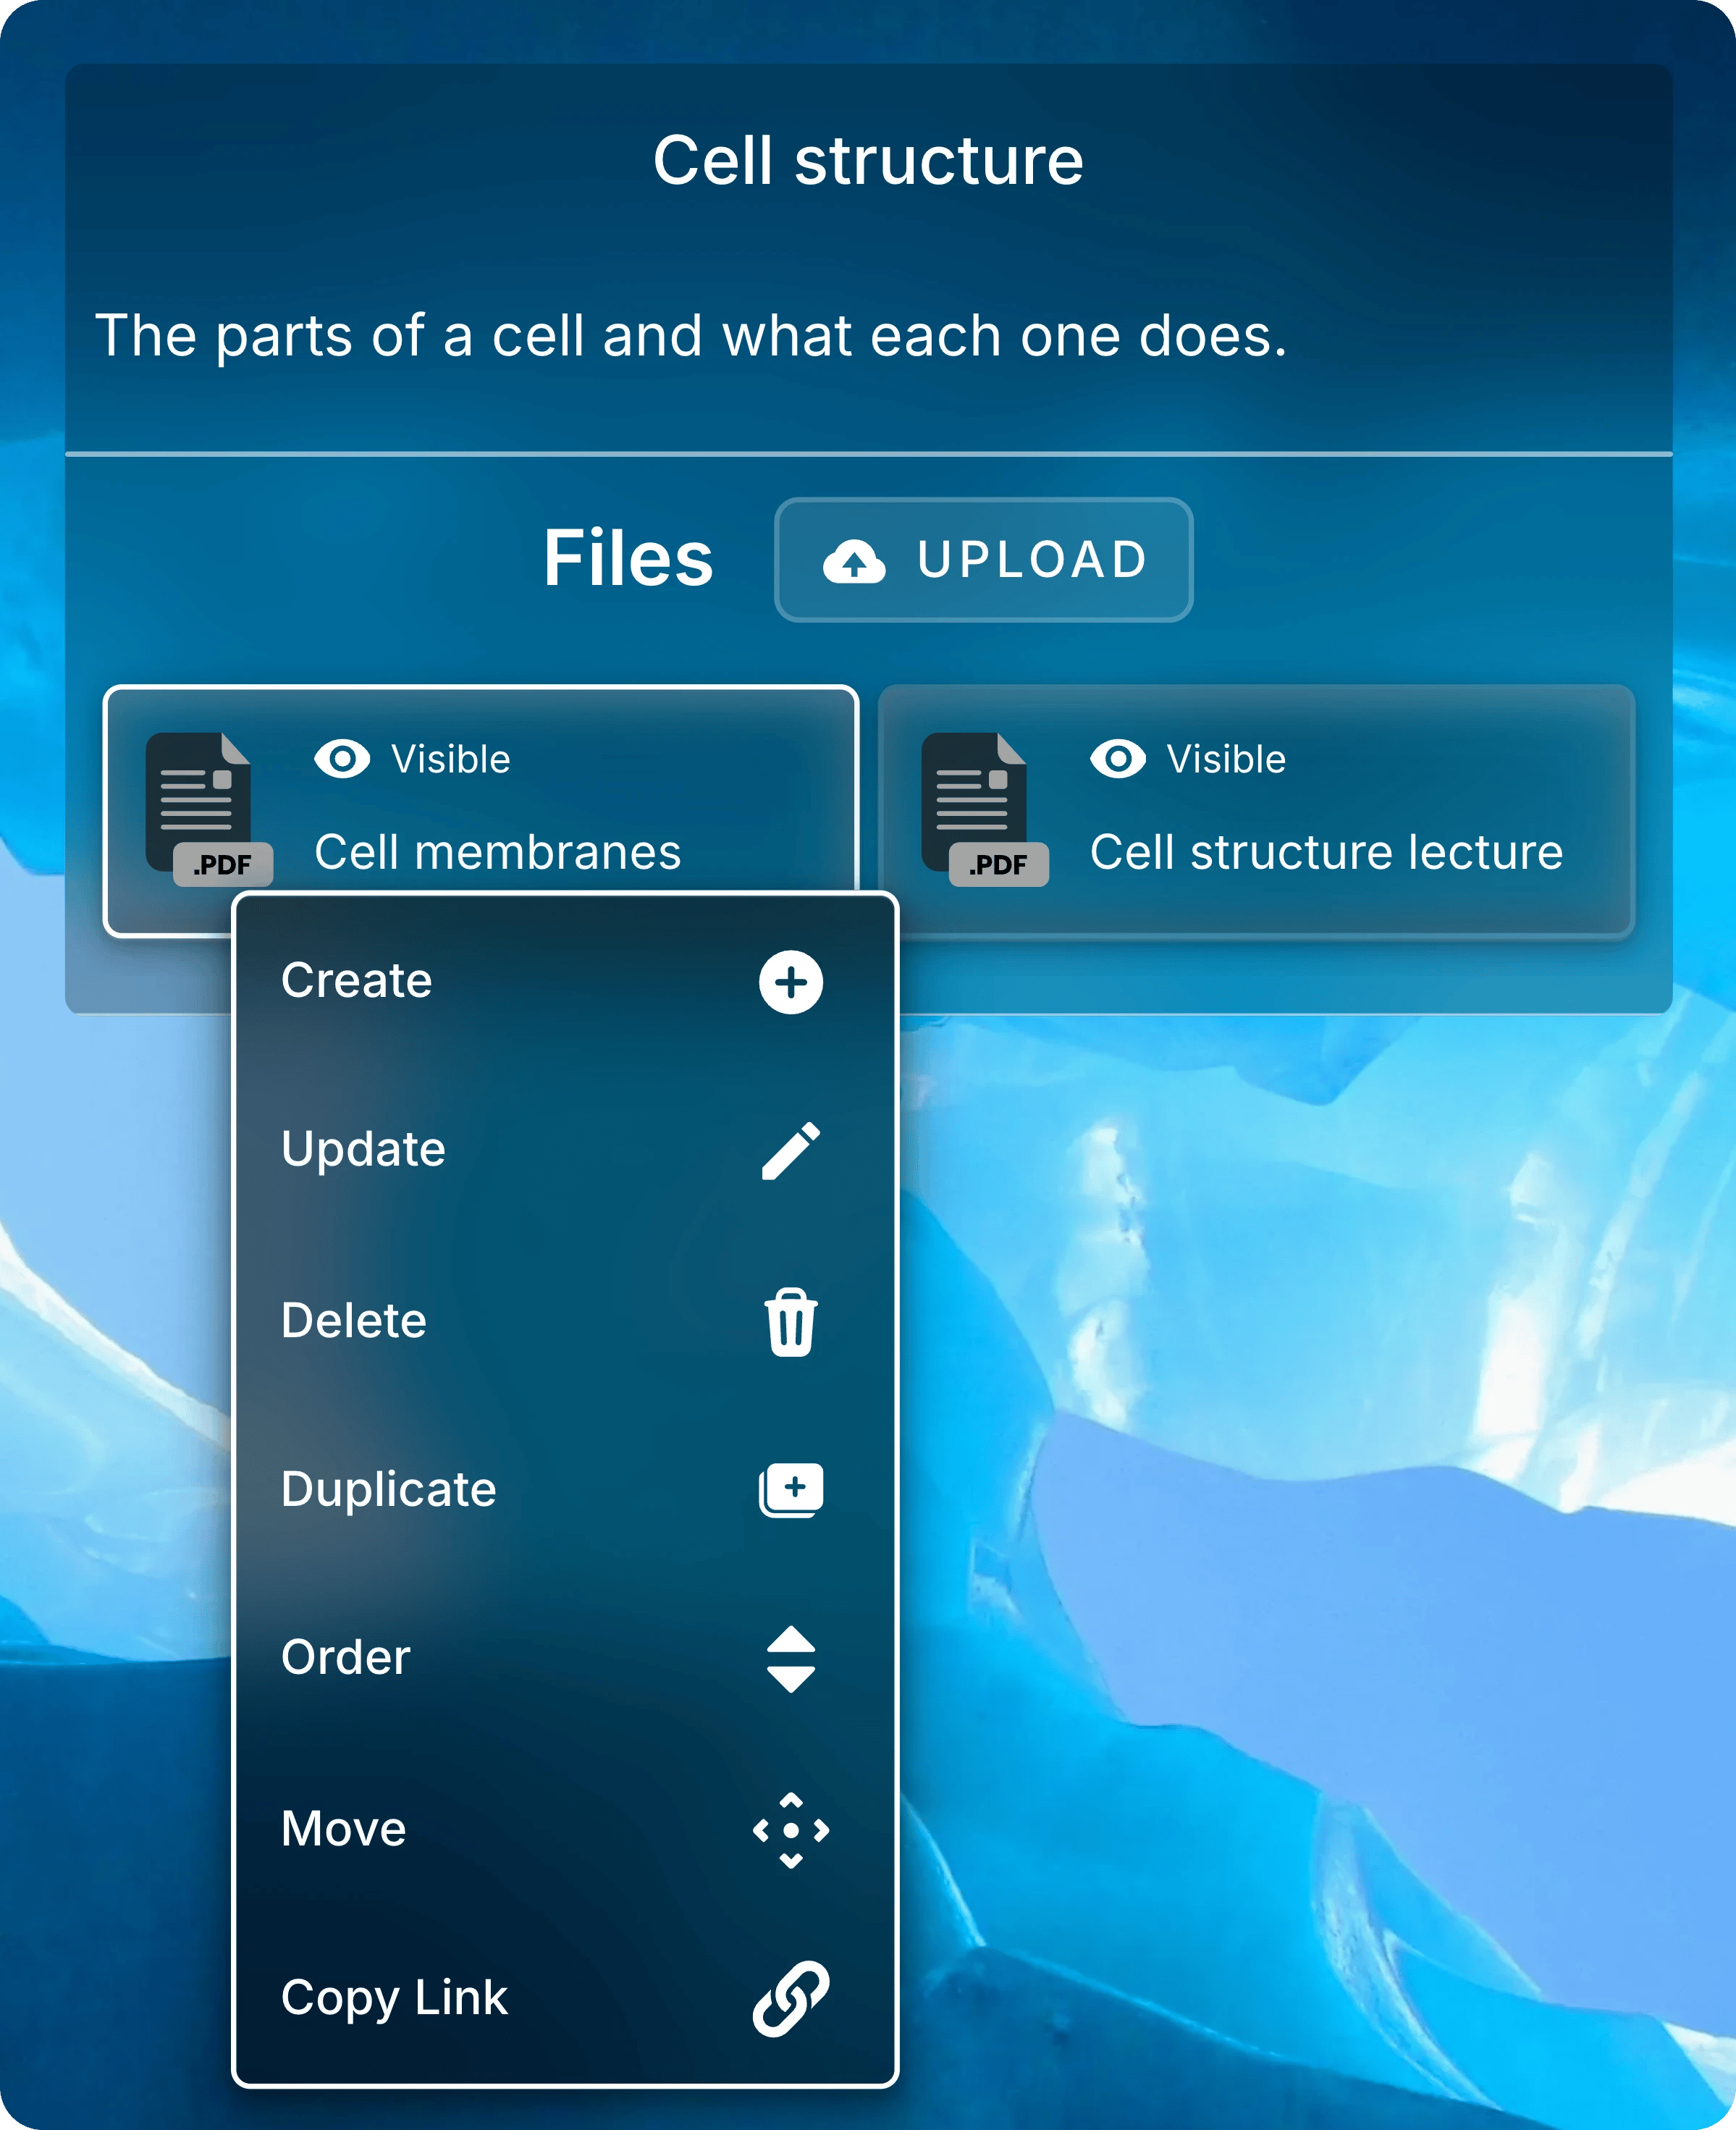
Right-click a file to open its menu.
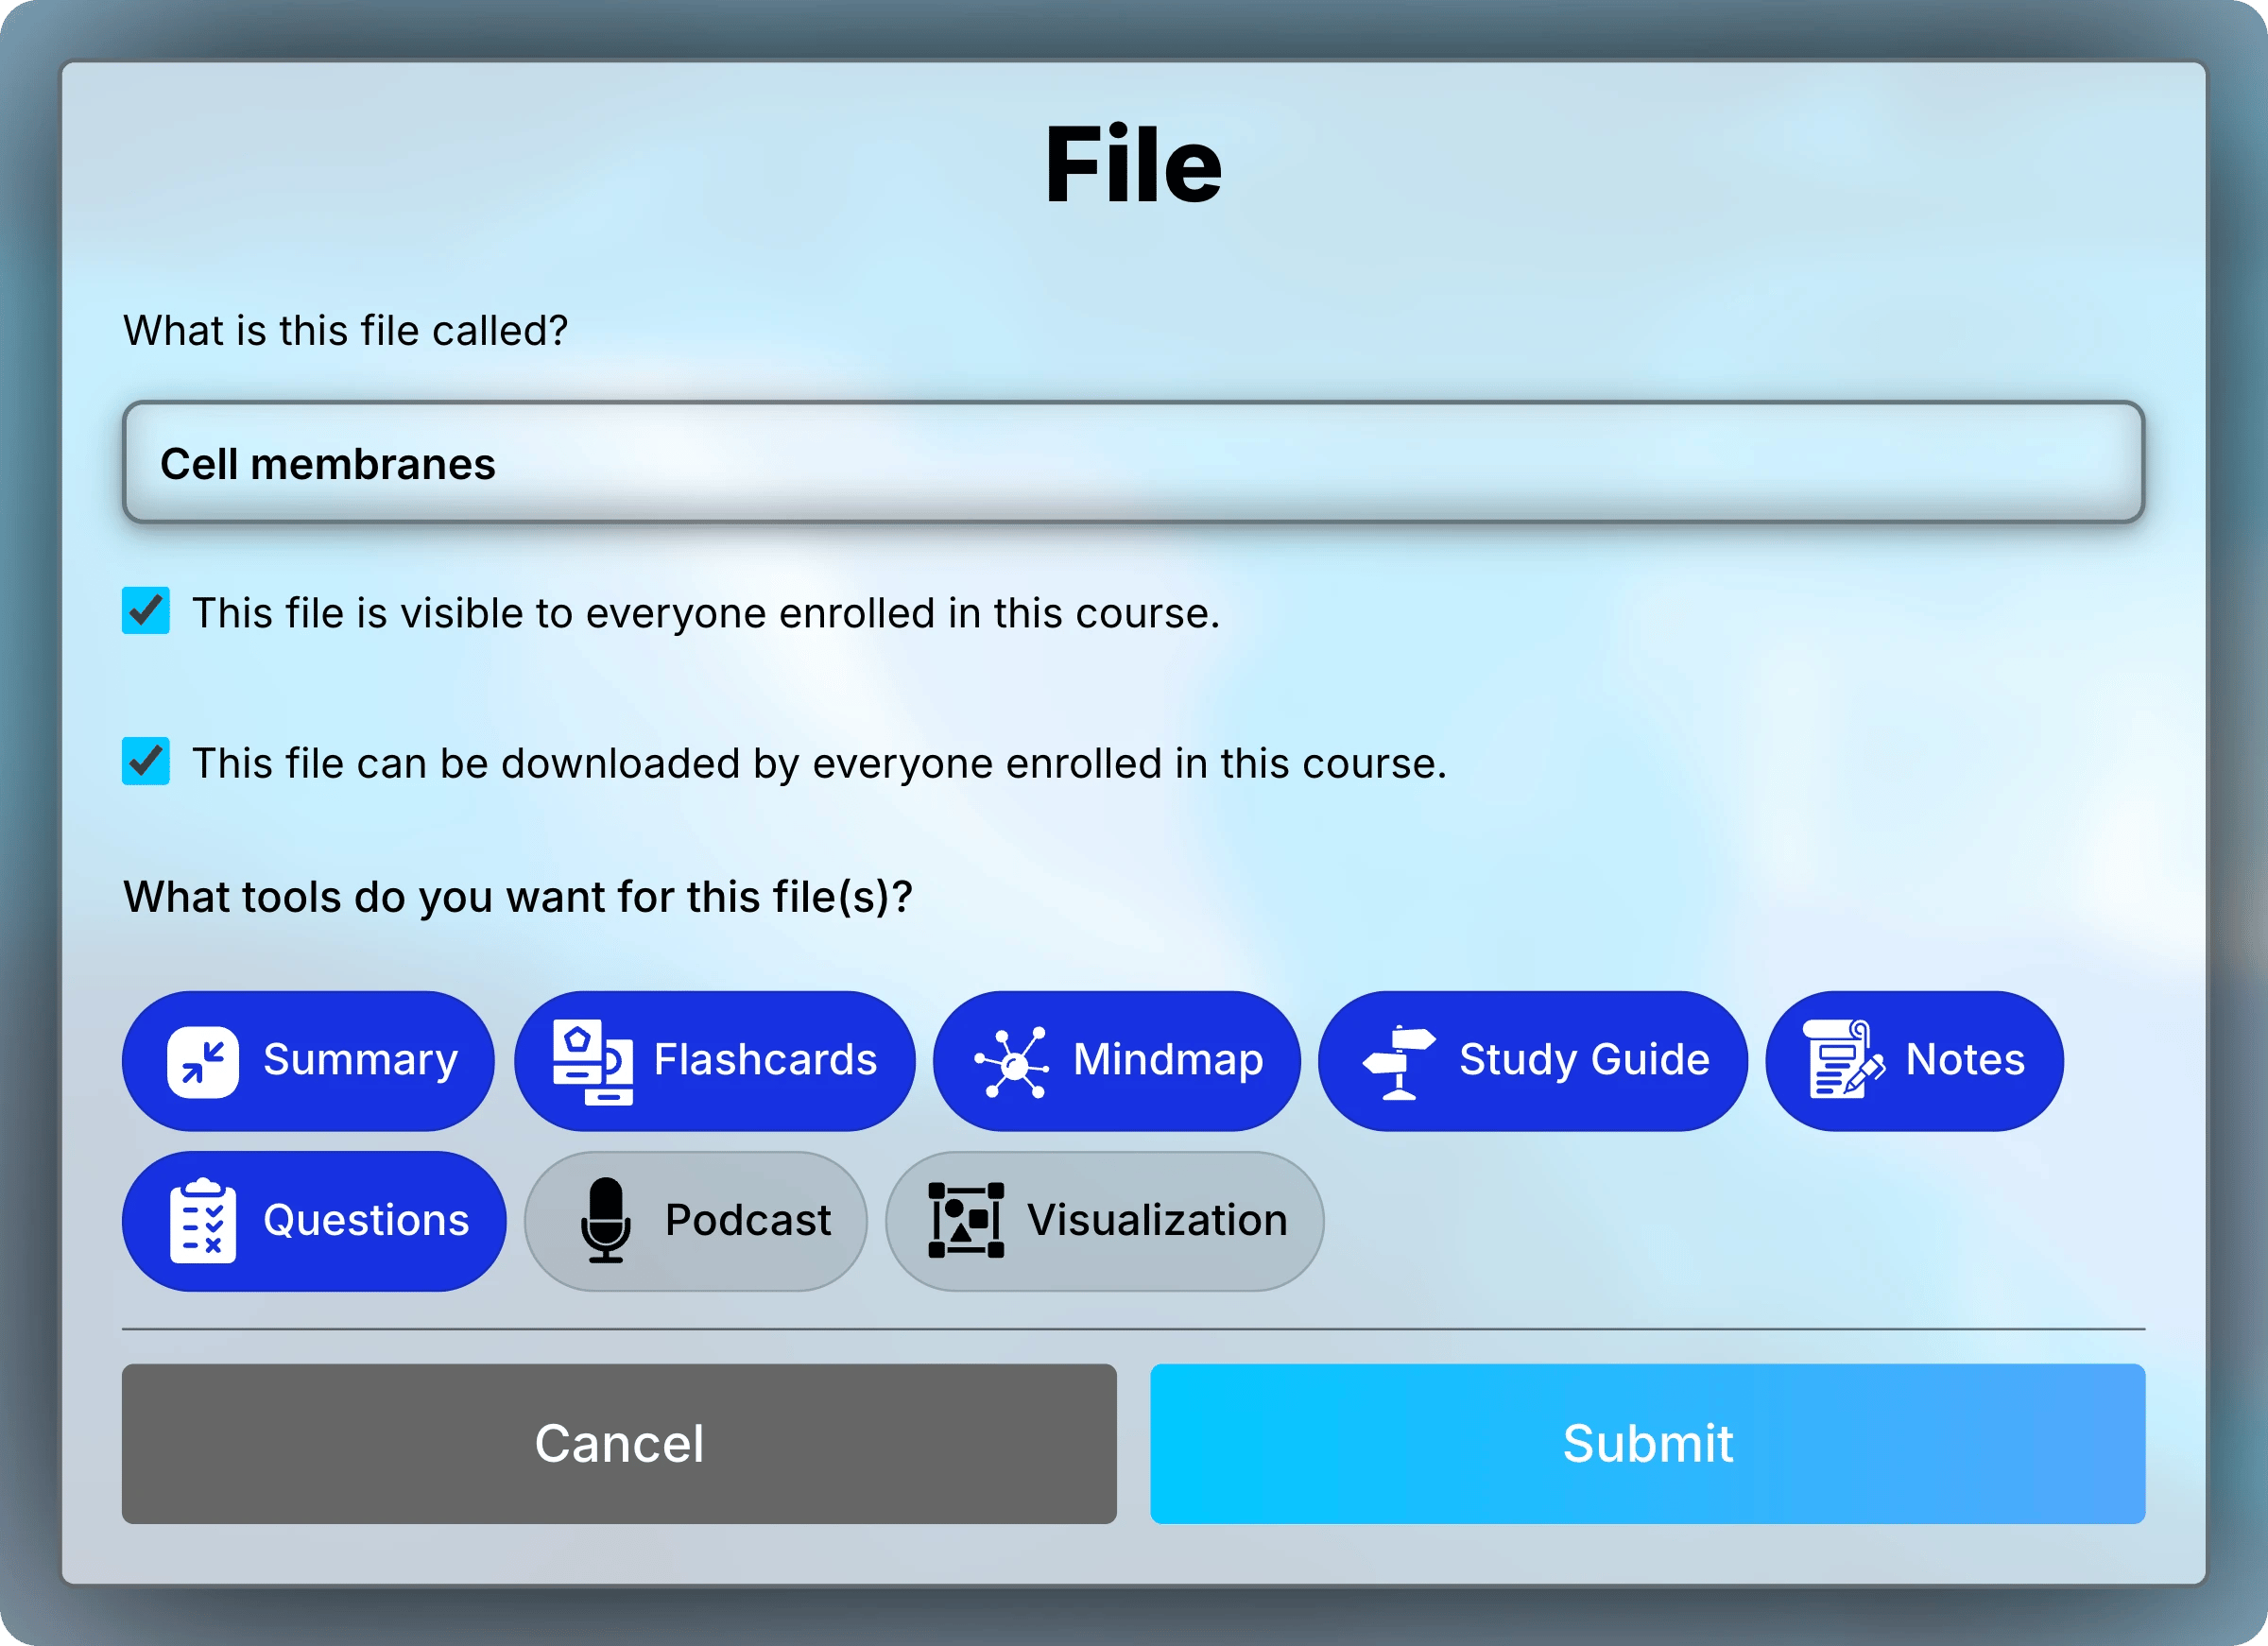
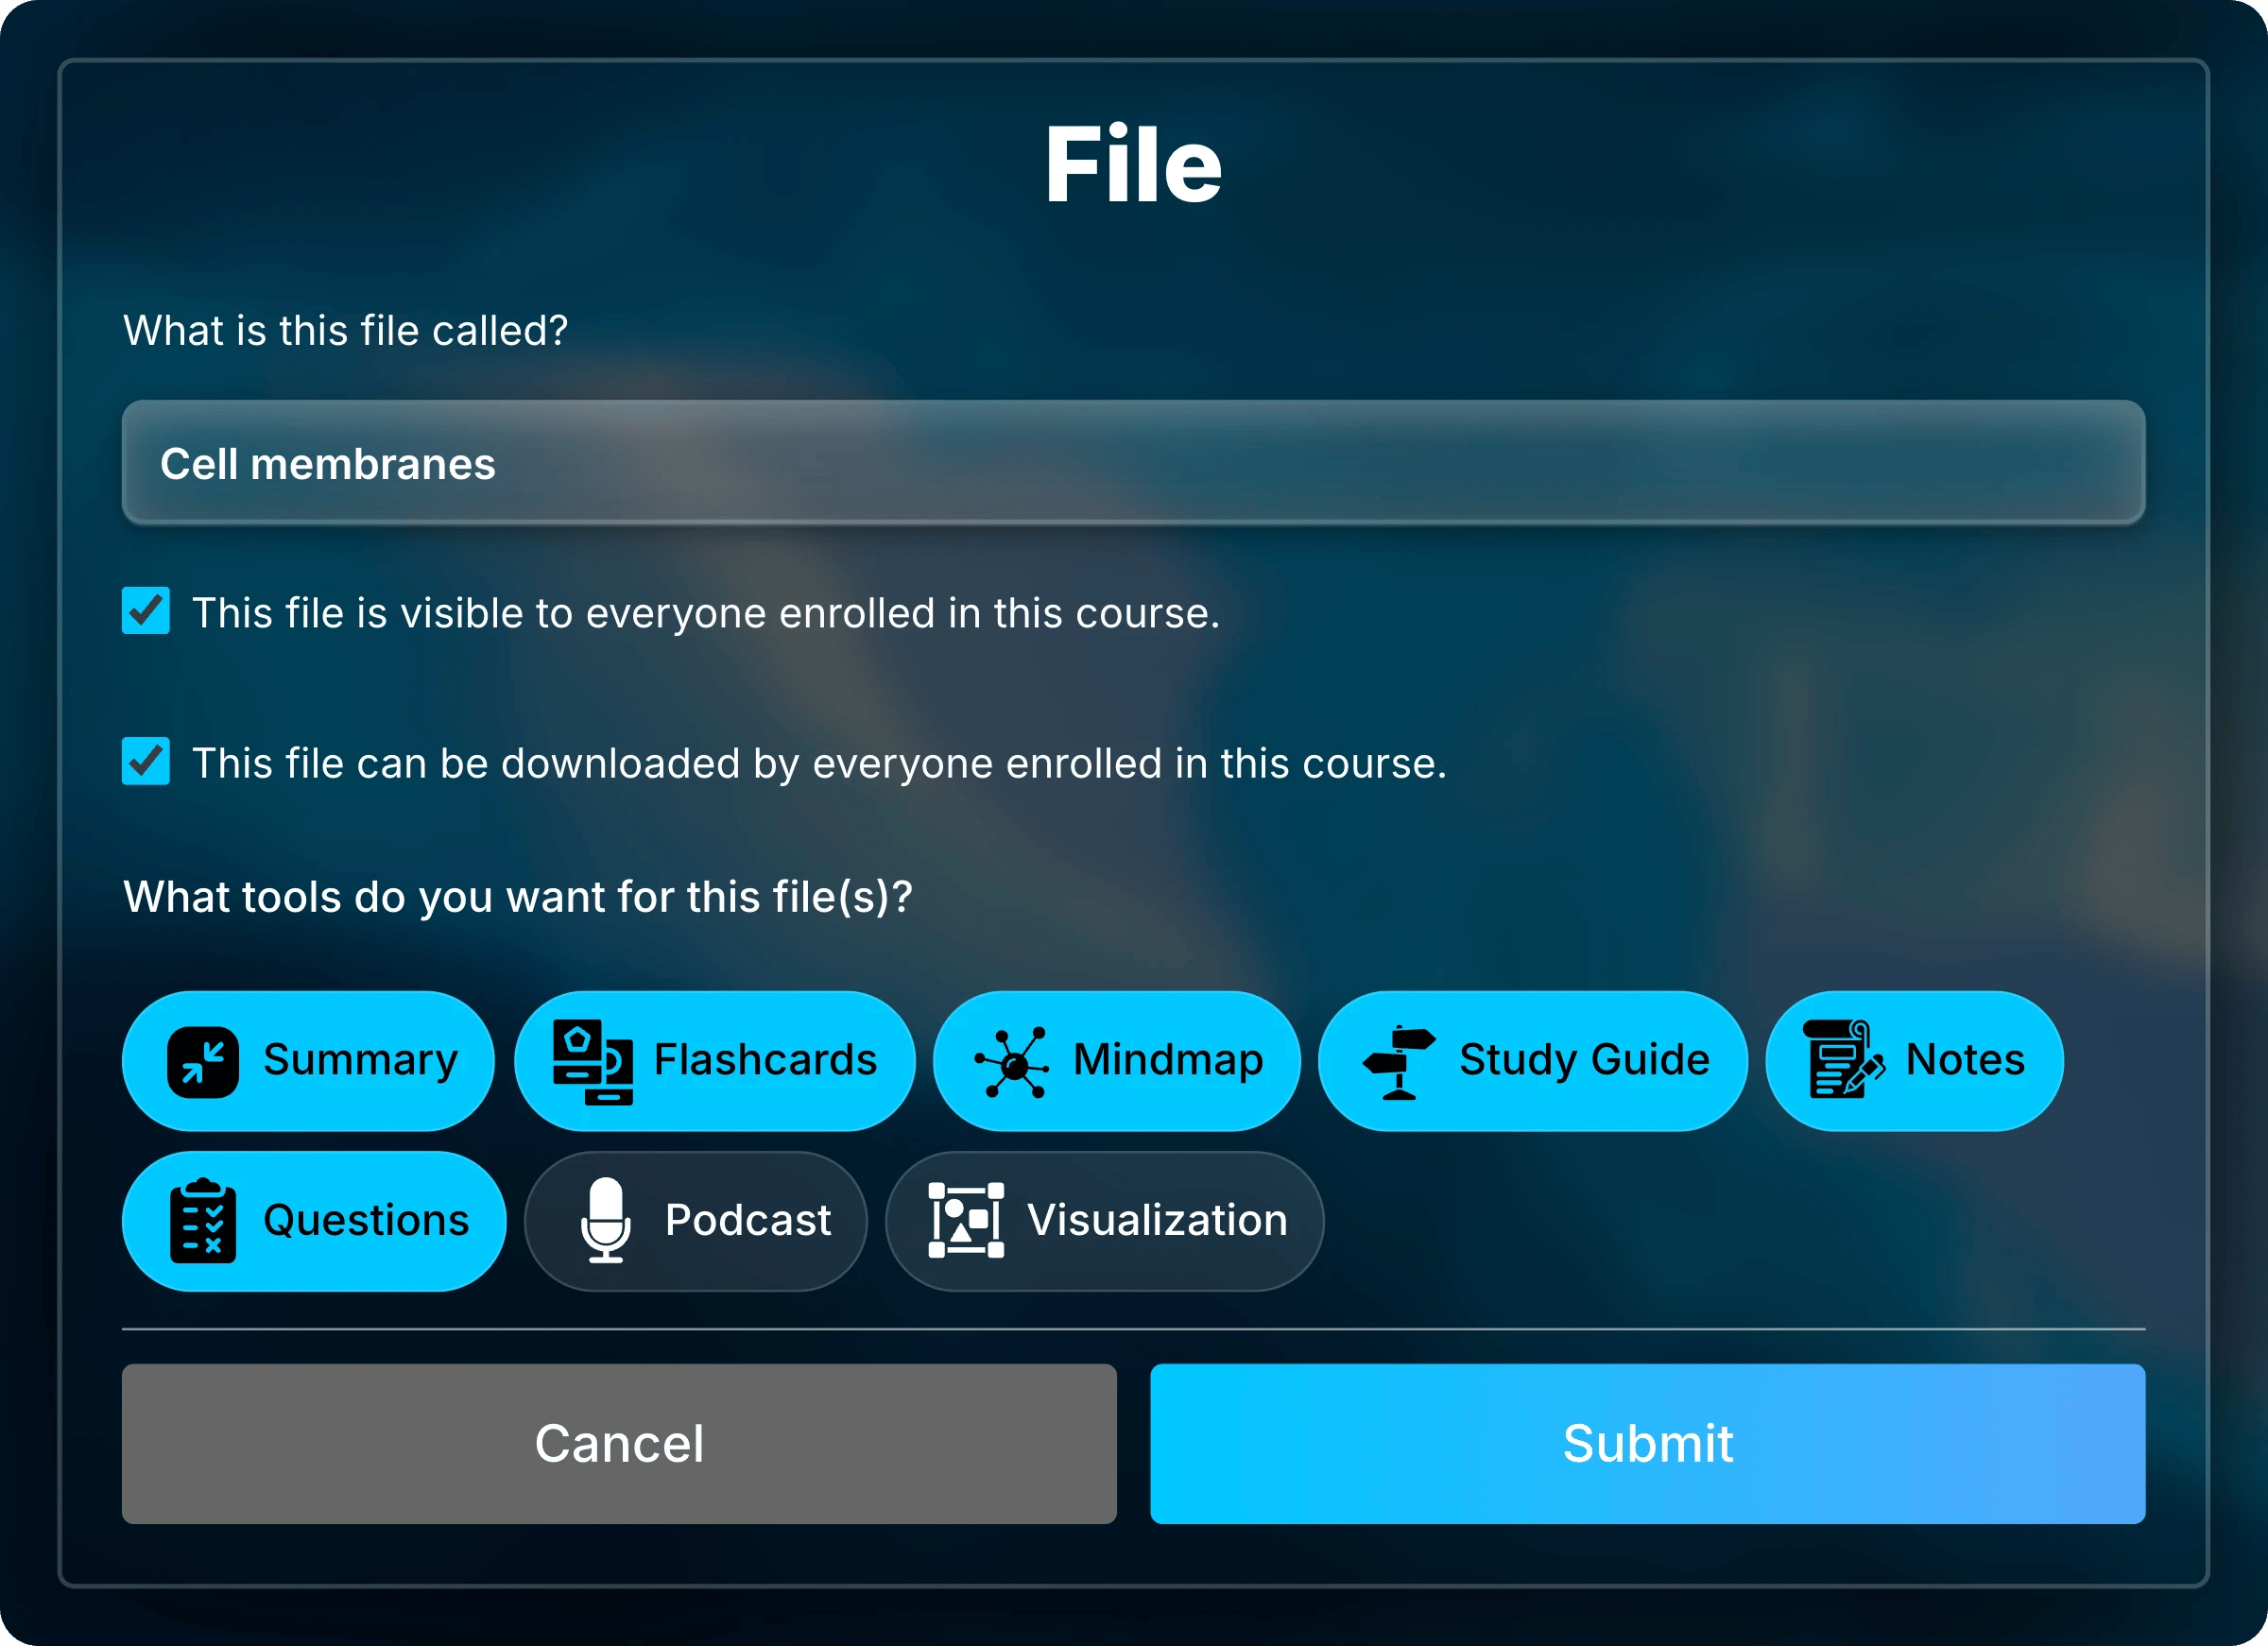
A file’s Update form.
- Title: the name students see.
- Visibility: uncheck the box to hide the file.
- Download: uncheck the box so only teachers can download the file.
- Study tools: the tools students get for that file.
If you uploaded the file without Podcast or Visualization, checking them here won’t create them.
To add them, upload the file again and turn them on in the upload form.
Reorder, Move, Duplicate, and Delete
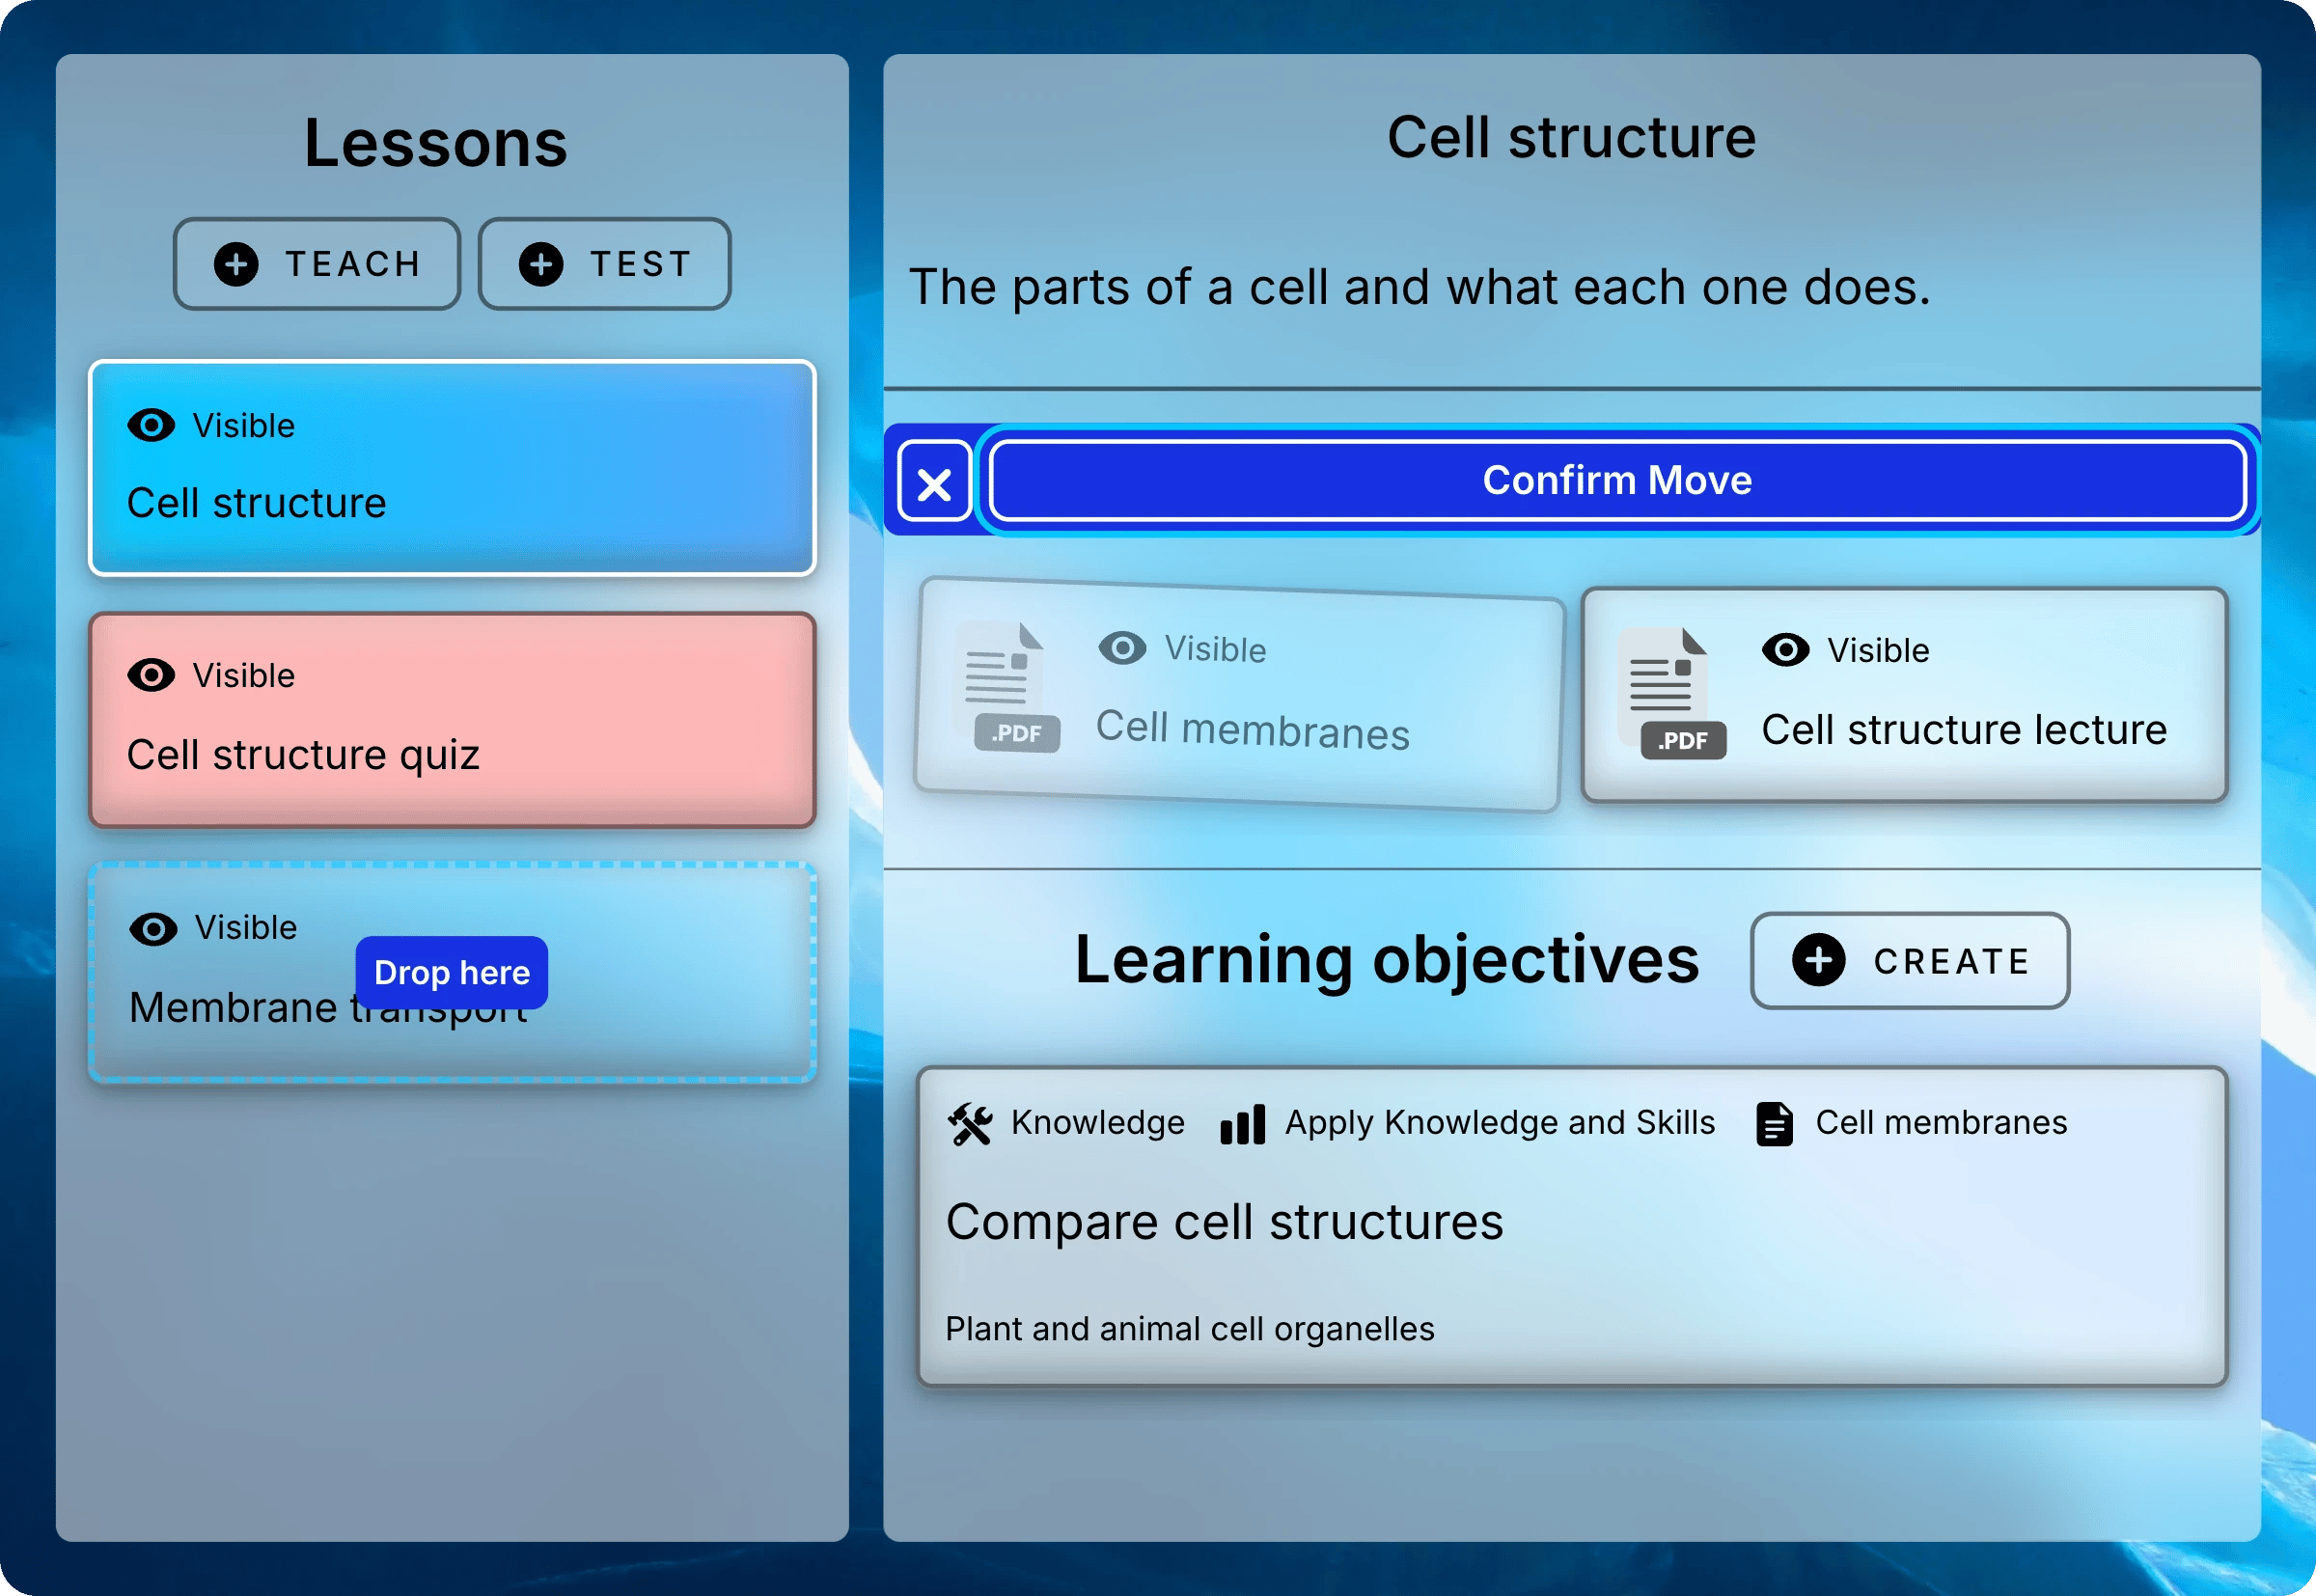
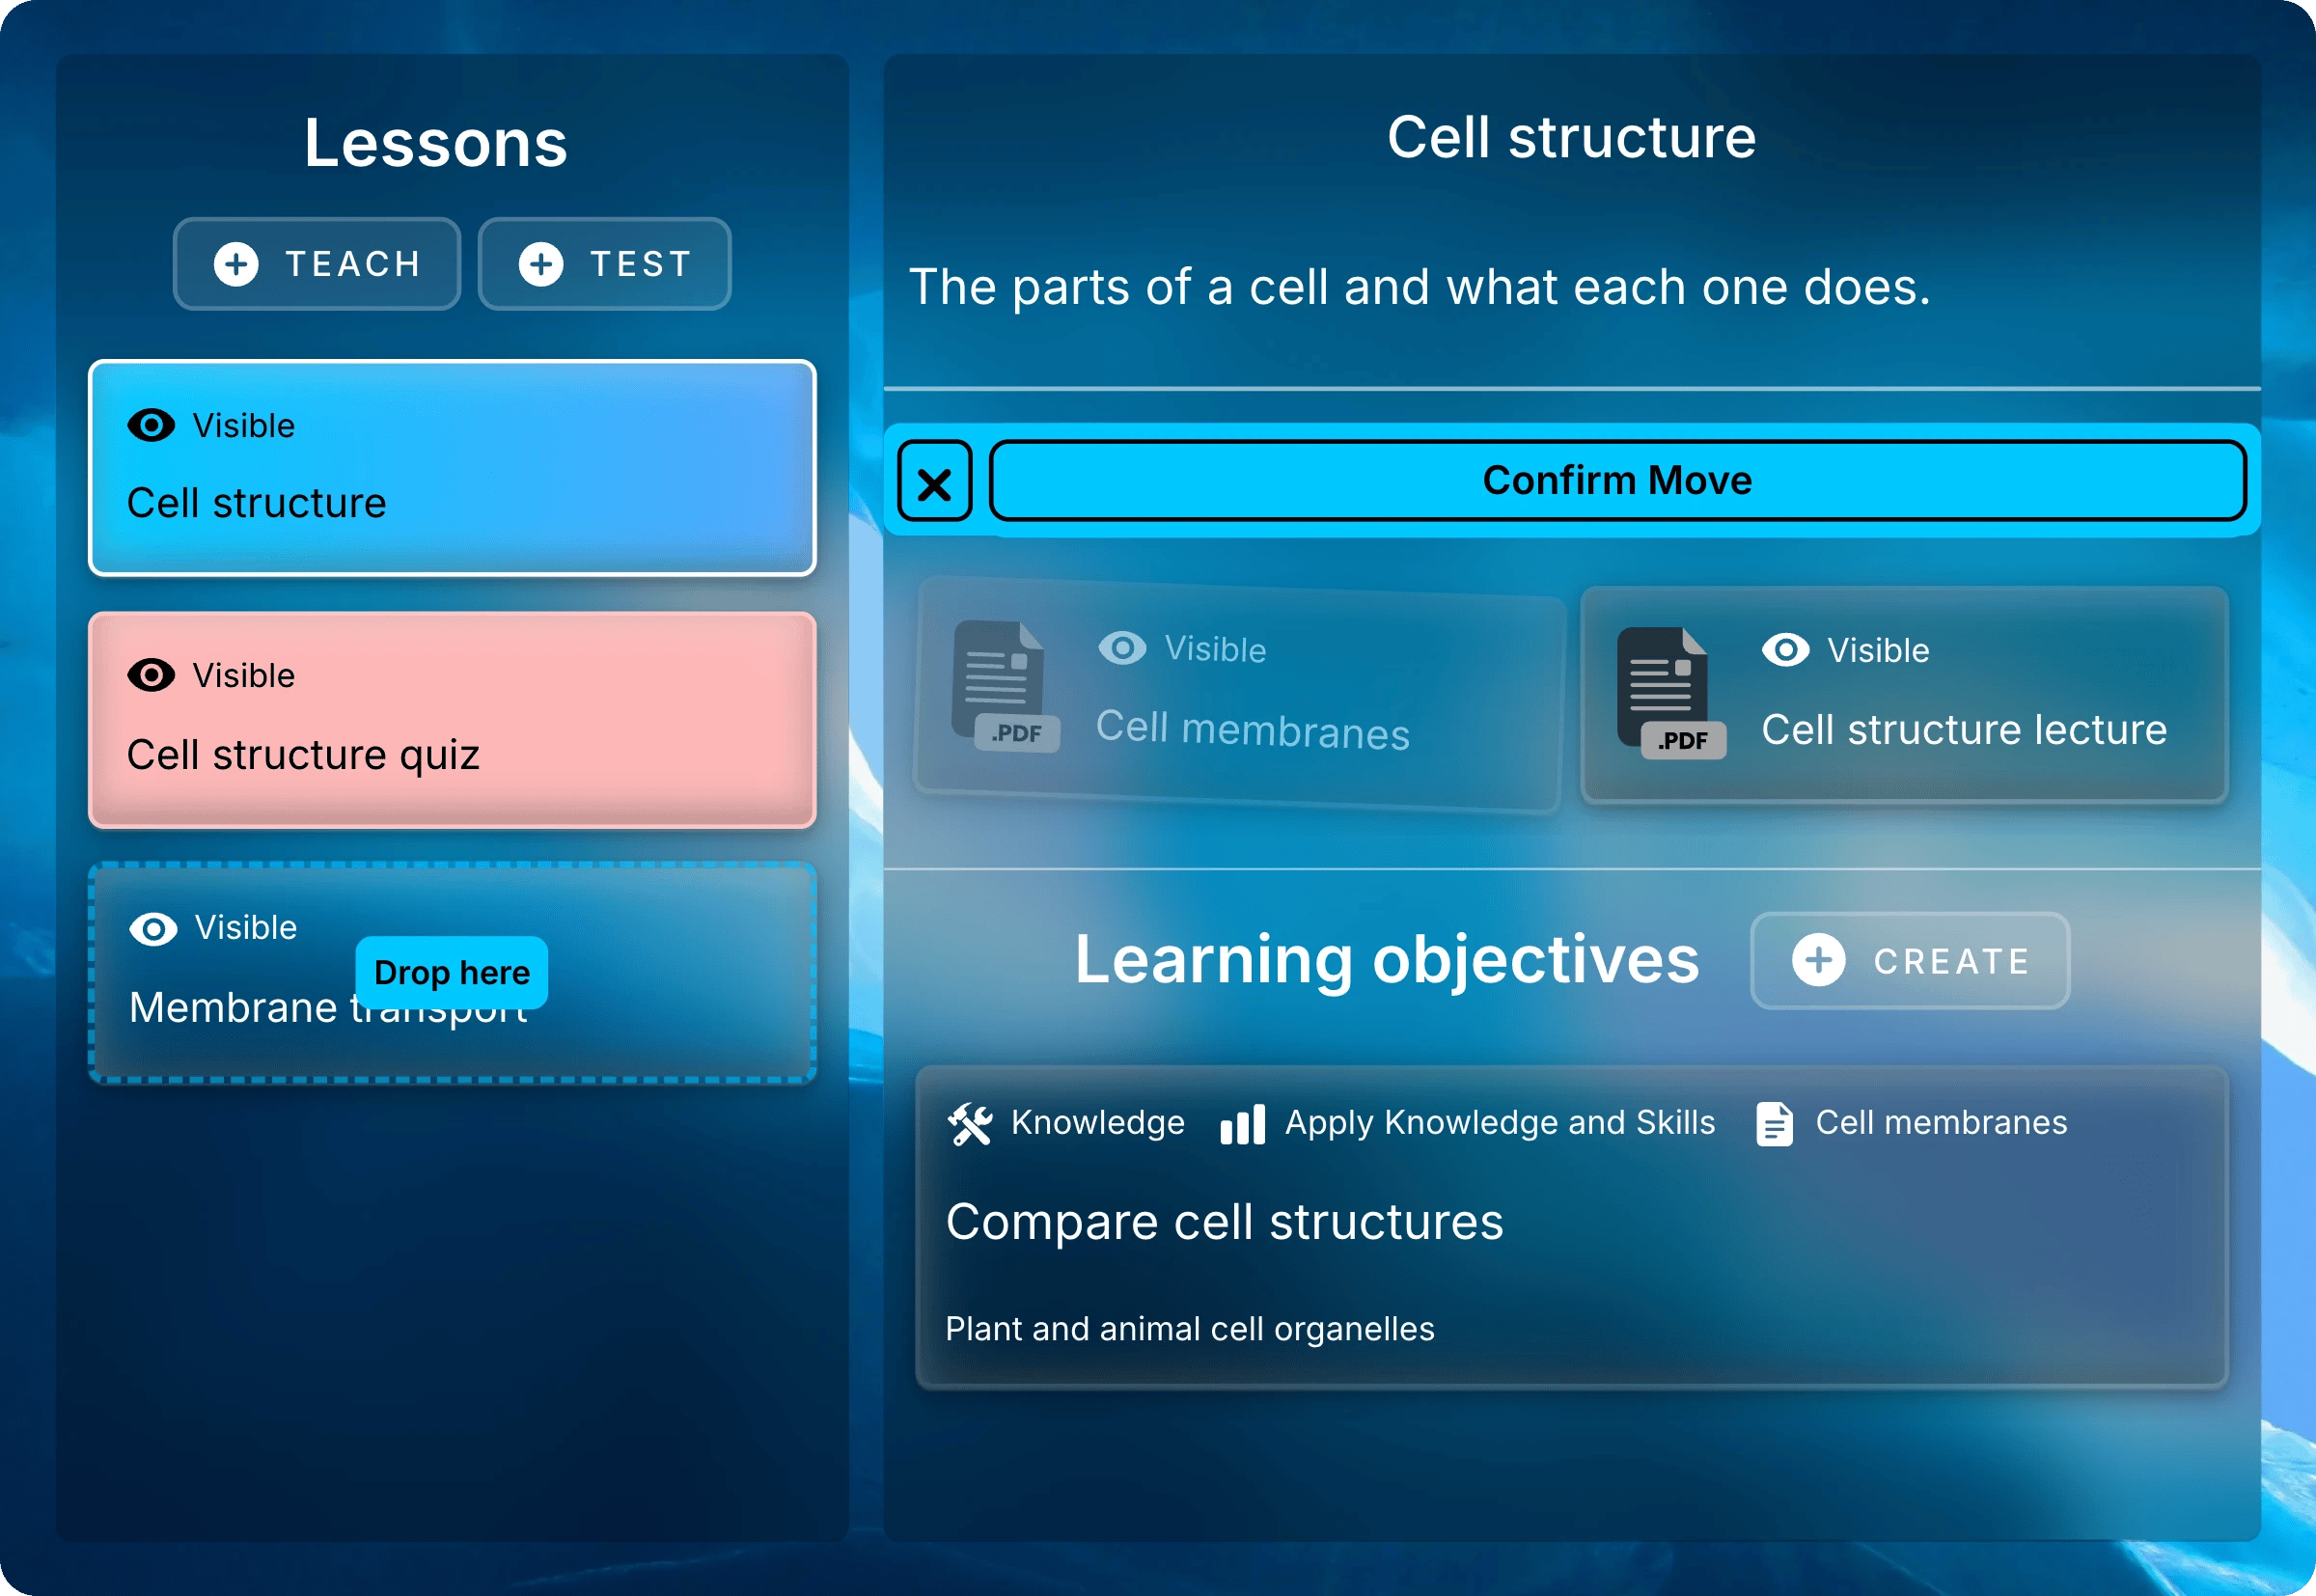
Each of these starts from the file’s menu.- Order
- Move
- Duplicate
- Delete
- Copy Link
Select Order, drag files into place, then select Confirm Order.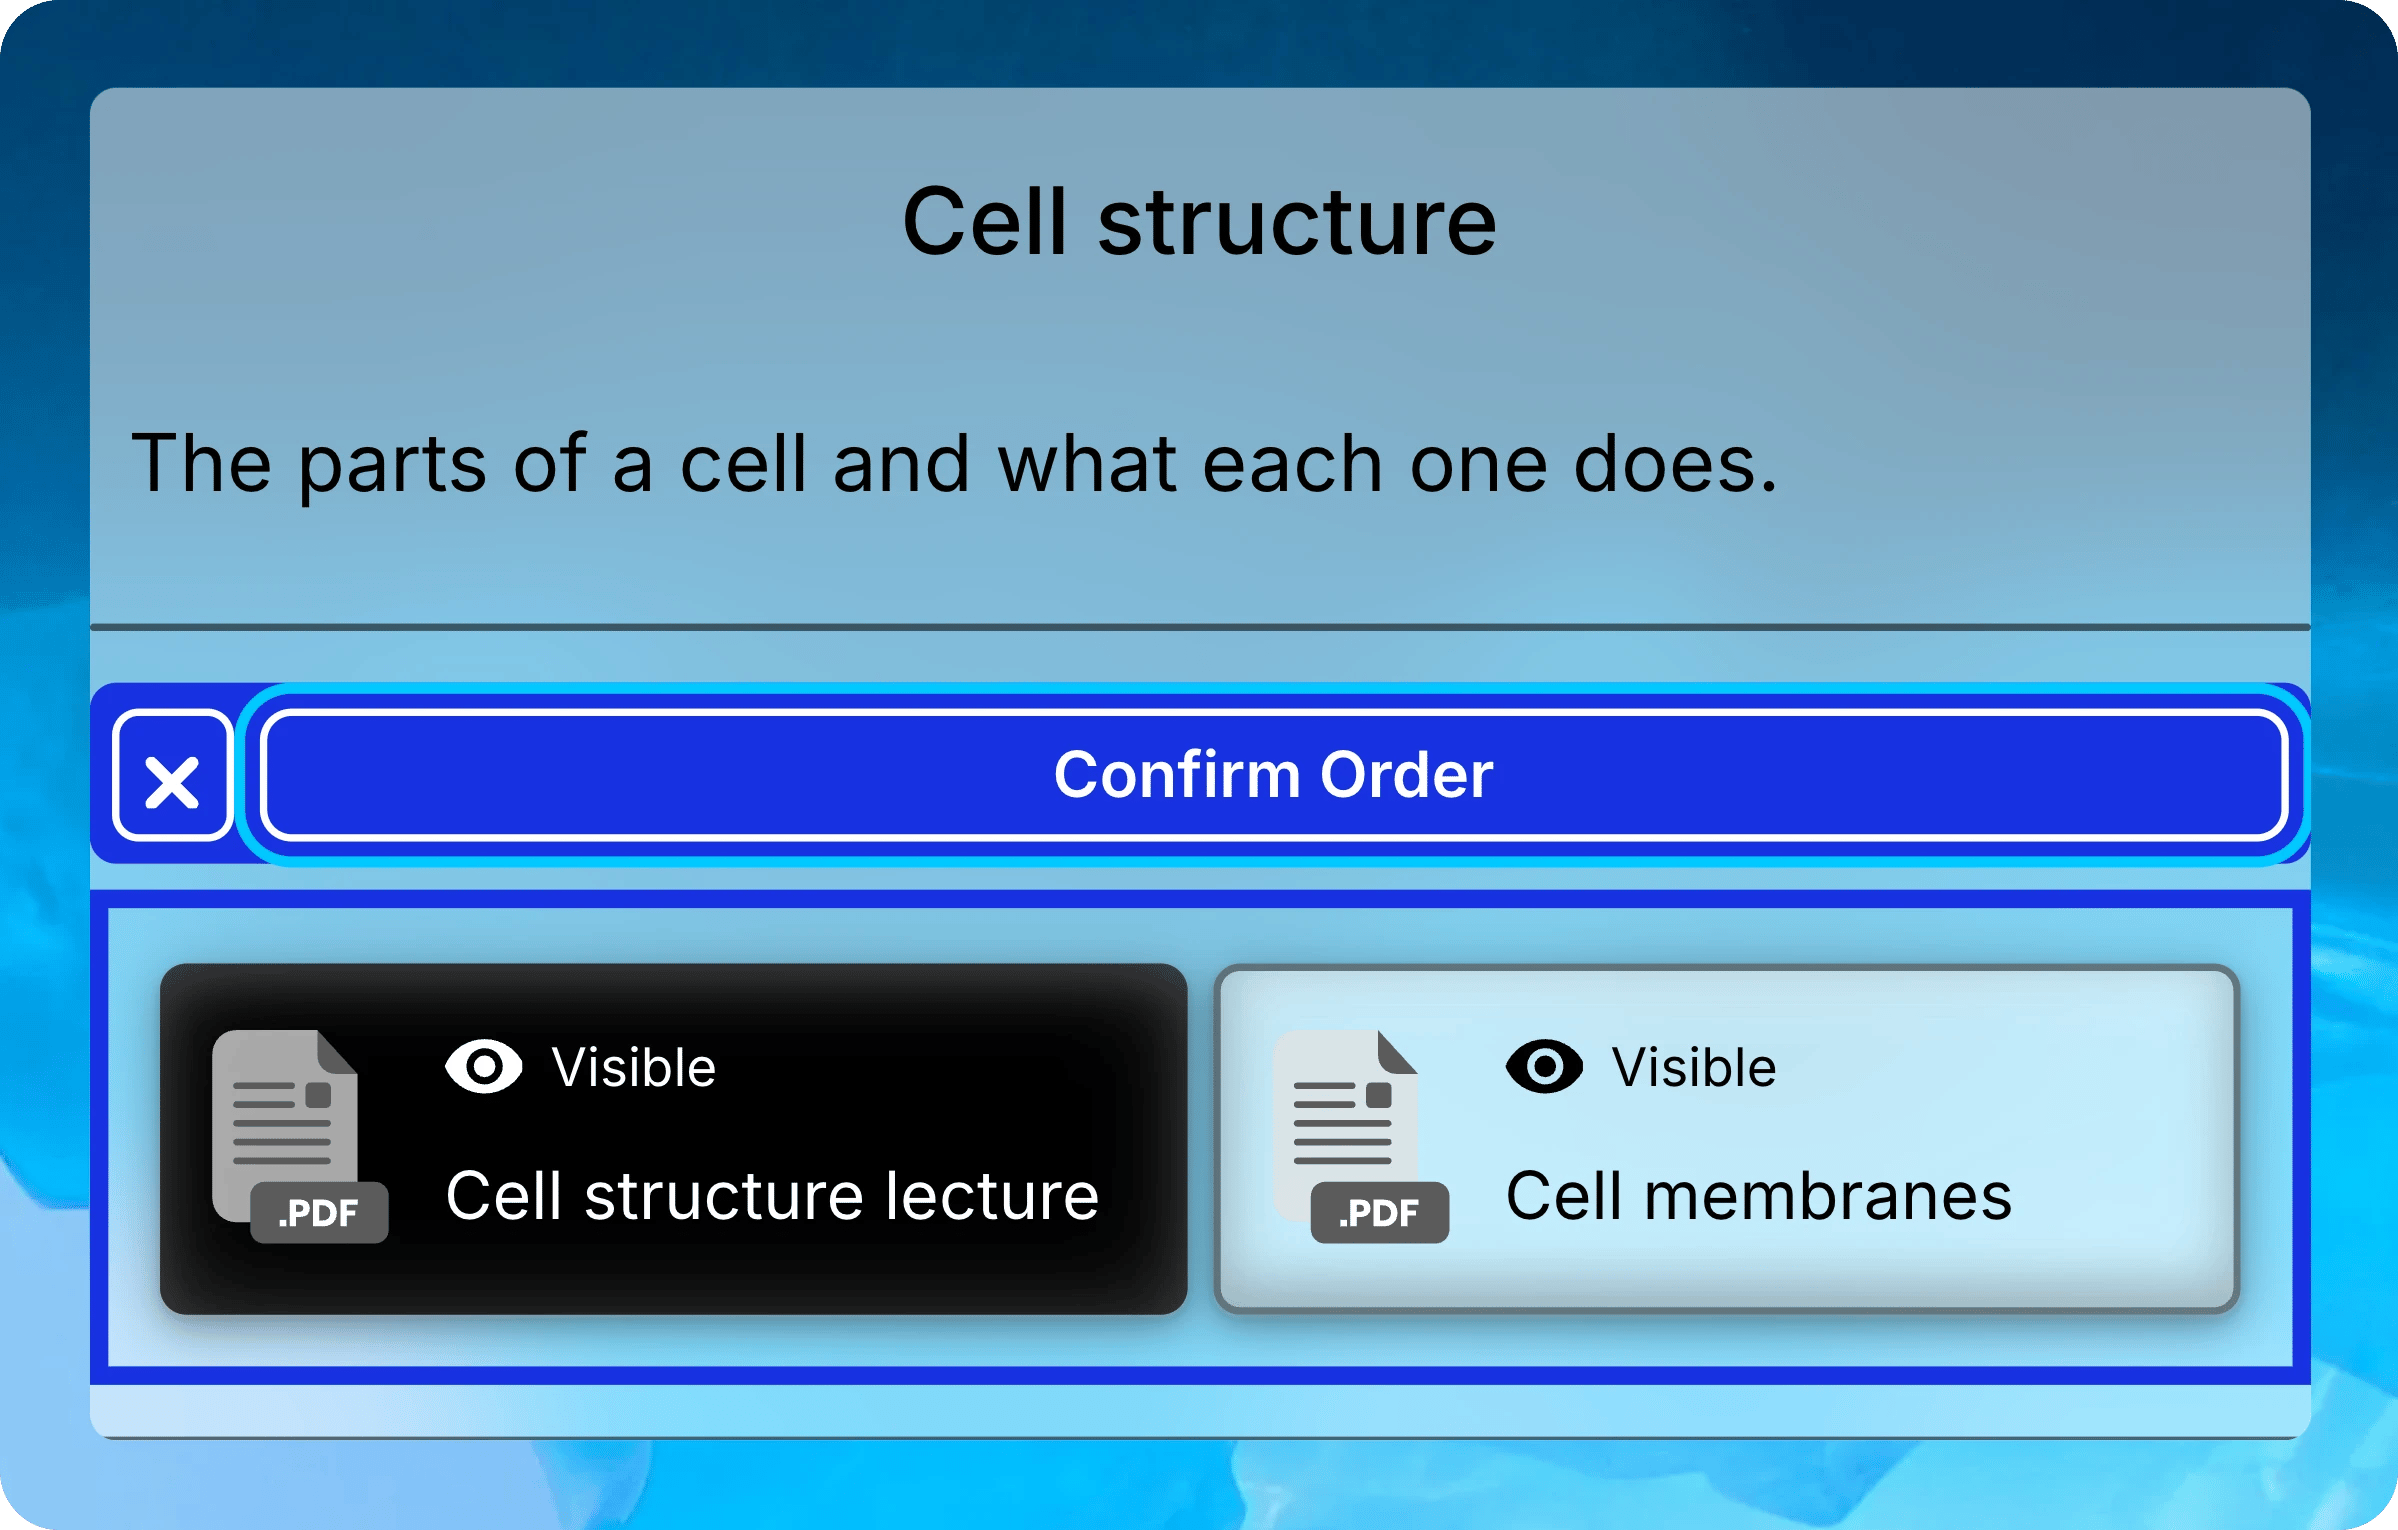
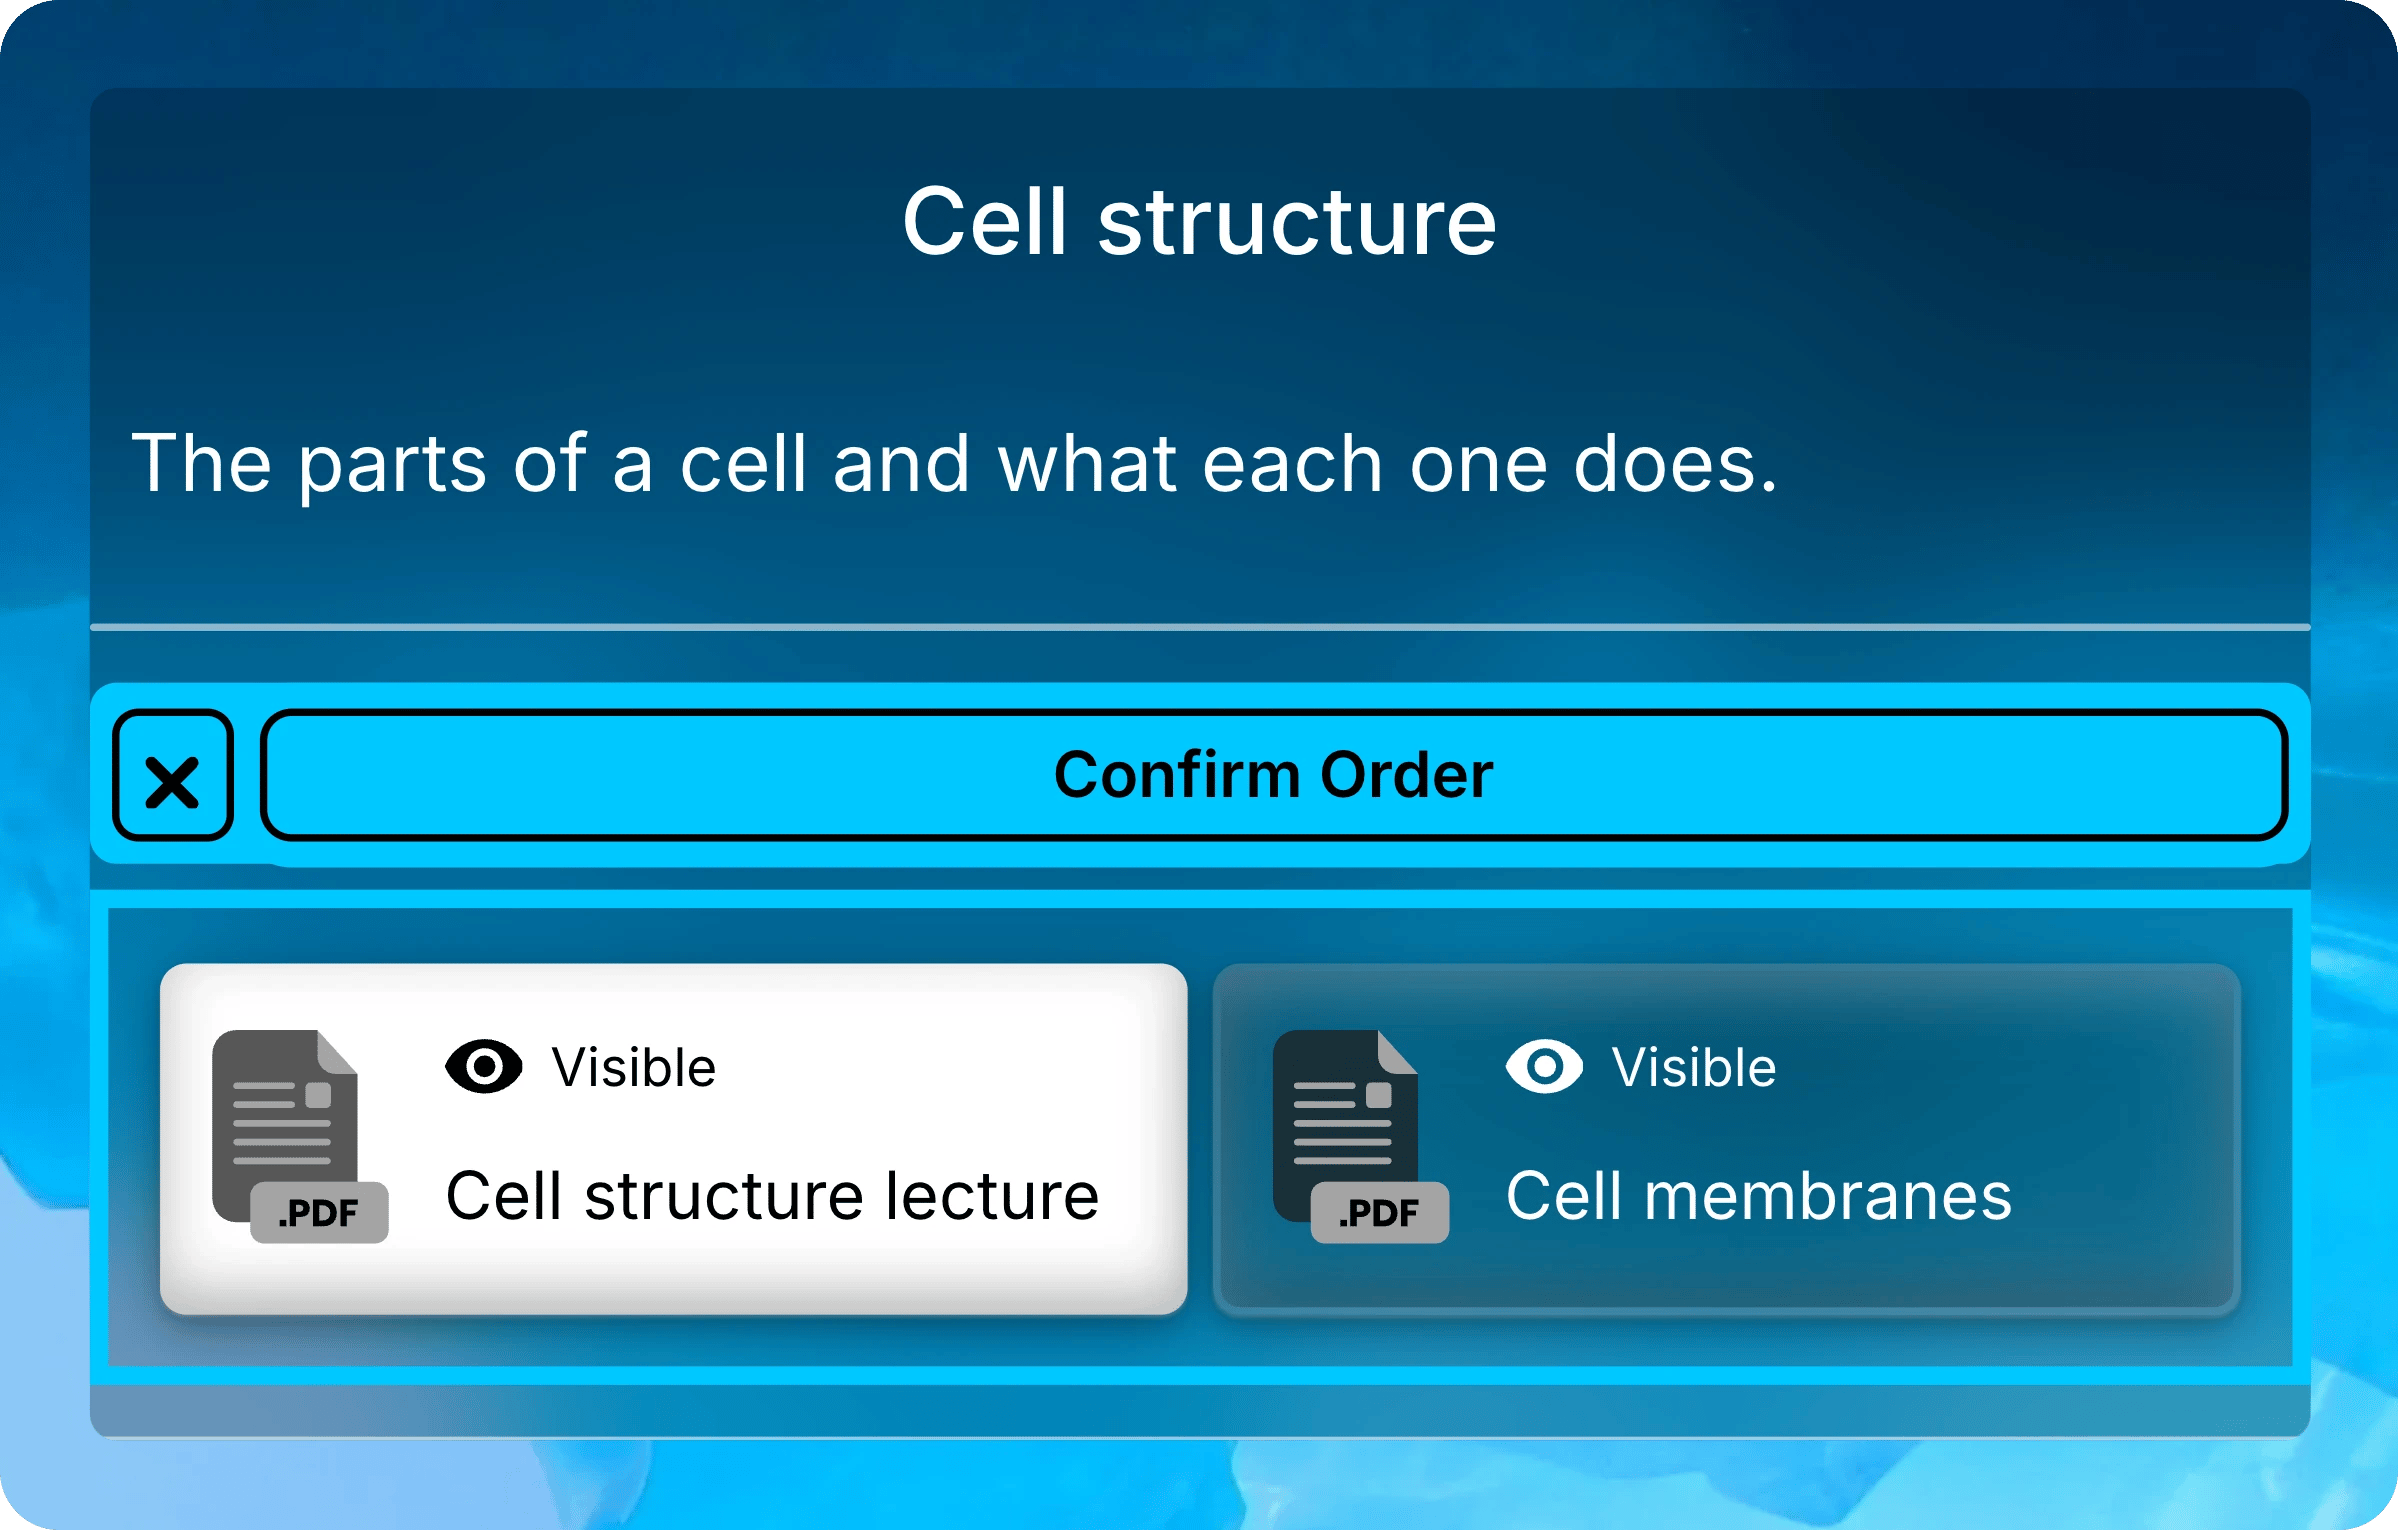
Drag files into place, then select Confirm Order.
Common Questions
Why can't students see a study tool?
Why can't students see a study tool?
Check three things:
- The file shows Success in Active Uploads.
- The tool is checked in the file’s Update form. Podcast and Visualization also had to be on at upload.
- Notes is checked, for any tool other than Summary and Flashcards.
Next: Manage Objectives
Describe what students should learn, and link objectives to files.