
Create Your Course
1
Open Create Course
Select Courses in the sidebar, then select Create beside the Courses heading.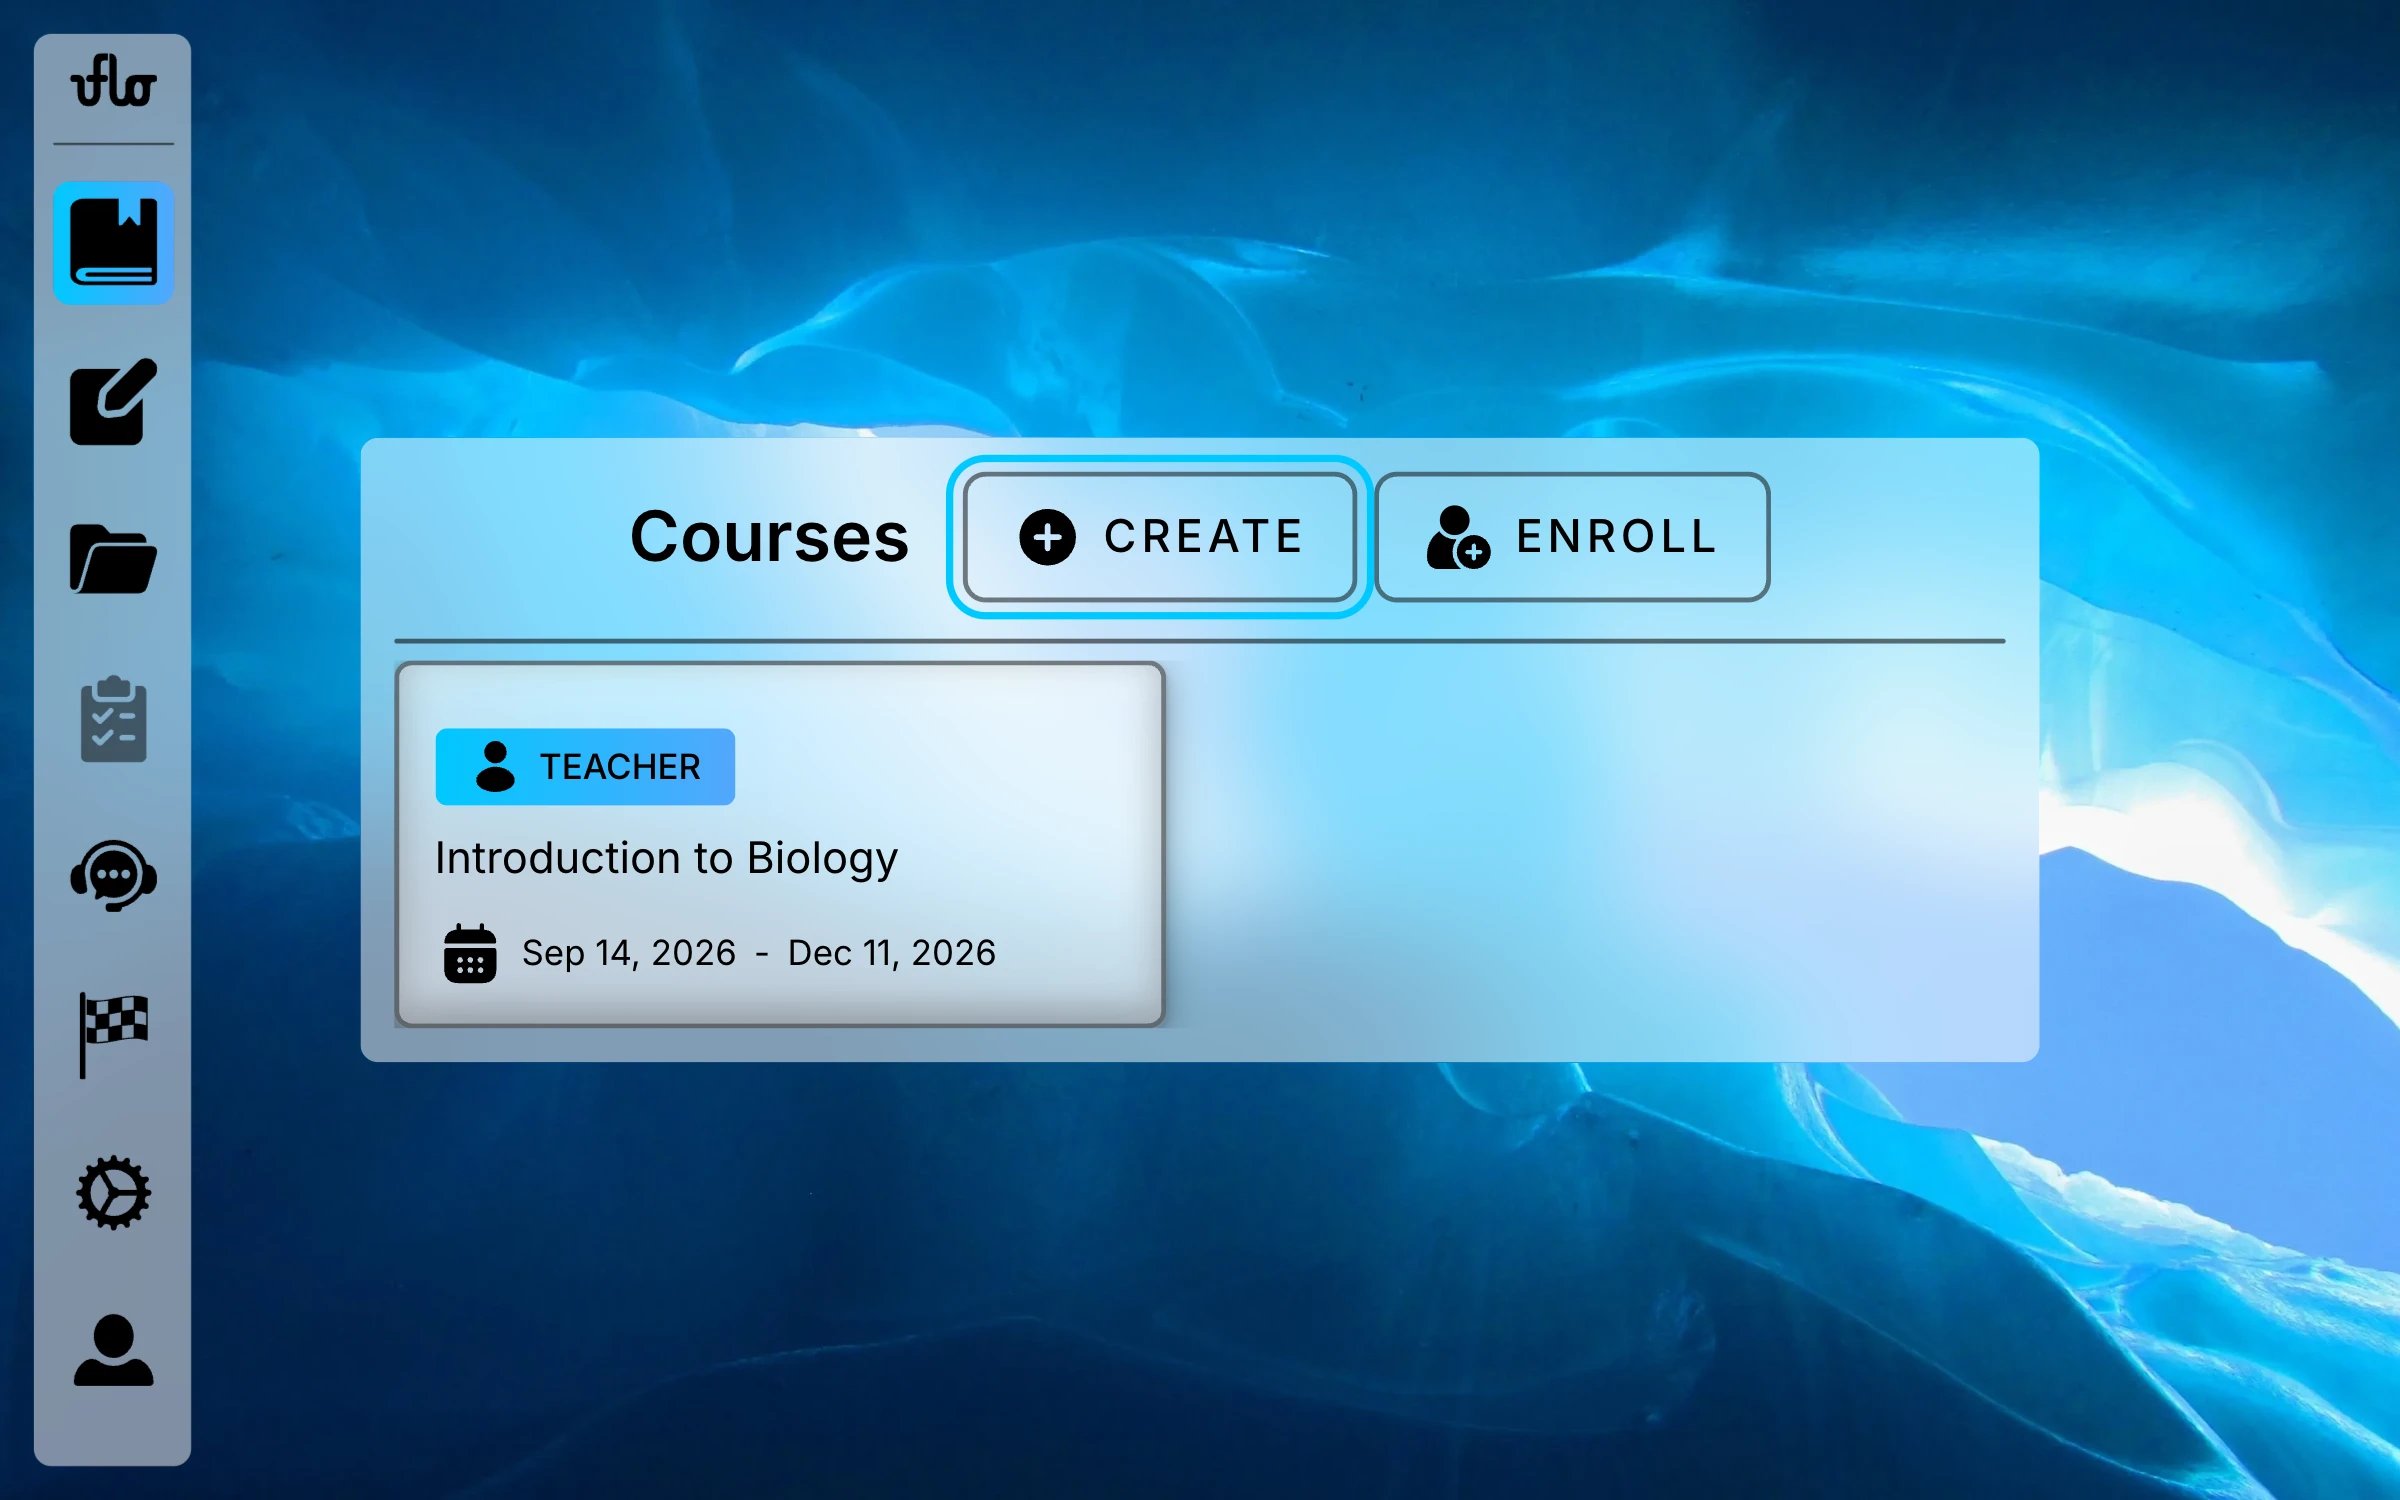
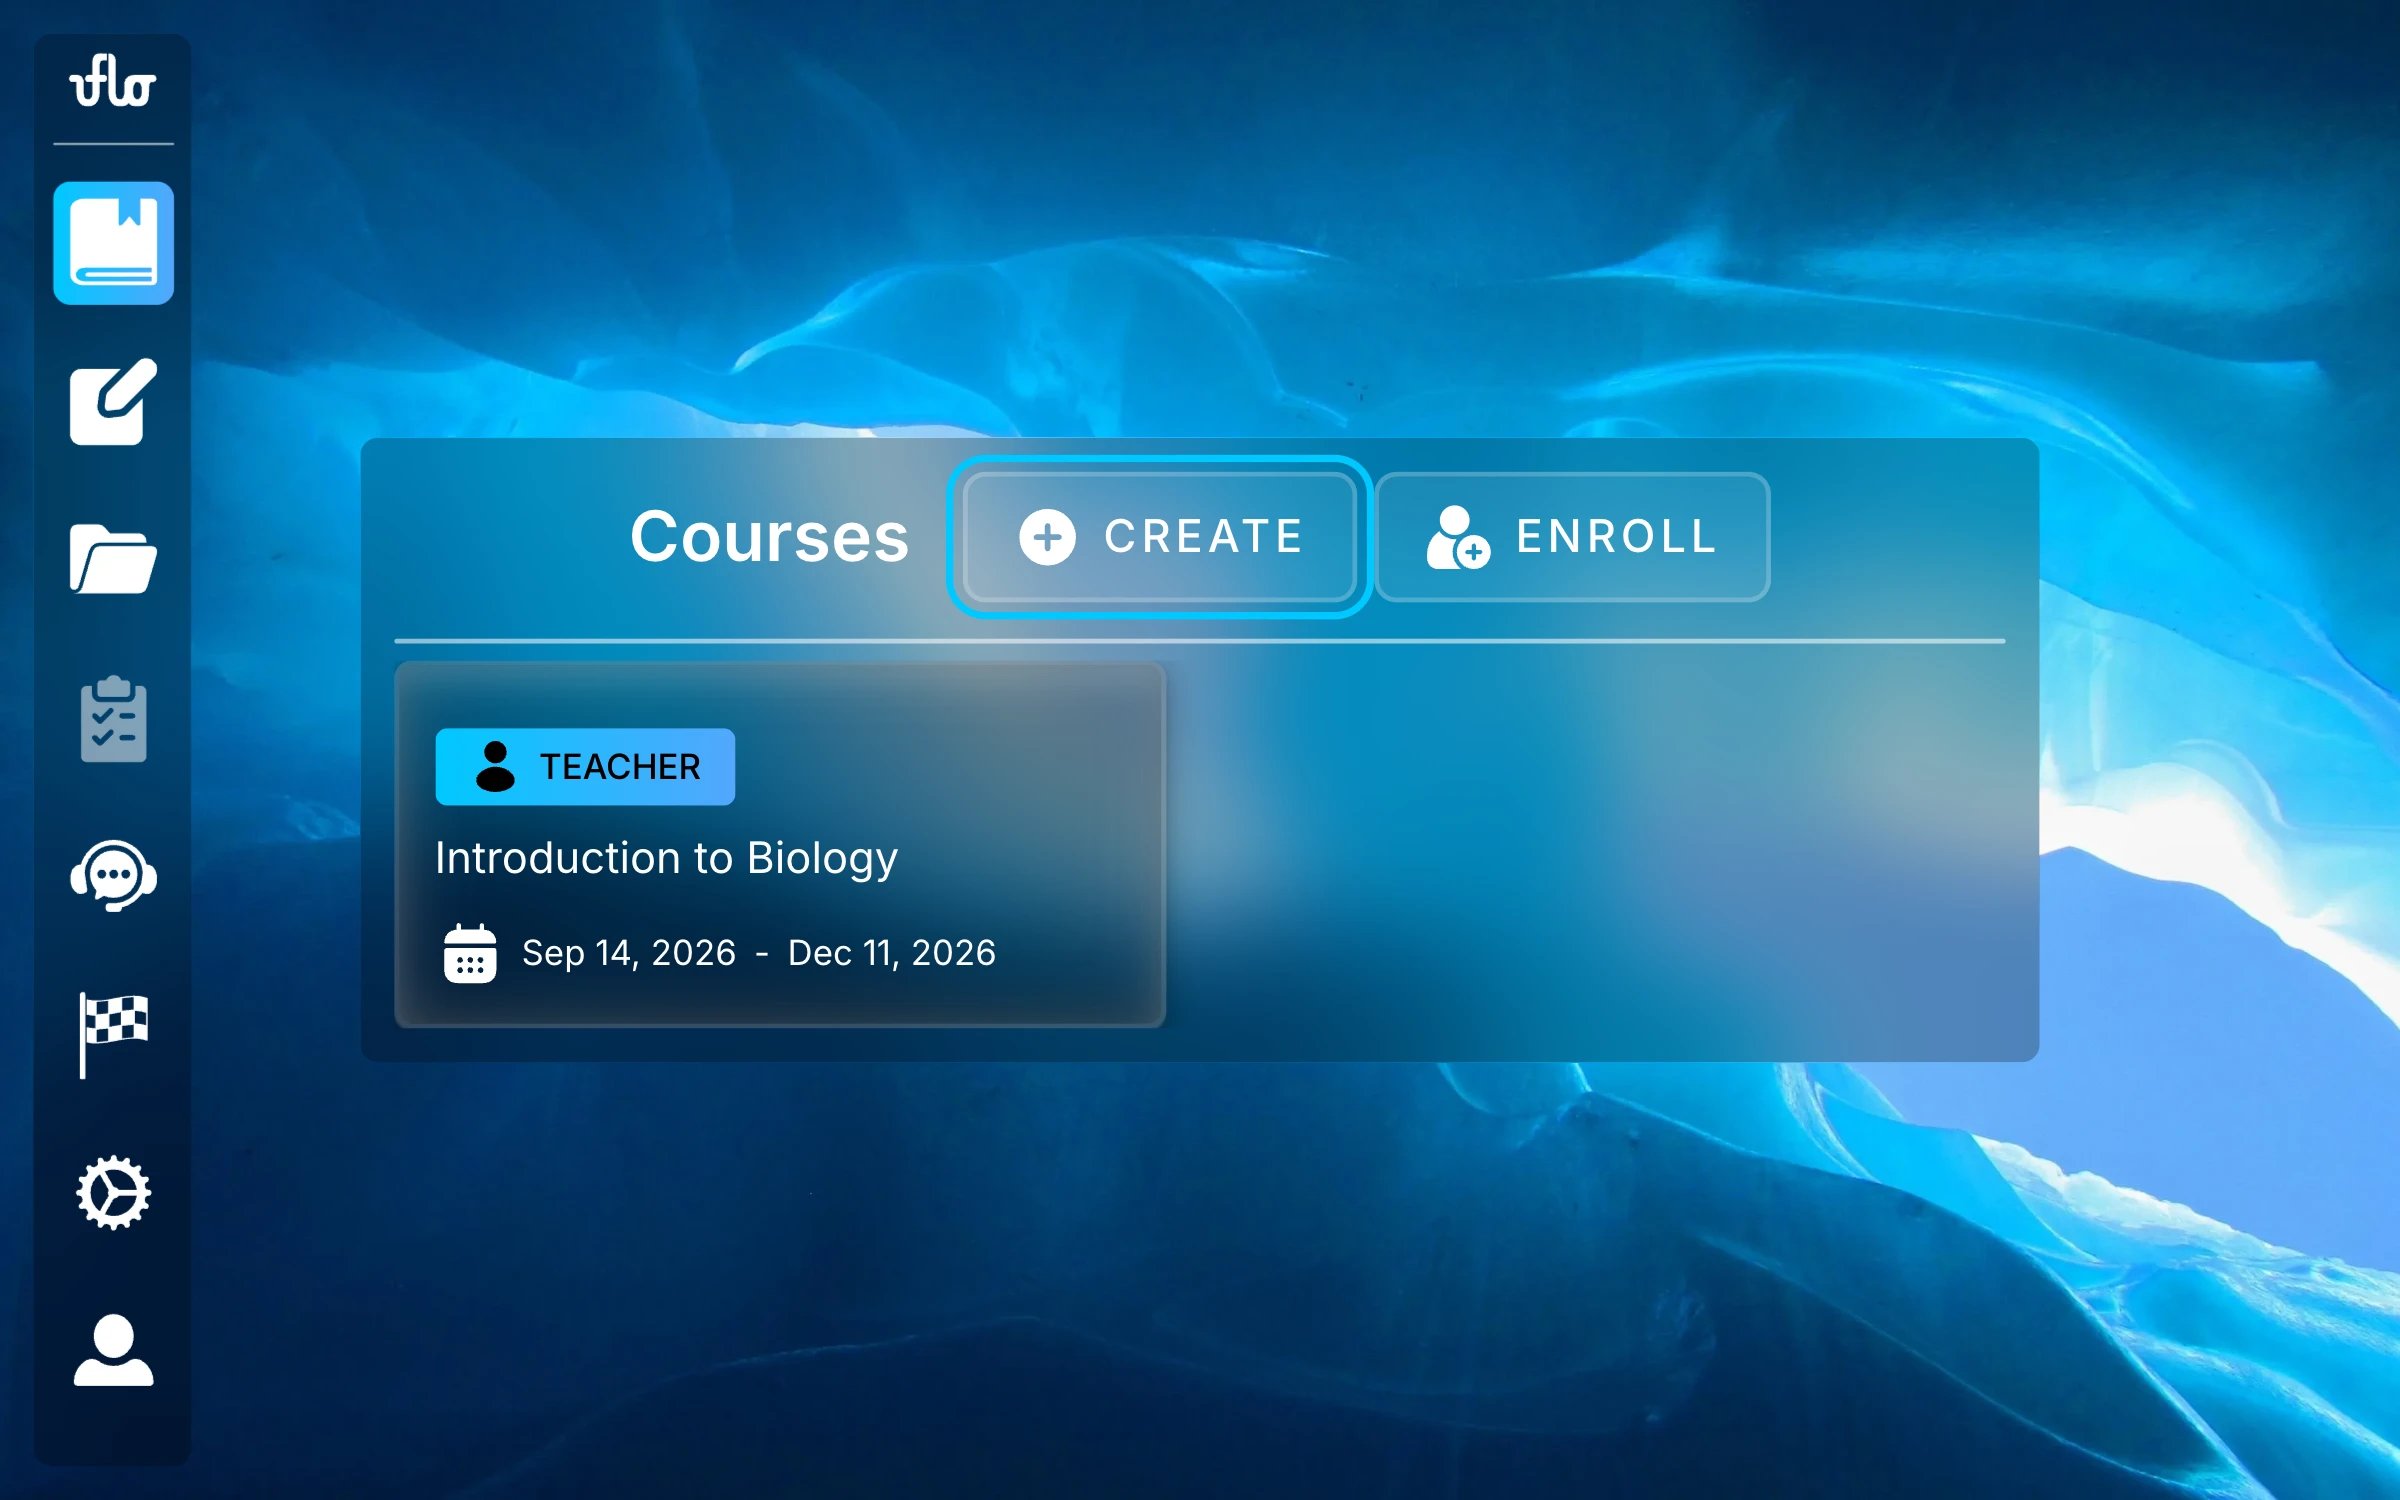
Find Create beside the Courses heading.
2
Choose How to Start
Uflo asks how you would like to create your course.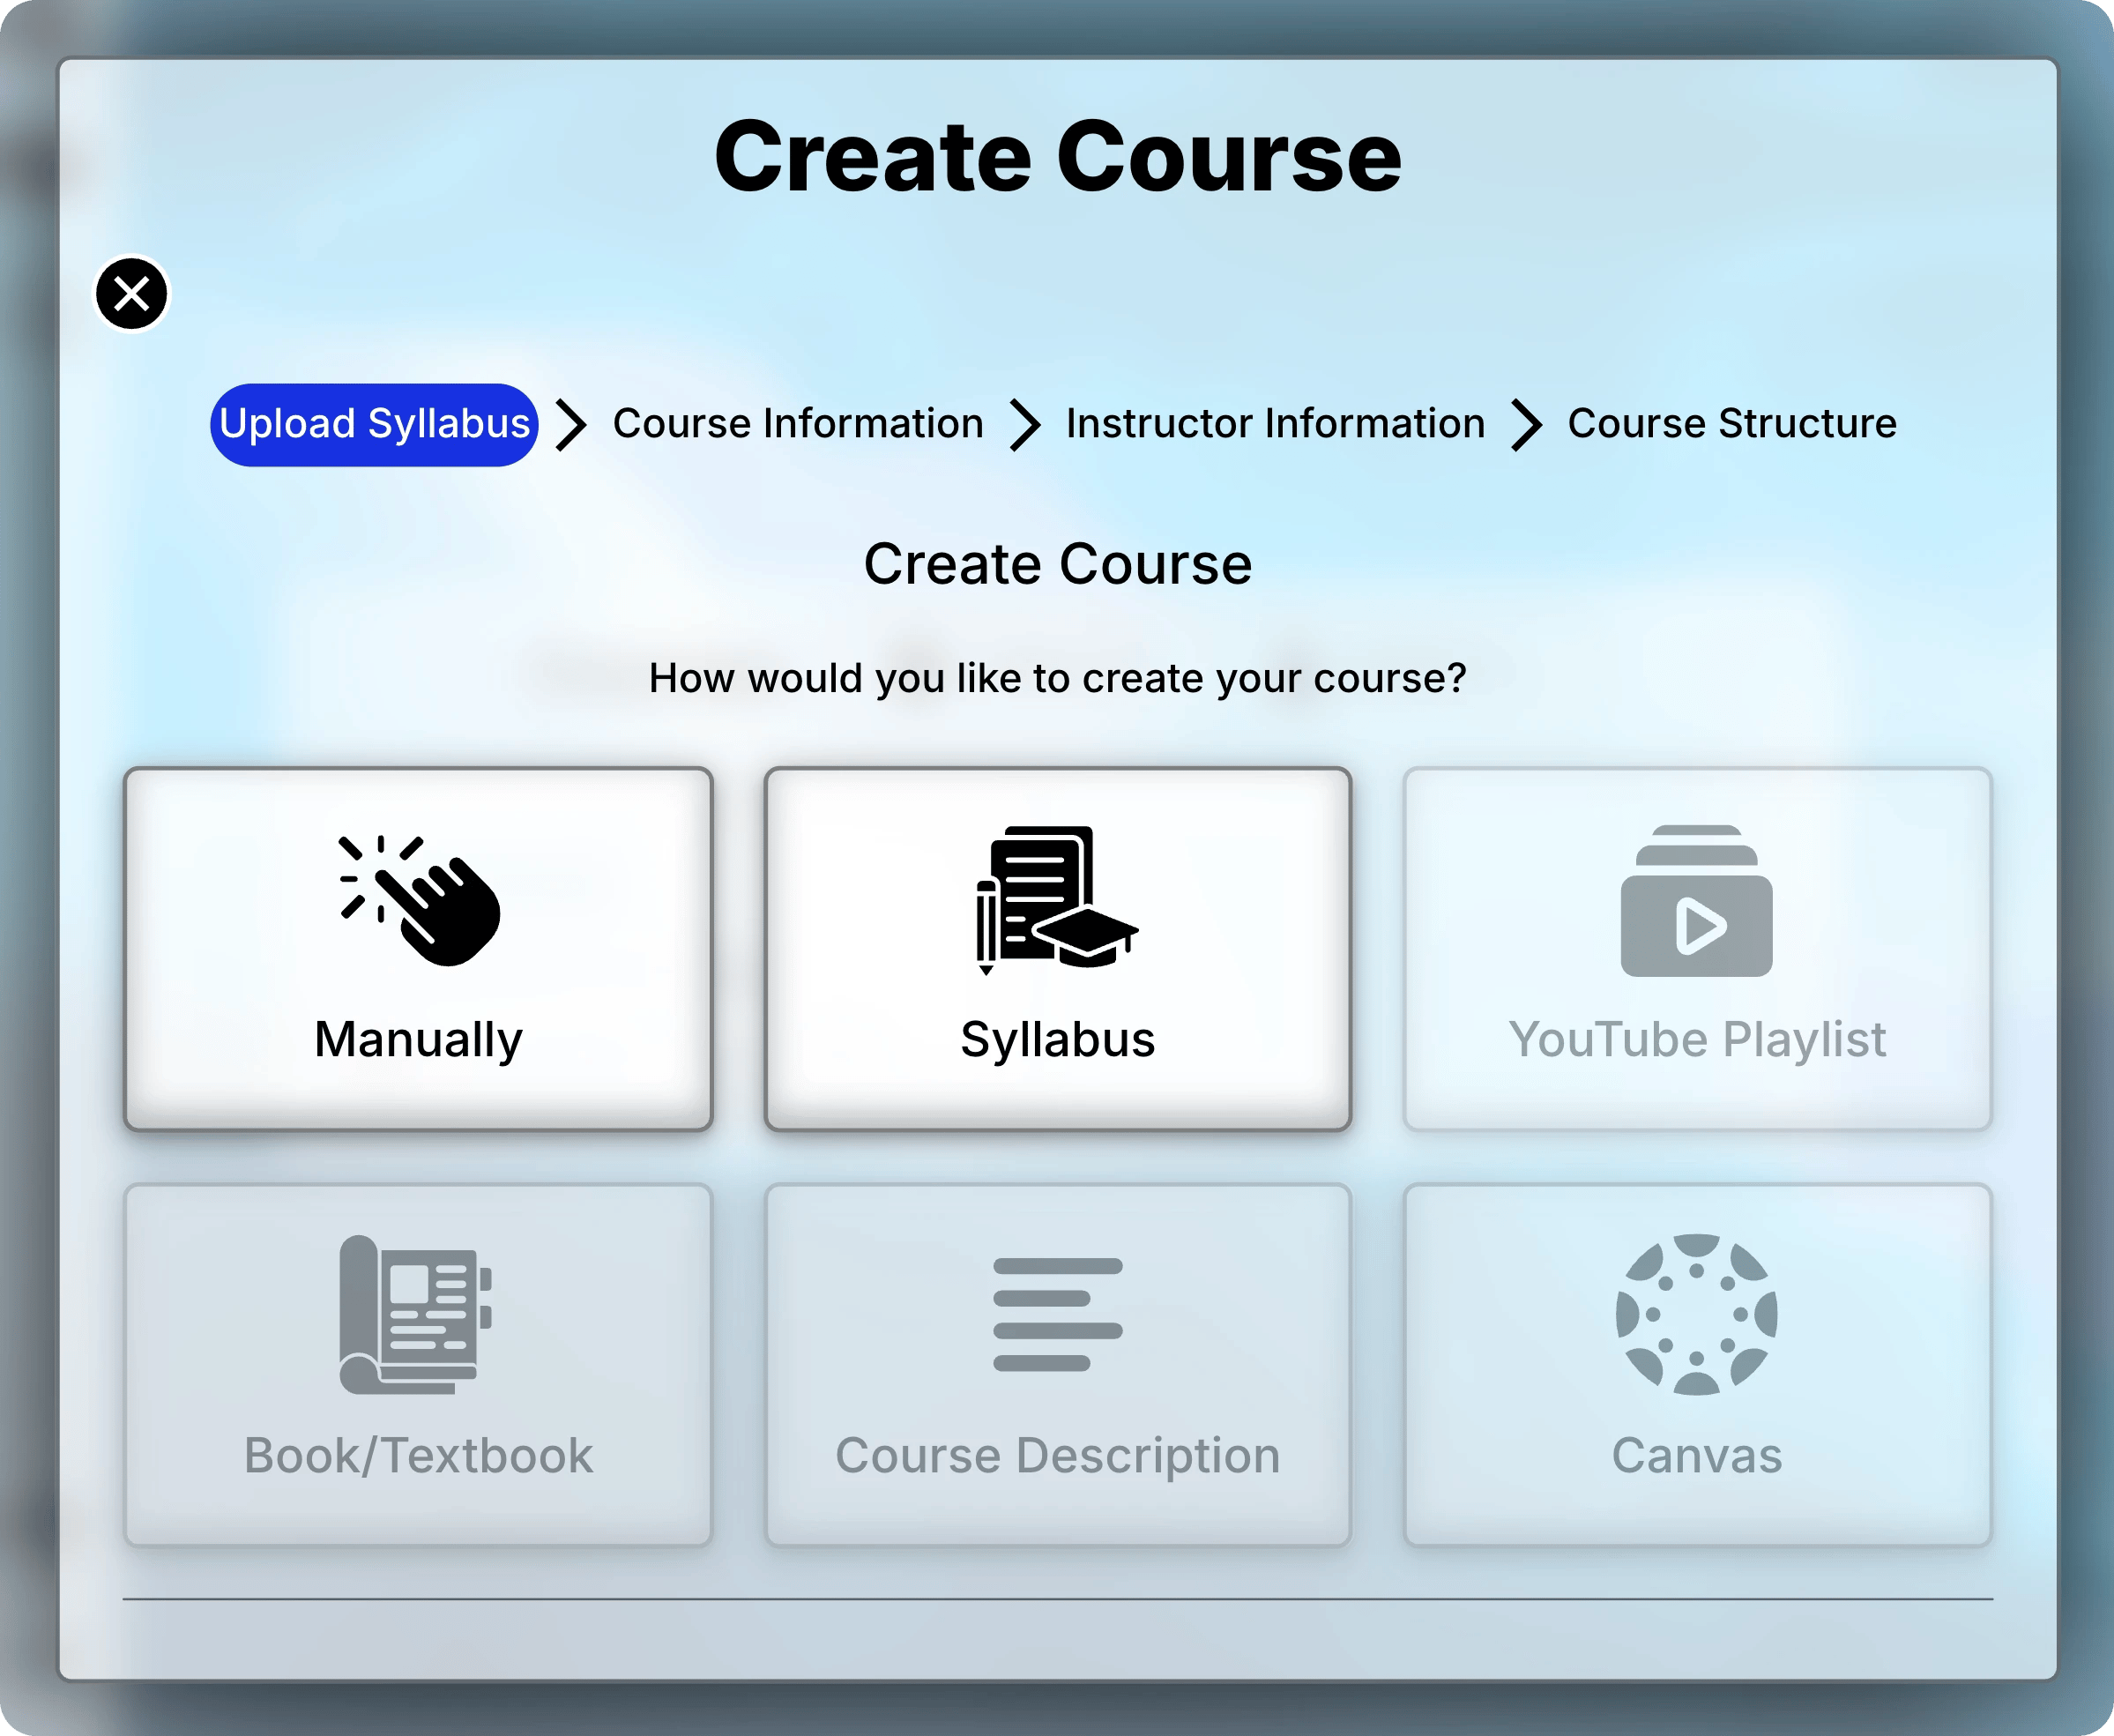
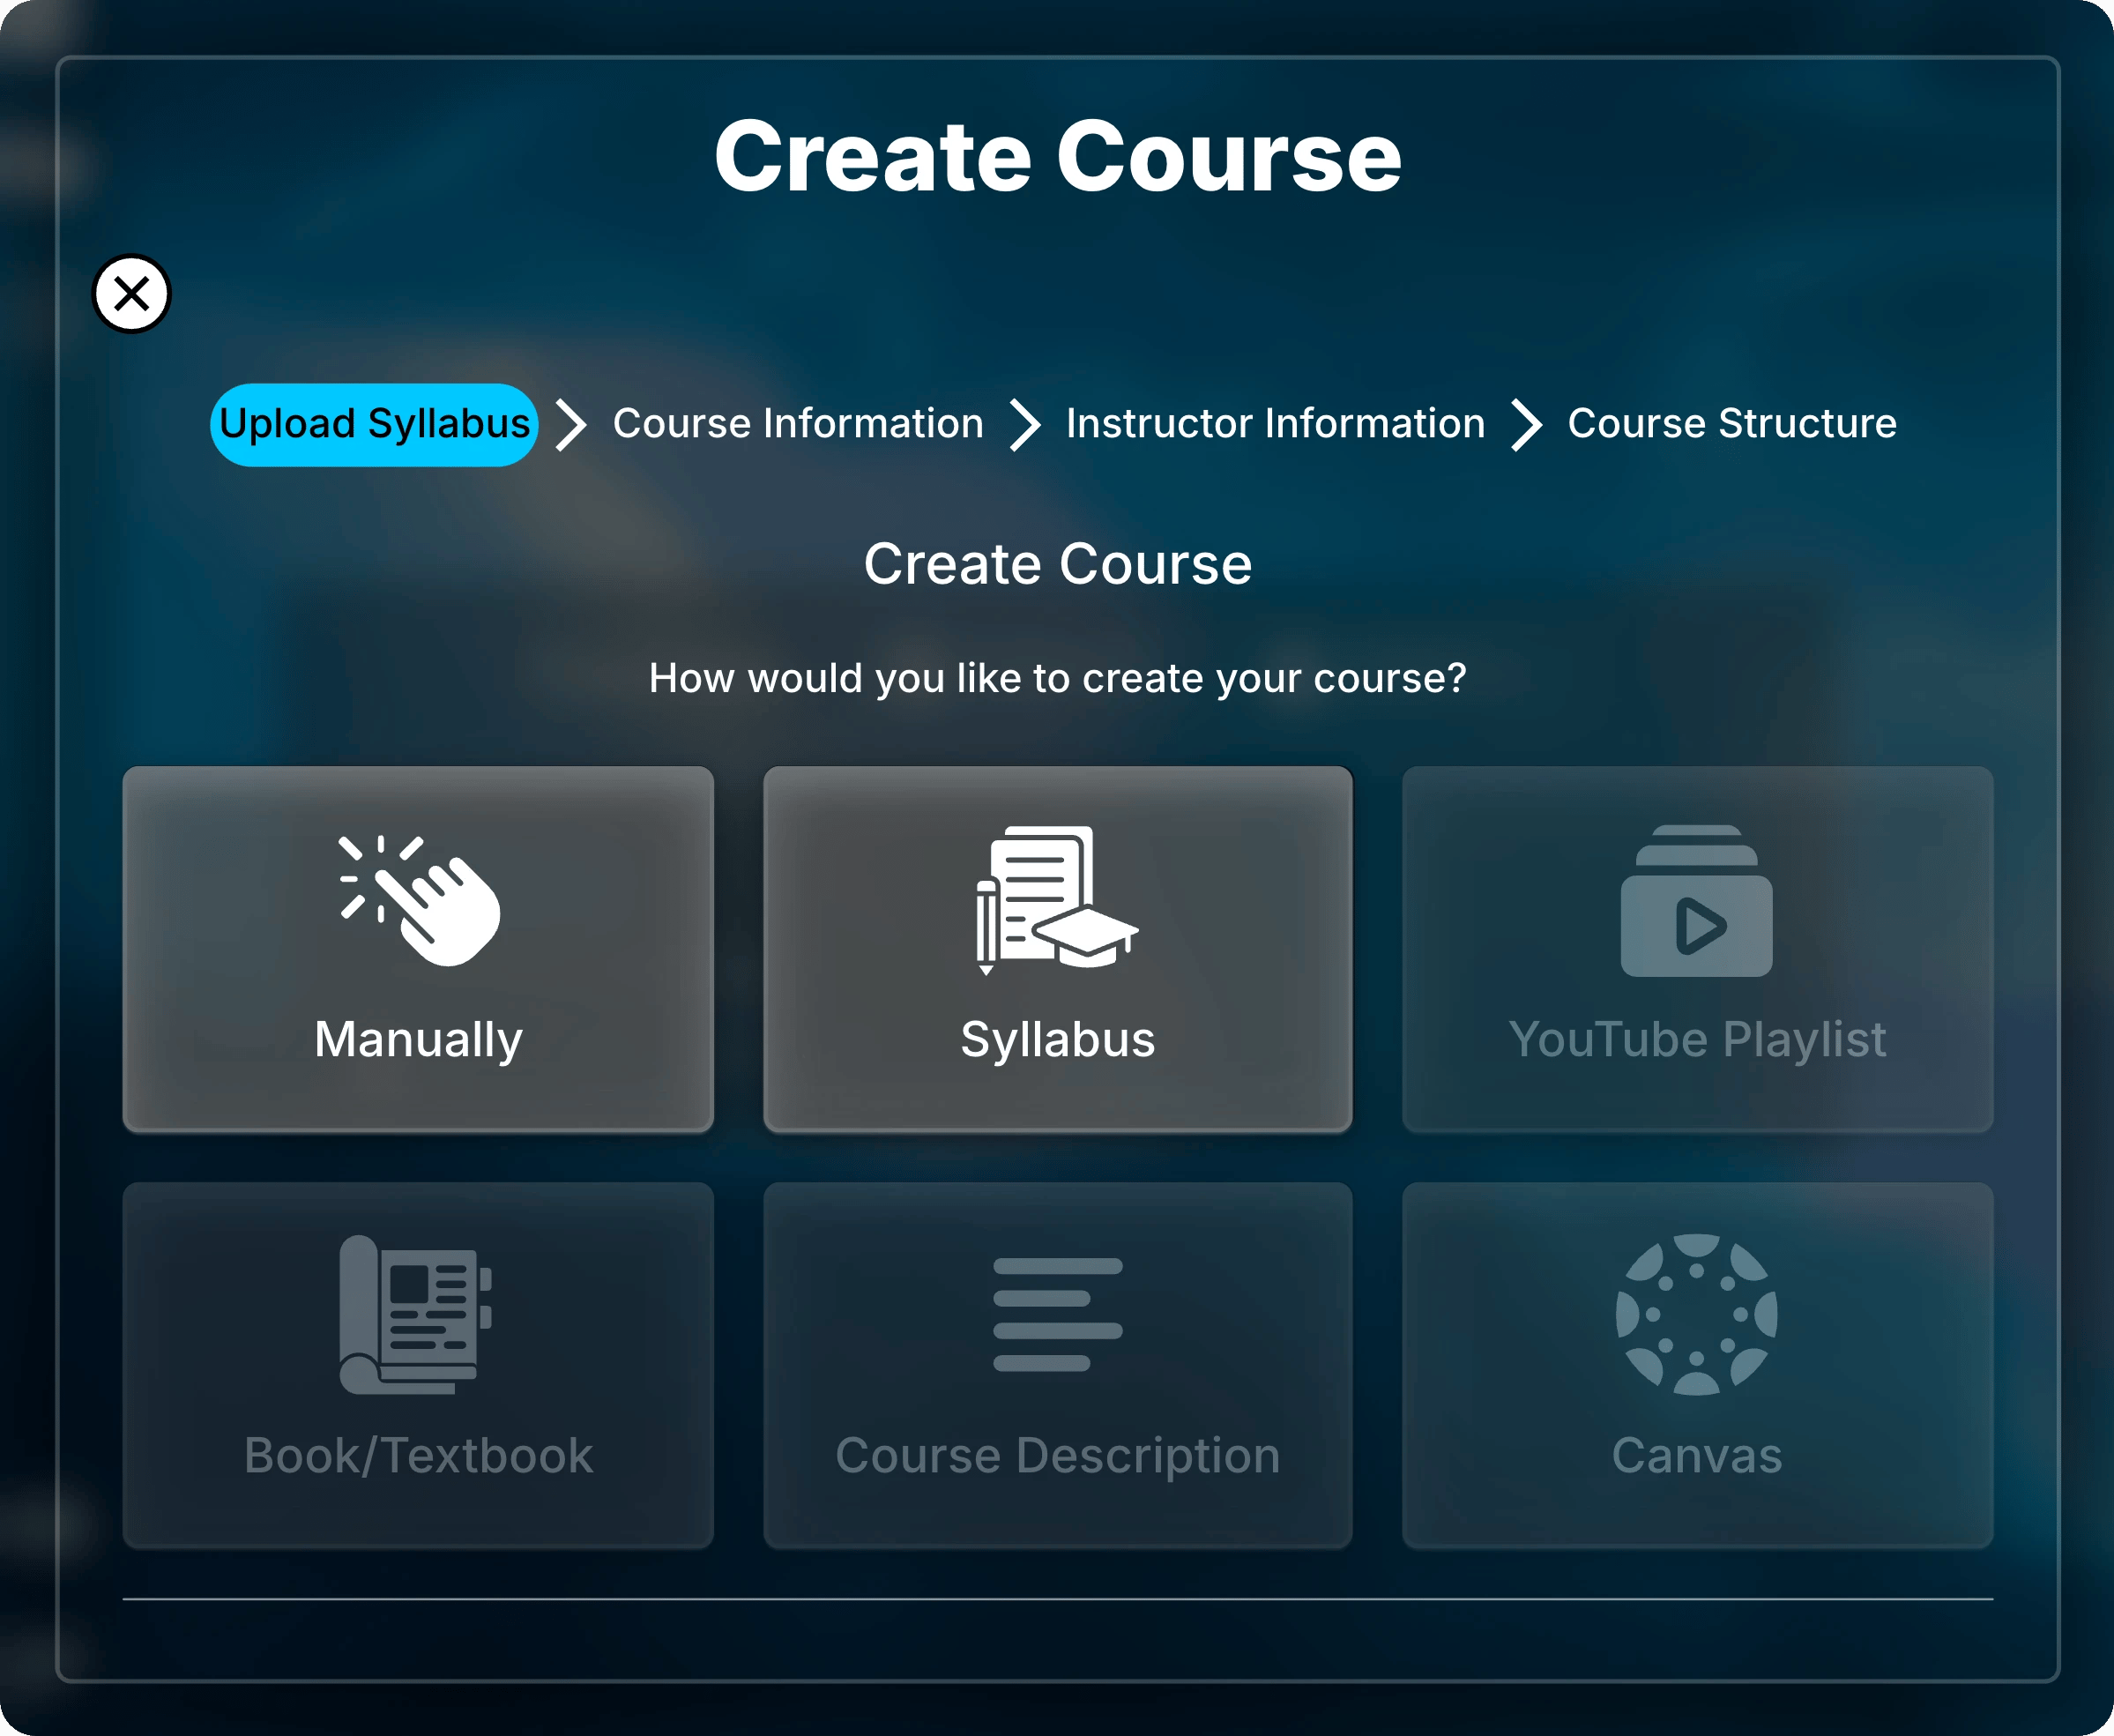
- Manually opens Course Information with empty fields.
- Syllabus asks for your syllabus first, then fills in the fields for you.
- More sources, such as a textbook or Canvas, are coming soon.
Start with empty fields, or let Uflo read your syllabus.
3
Enter Course Information
Fill in or check the details below.
Fields marked with an asterisk are required.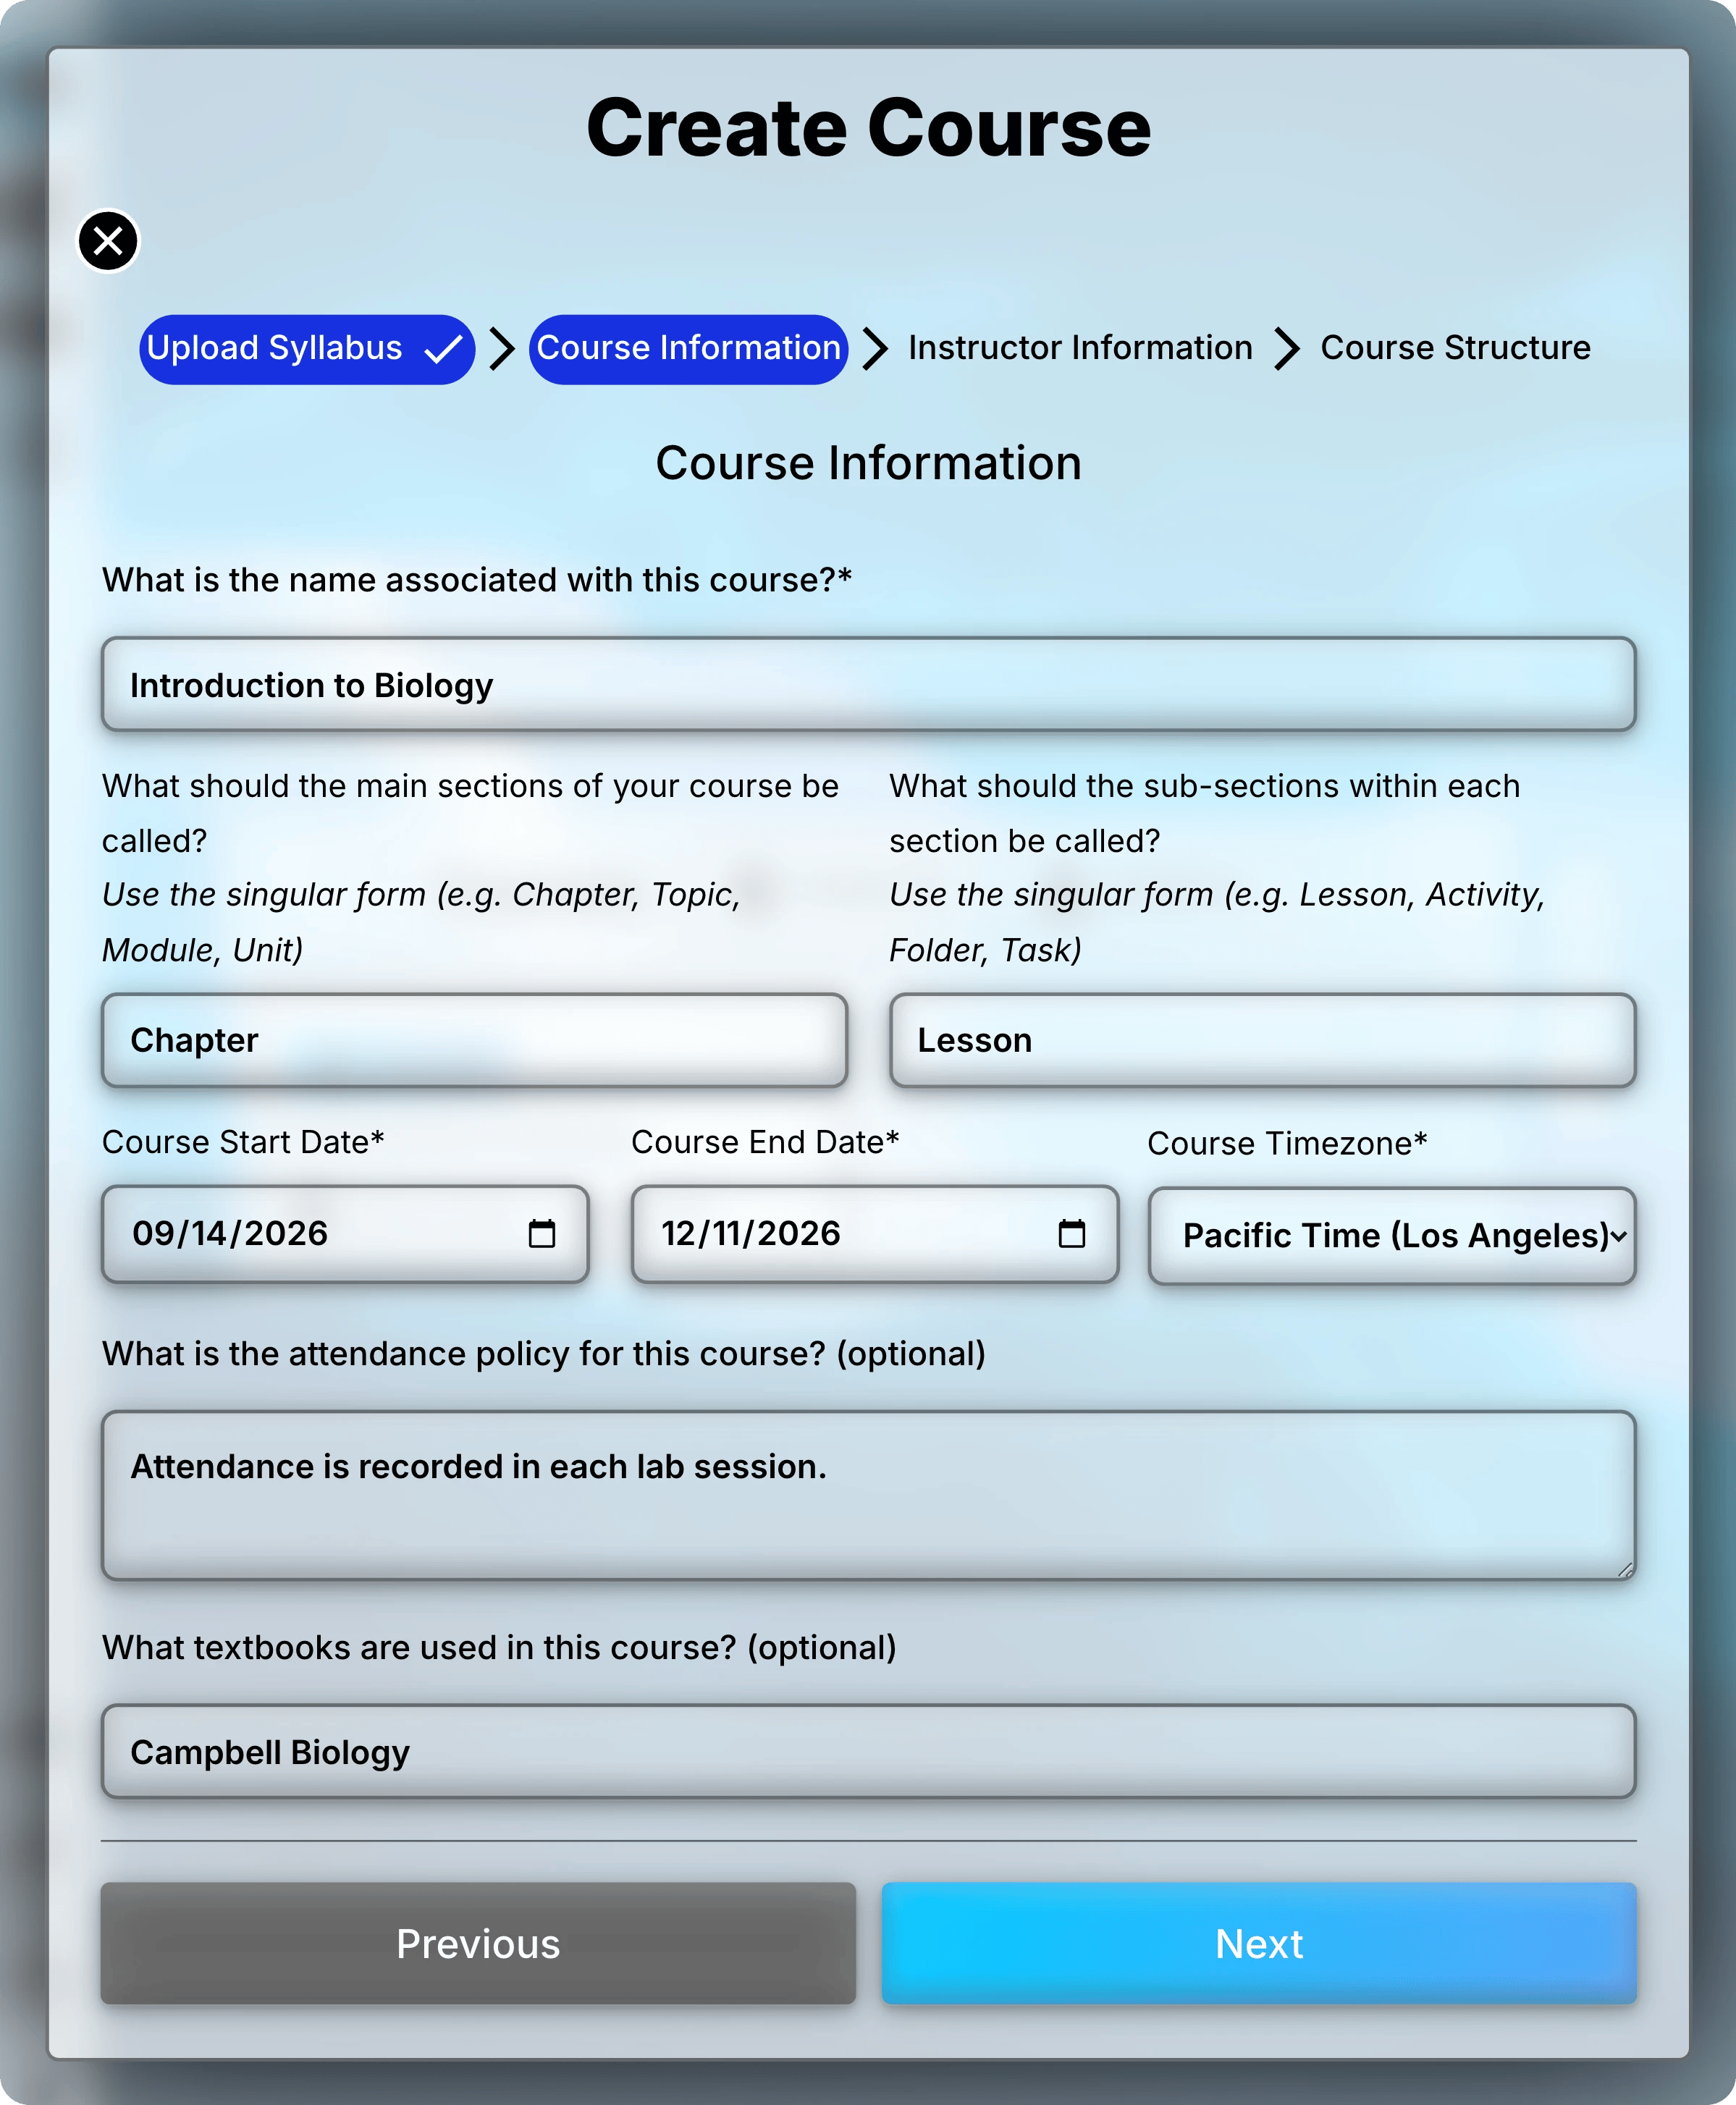
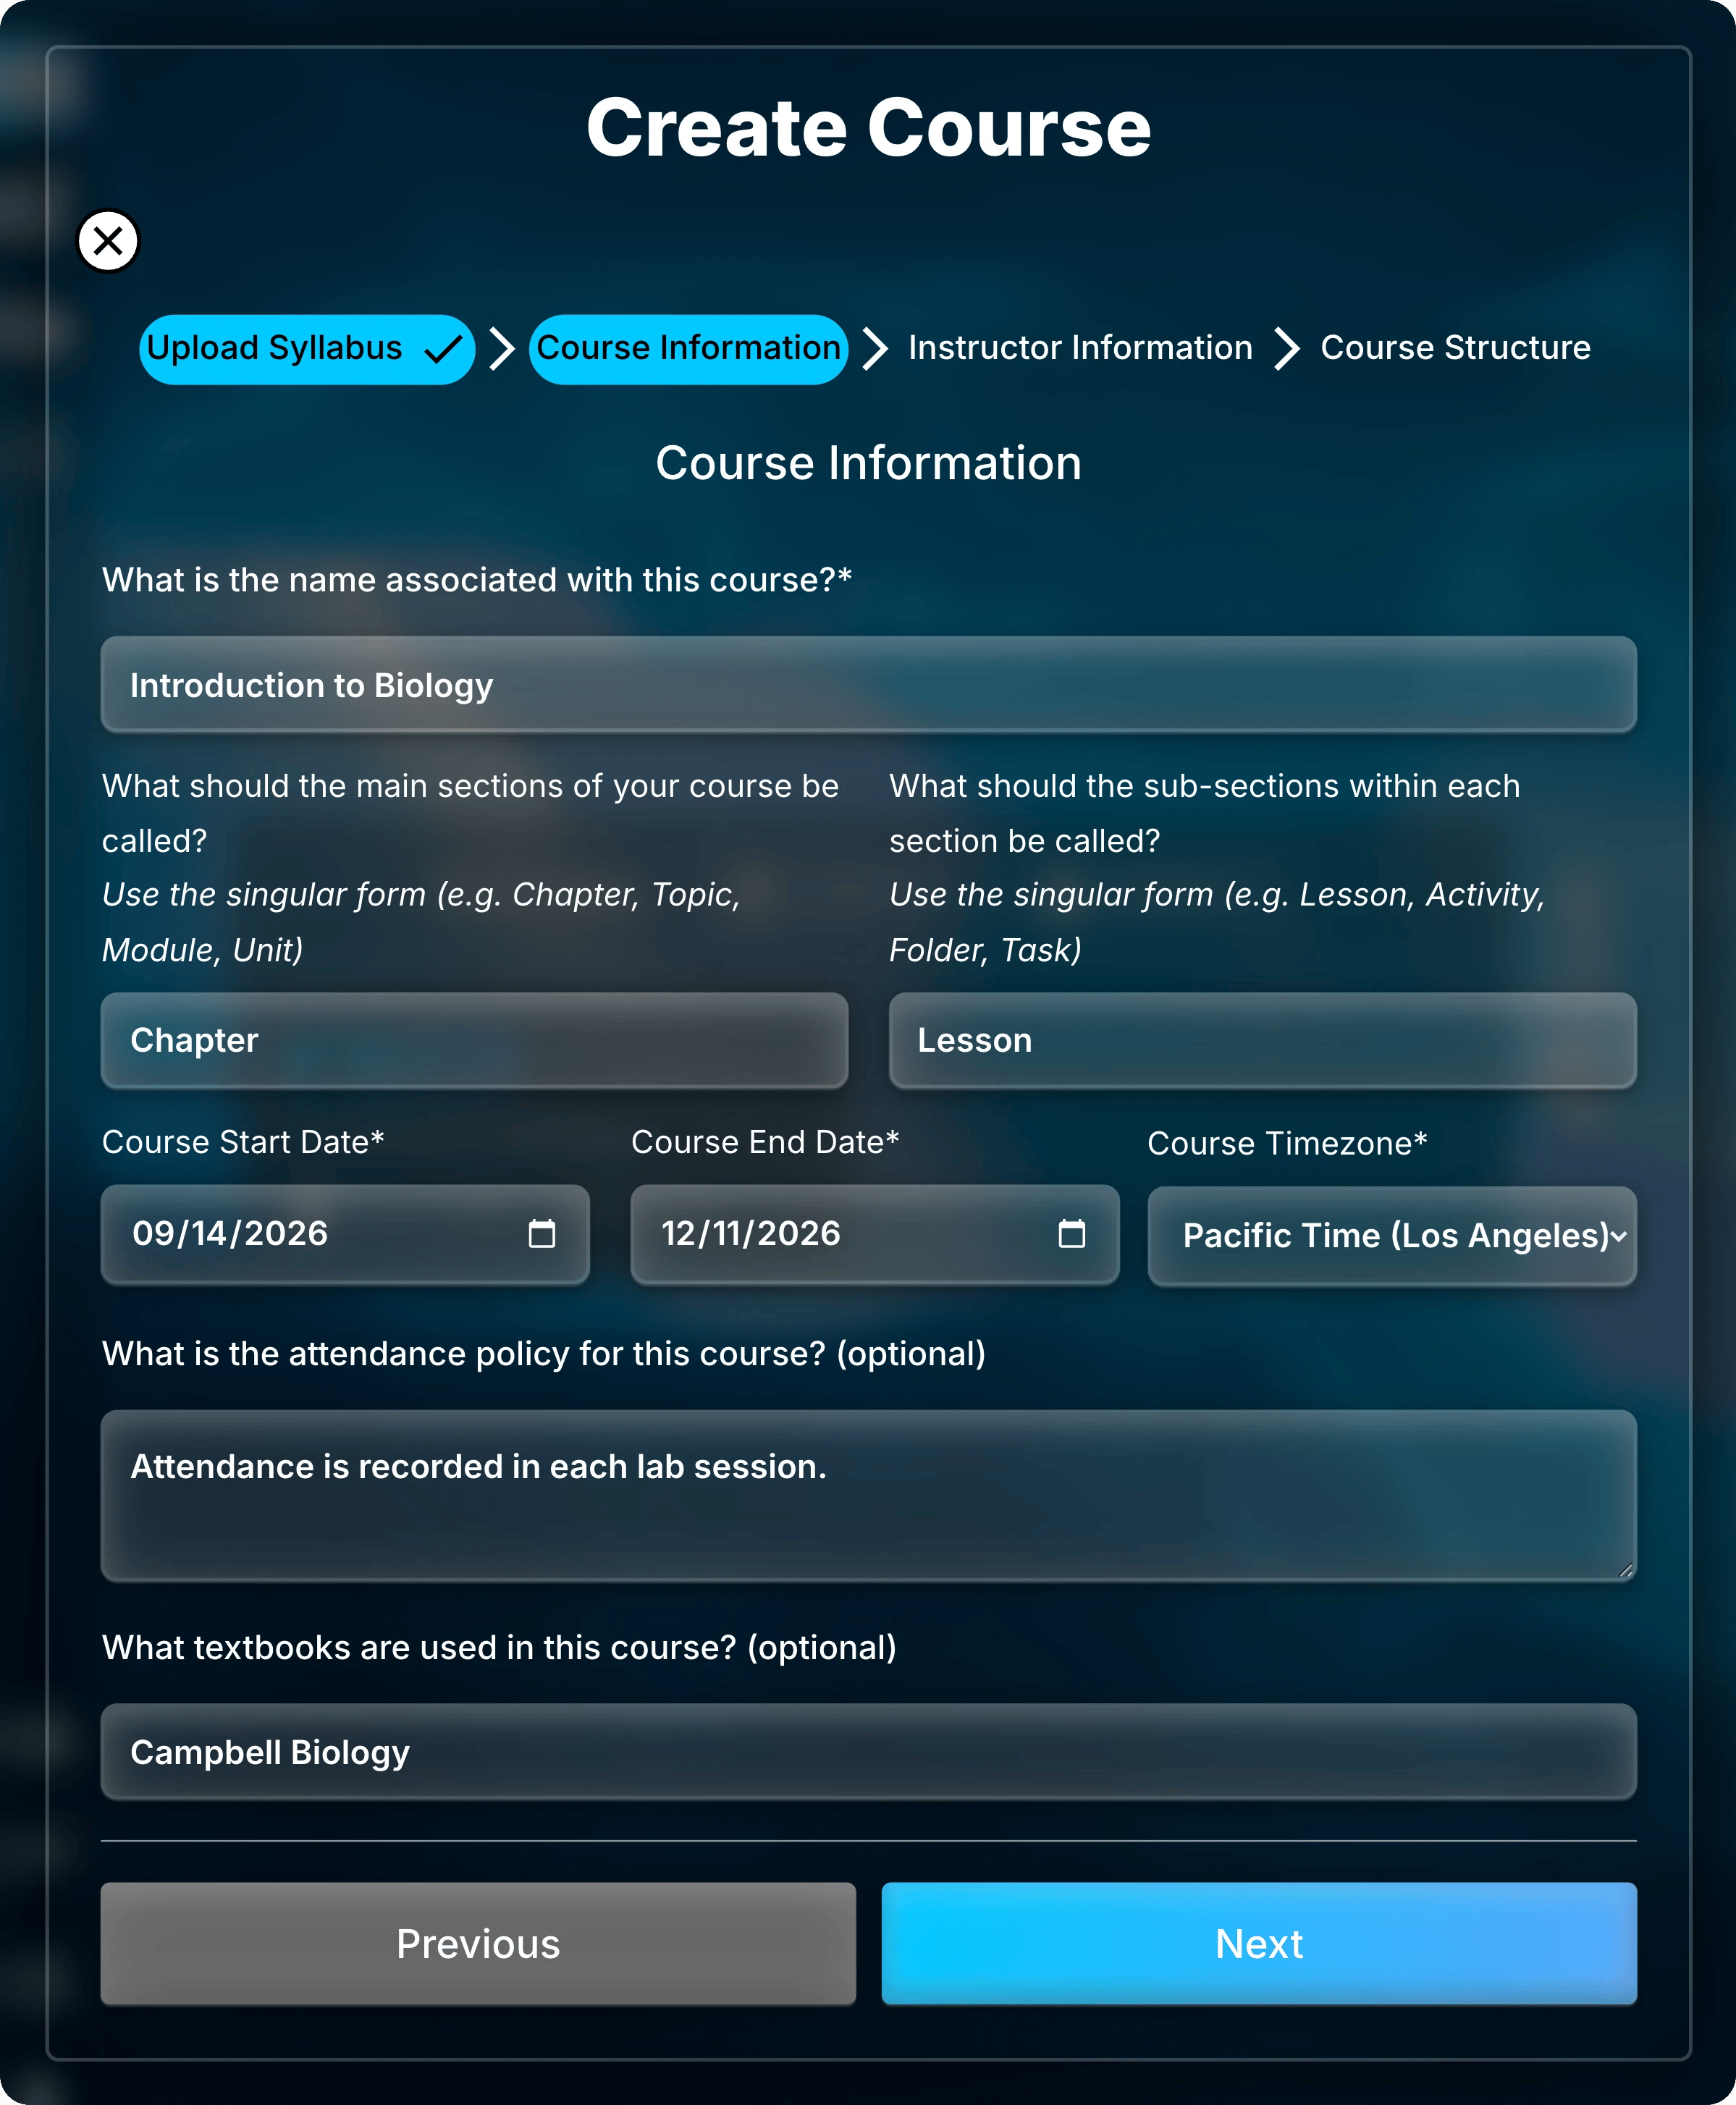
Check each field, especially the dates and timezone.
4
Skip the Optional Details and Submit
Skip Class Hours, Assignments, and Exams, then select Submit.
Optional details (you can skip these)
Optional details (you can skip these)
These pages add schedule details to the course calendar.
Nothing else in Uflo uses them, so you can leave them empty.
Select Add on a page to add another entry.
Open the calendar with the calendar button at the top of the course.
5
Add Chapters and Lessons
See Manage Chapters and Manage Lessons.
6
Invite Your Students
Share its enrollment link, QR code, or course code. See Enroll Students.
Change Course Settings Later
Right-click the course card on Courses, or long-press it on a touch screen, then select Update. Uflo opens Course Information with your saved settings. Make your changes, move through the remaining pages, and select Submit.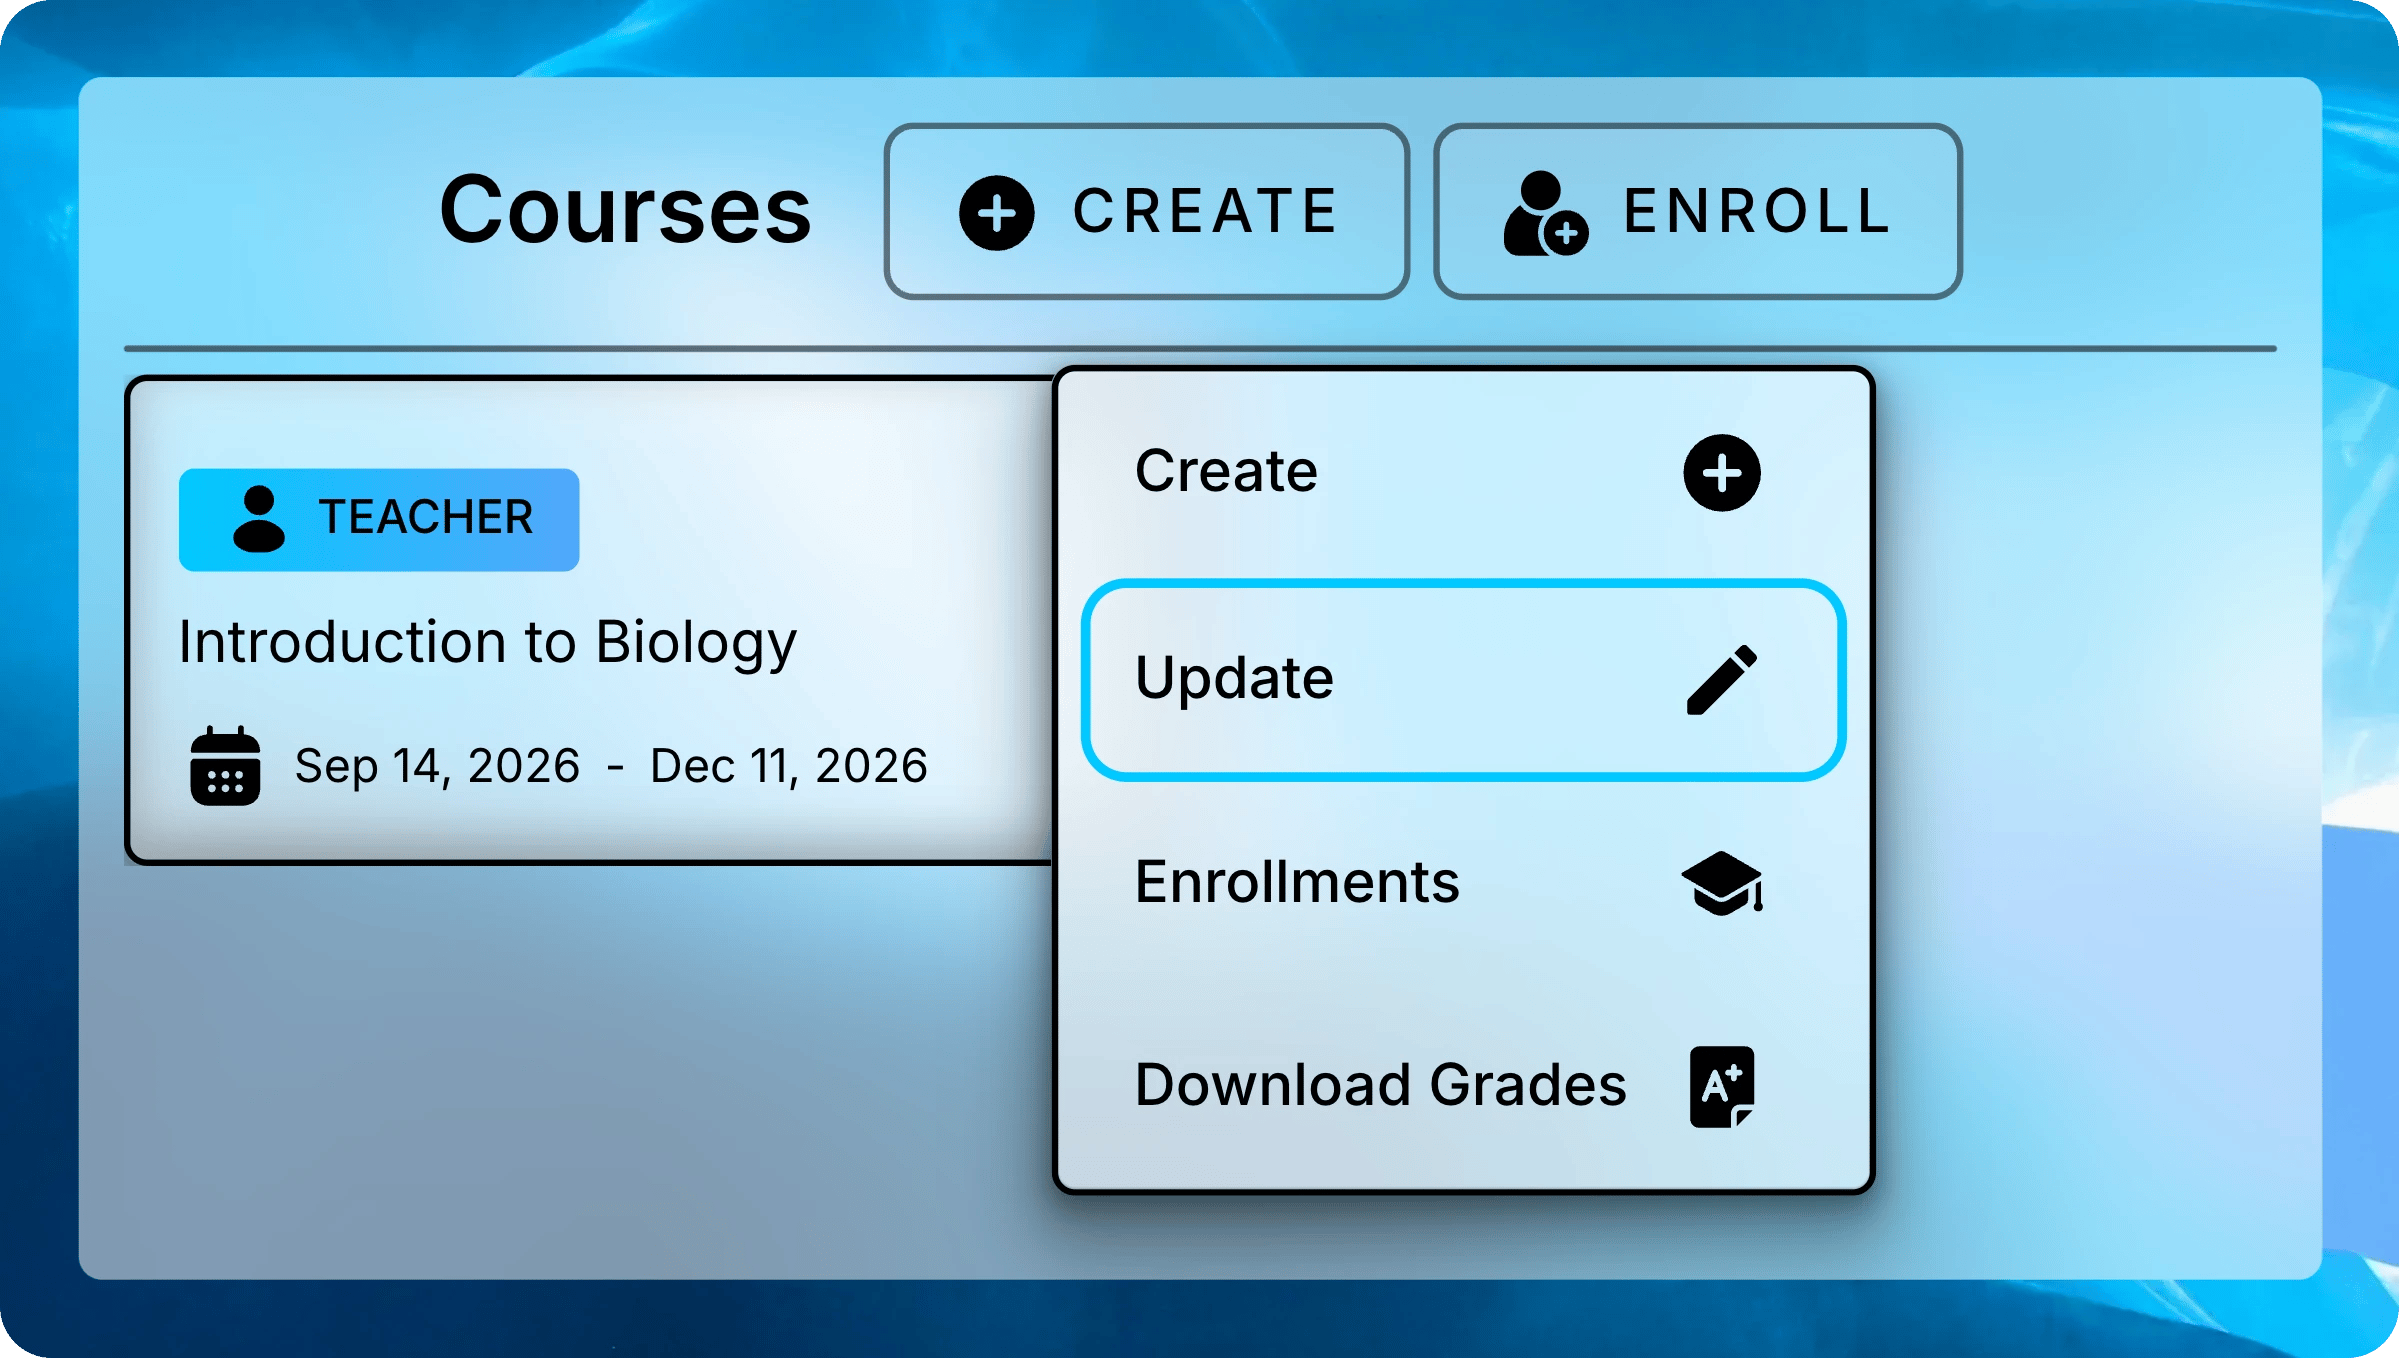
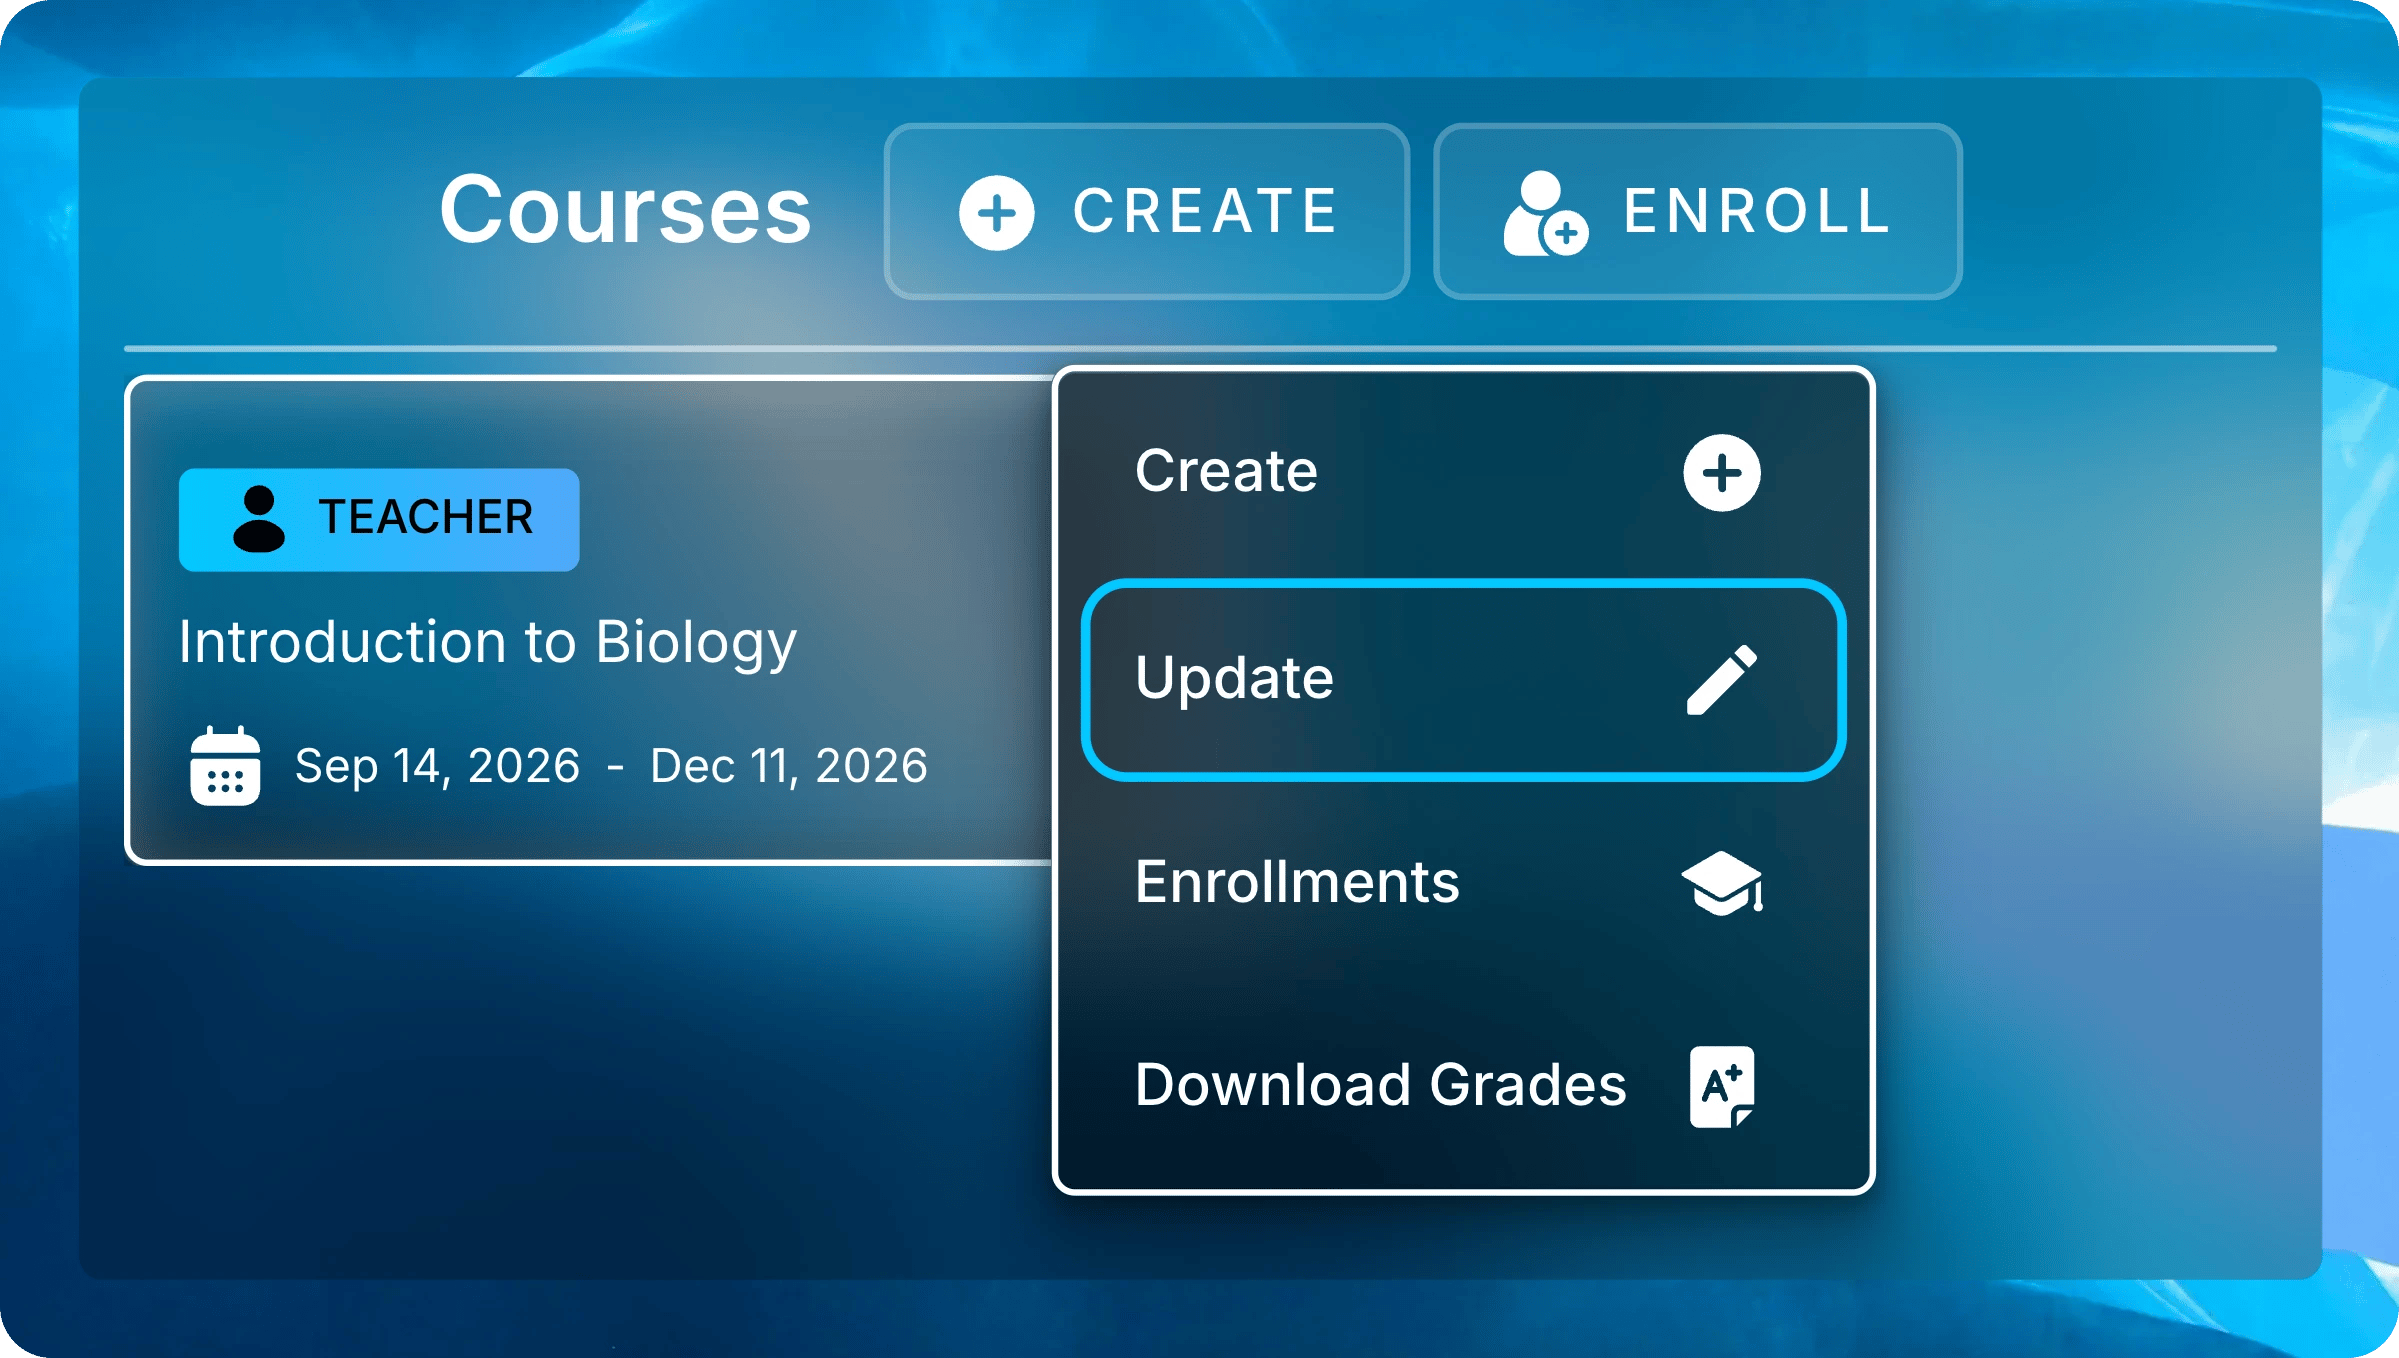
Right-click a course card and select Update to change its settings.
Common Questions
What if my syllabus upload fails?
What if my syllabus upload fails?
Uflo shows Syllabus upload failed. Please try again.
Add the file again and select Upload.
If it still fails, select Previous and choose Manually instead.
Can I copy a course from an earlier term?
Can I copy a course from an earlier term?
Contact Uflo through Support in the sidebar with both course names.
Next: Manage Chapters
Add chapters to your course and control what students see.