
Open Enrollment Info
1
Open the Course Menu
Select Courses in the sidebar. Right-click your course and select Enrollments.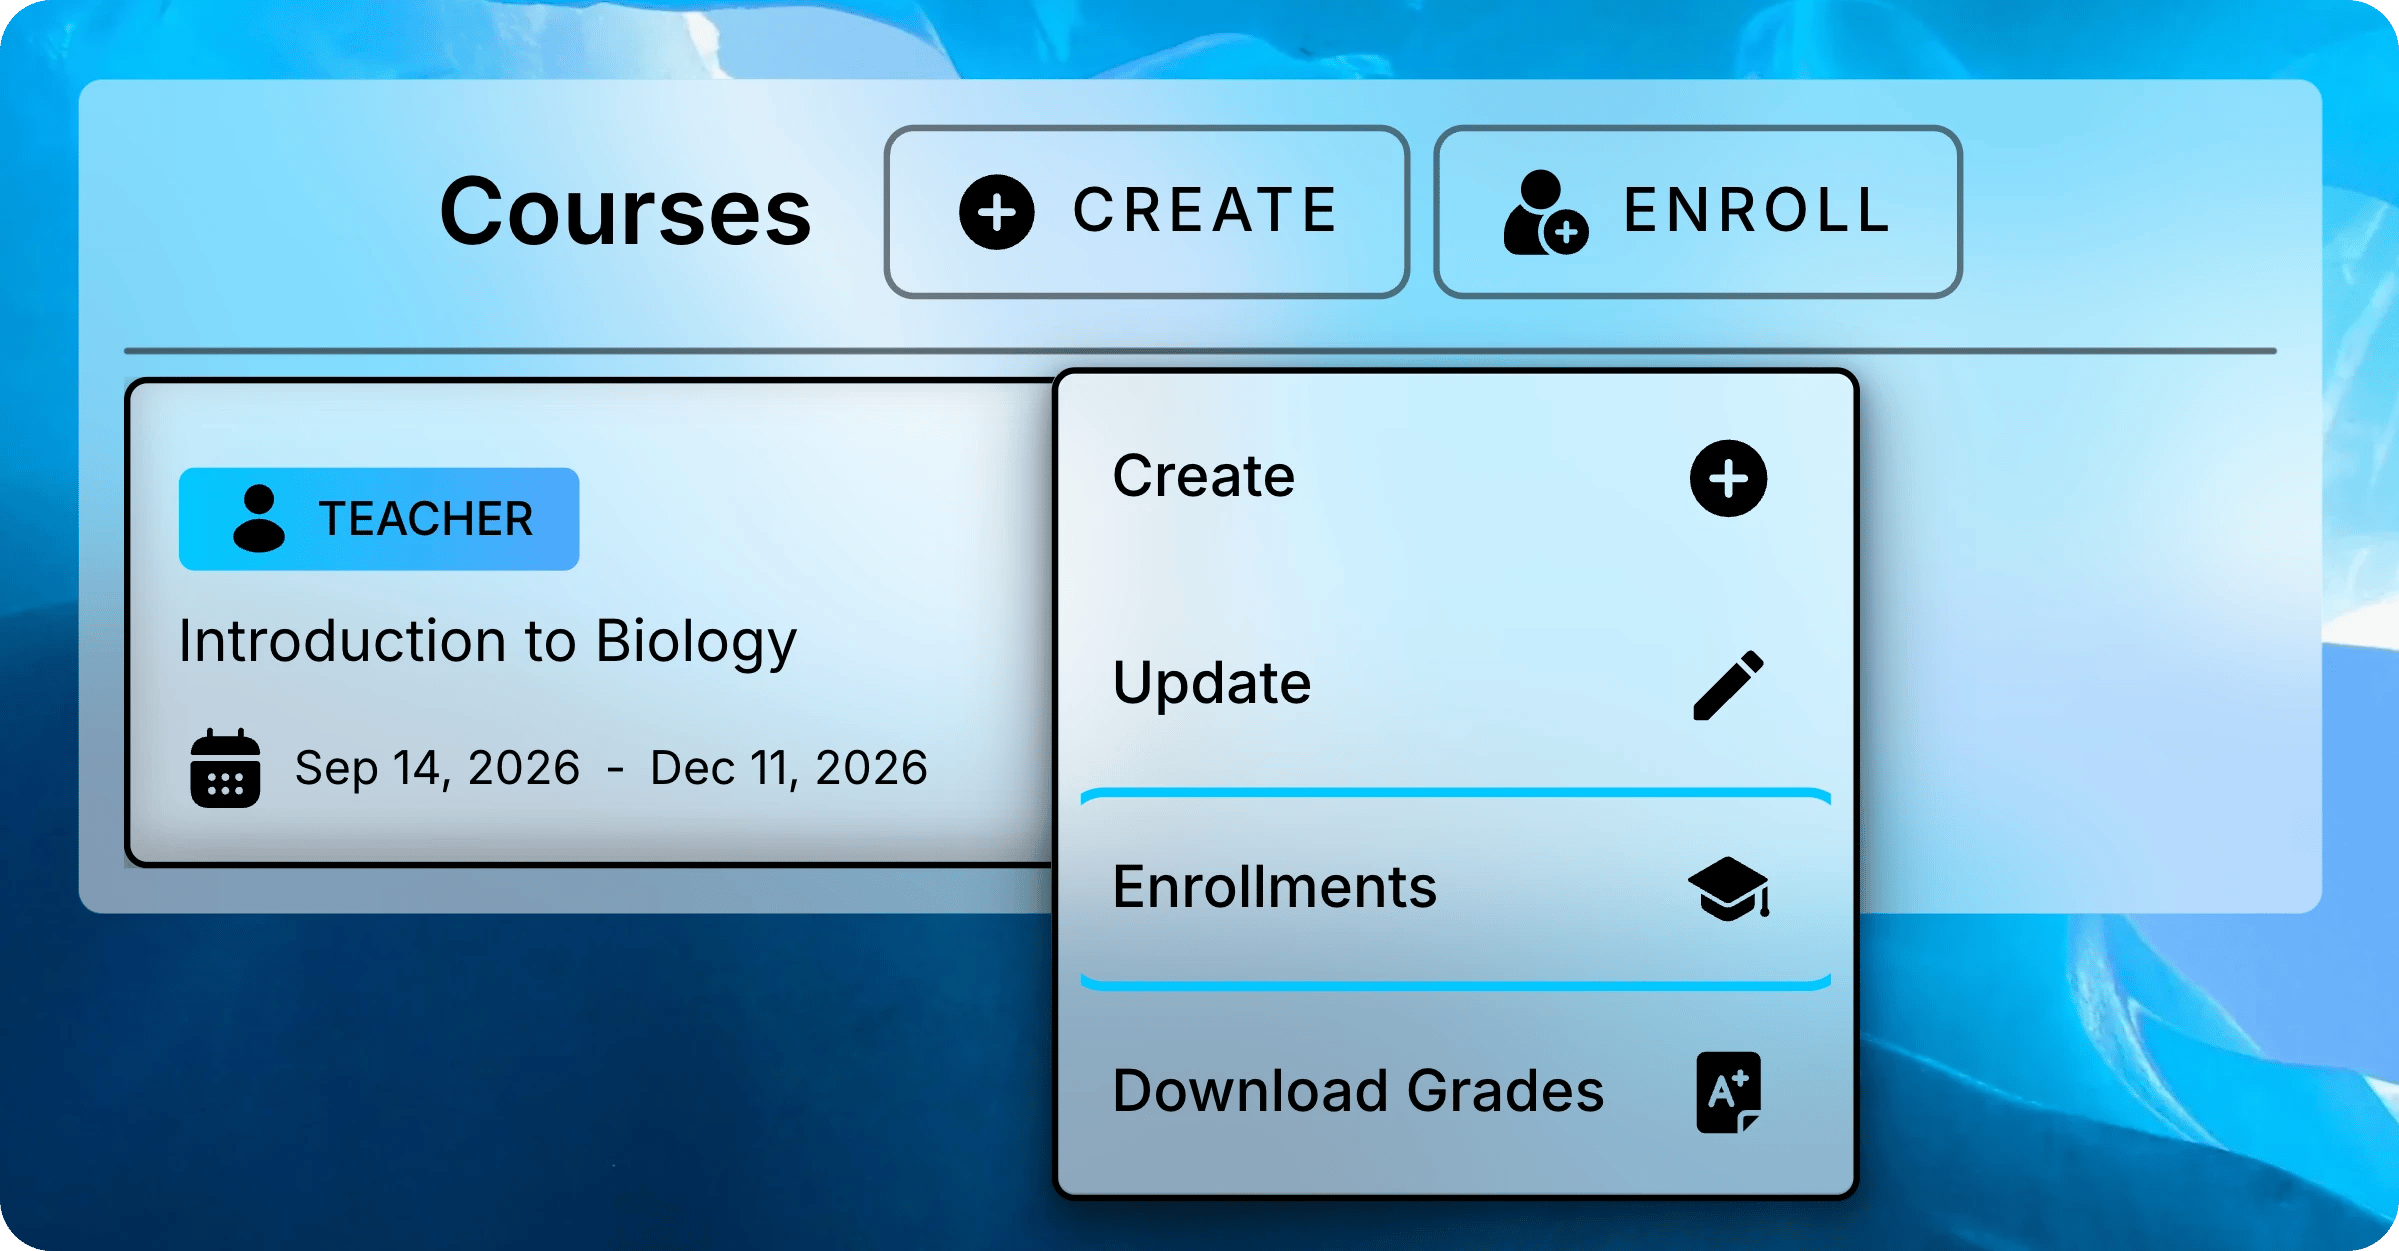
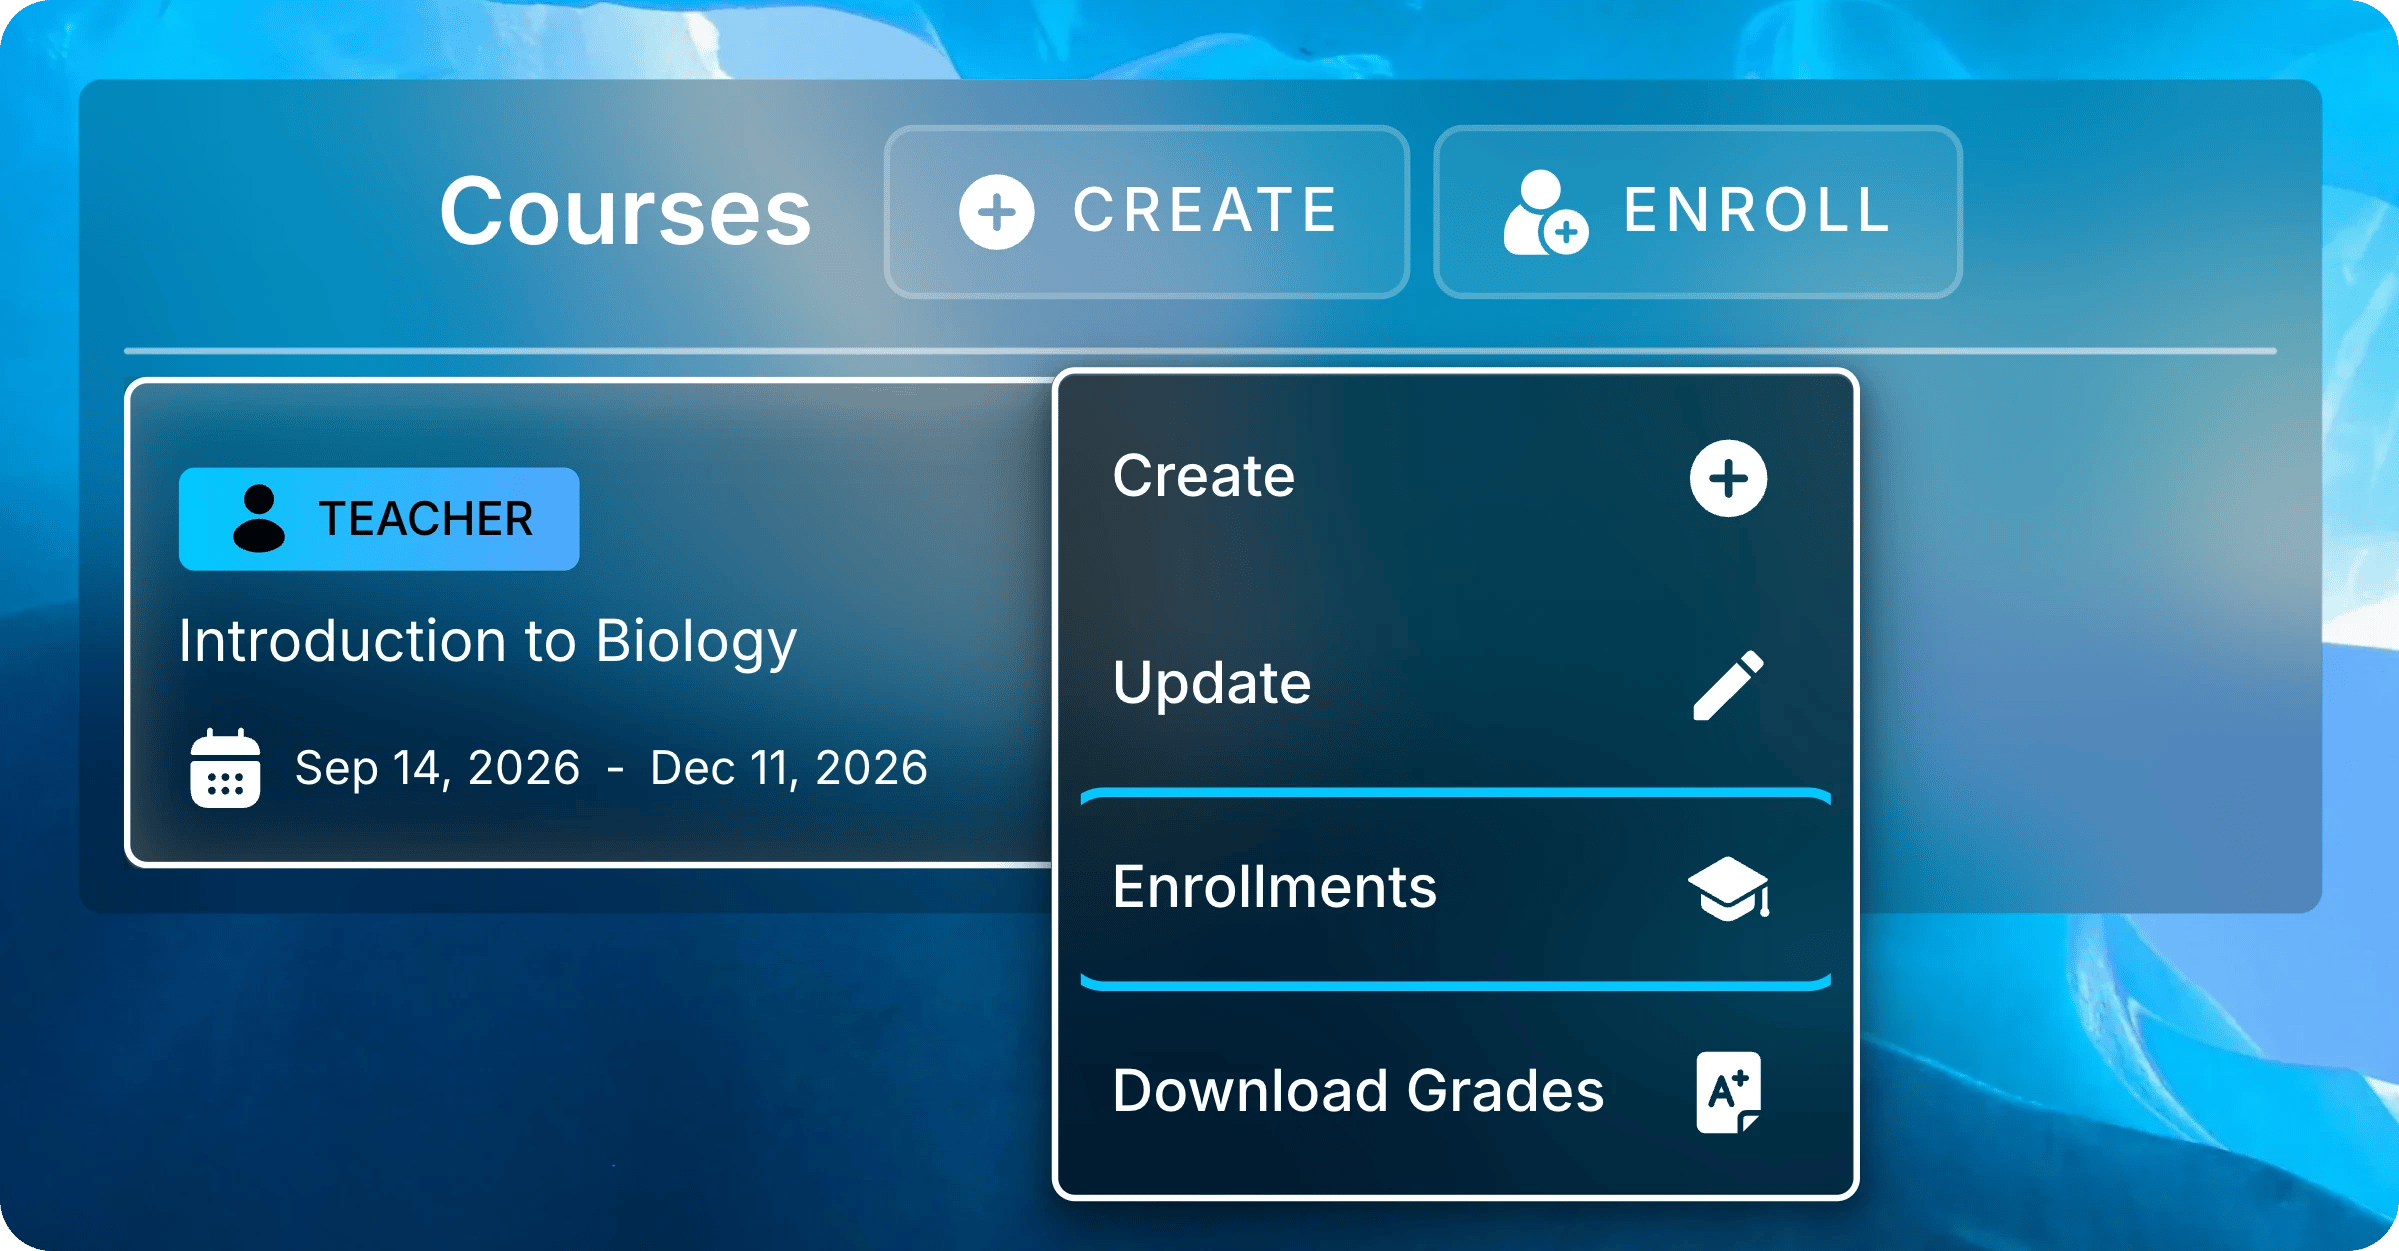
Right-click your course and select Enrollments.
2
Request Approval the First Time
A new course needs Uflo’s approval before students can join. Select Request Approval and send the message it opens to Uflo Support.After approval, reload Uflo and select Enrollments again.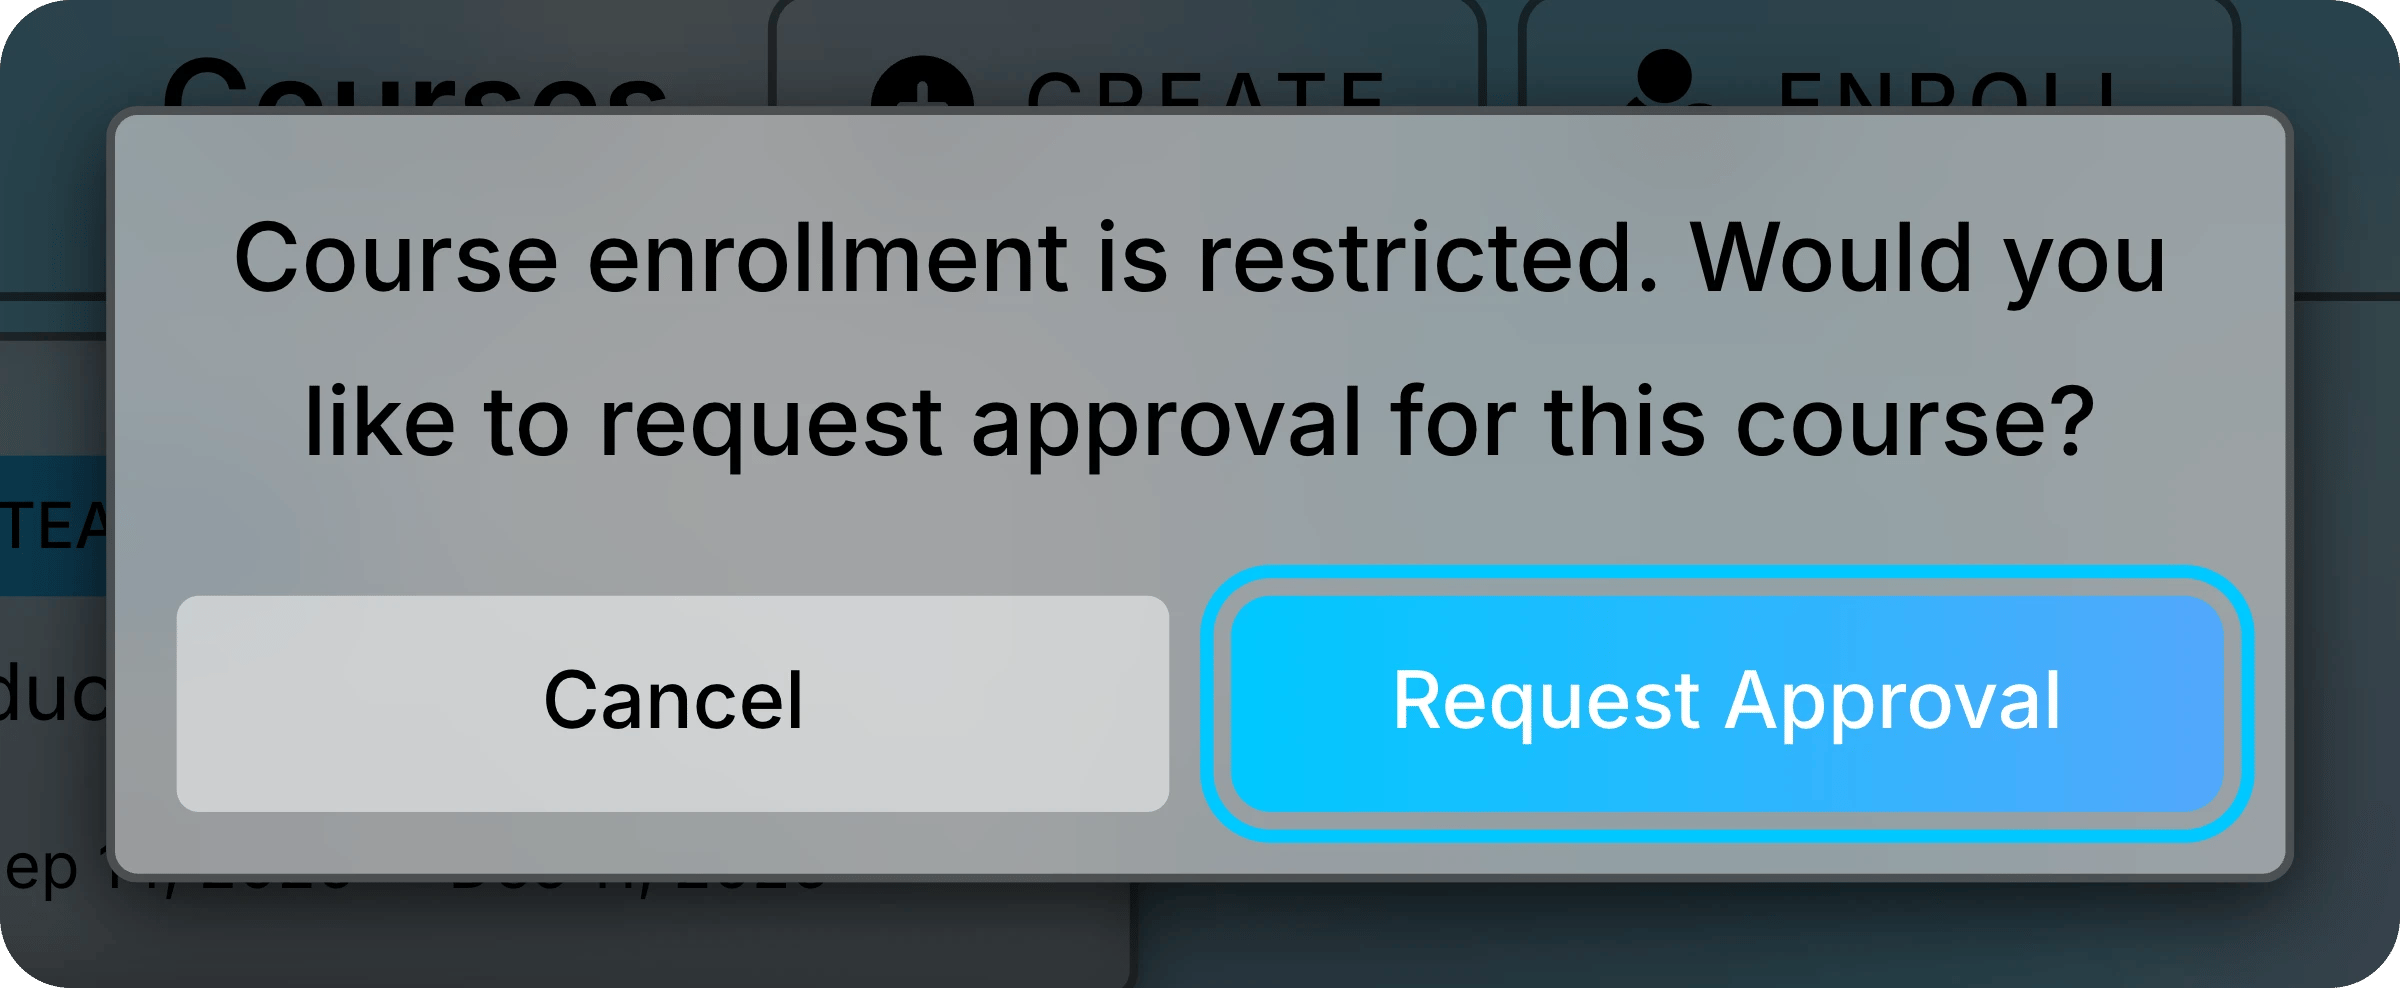
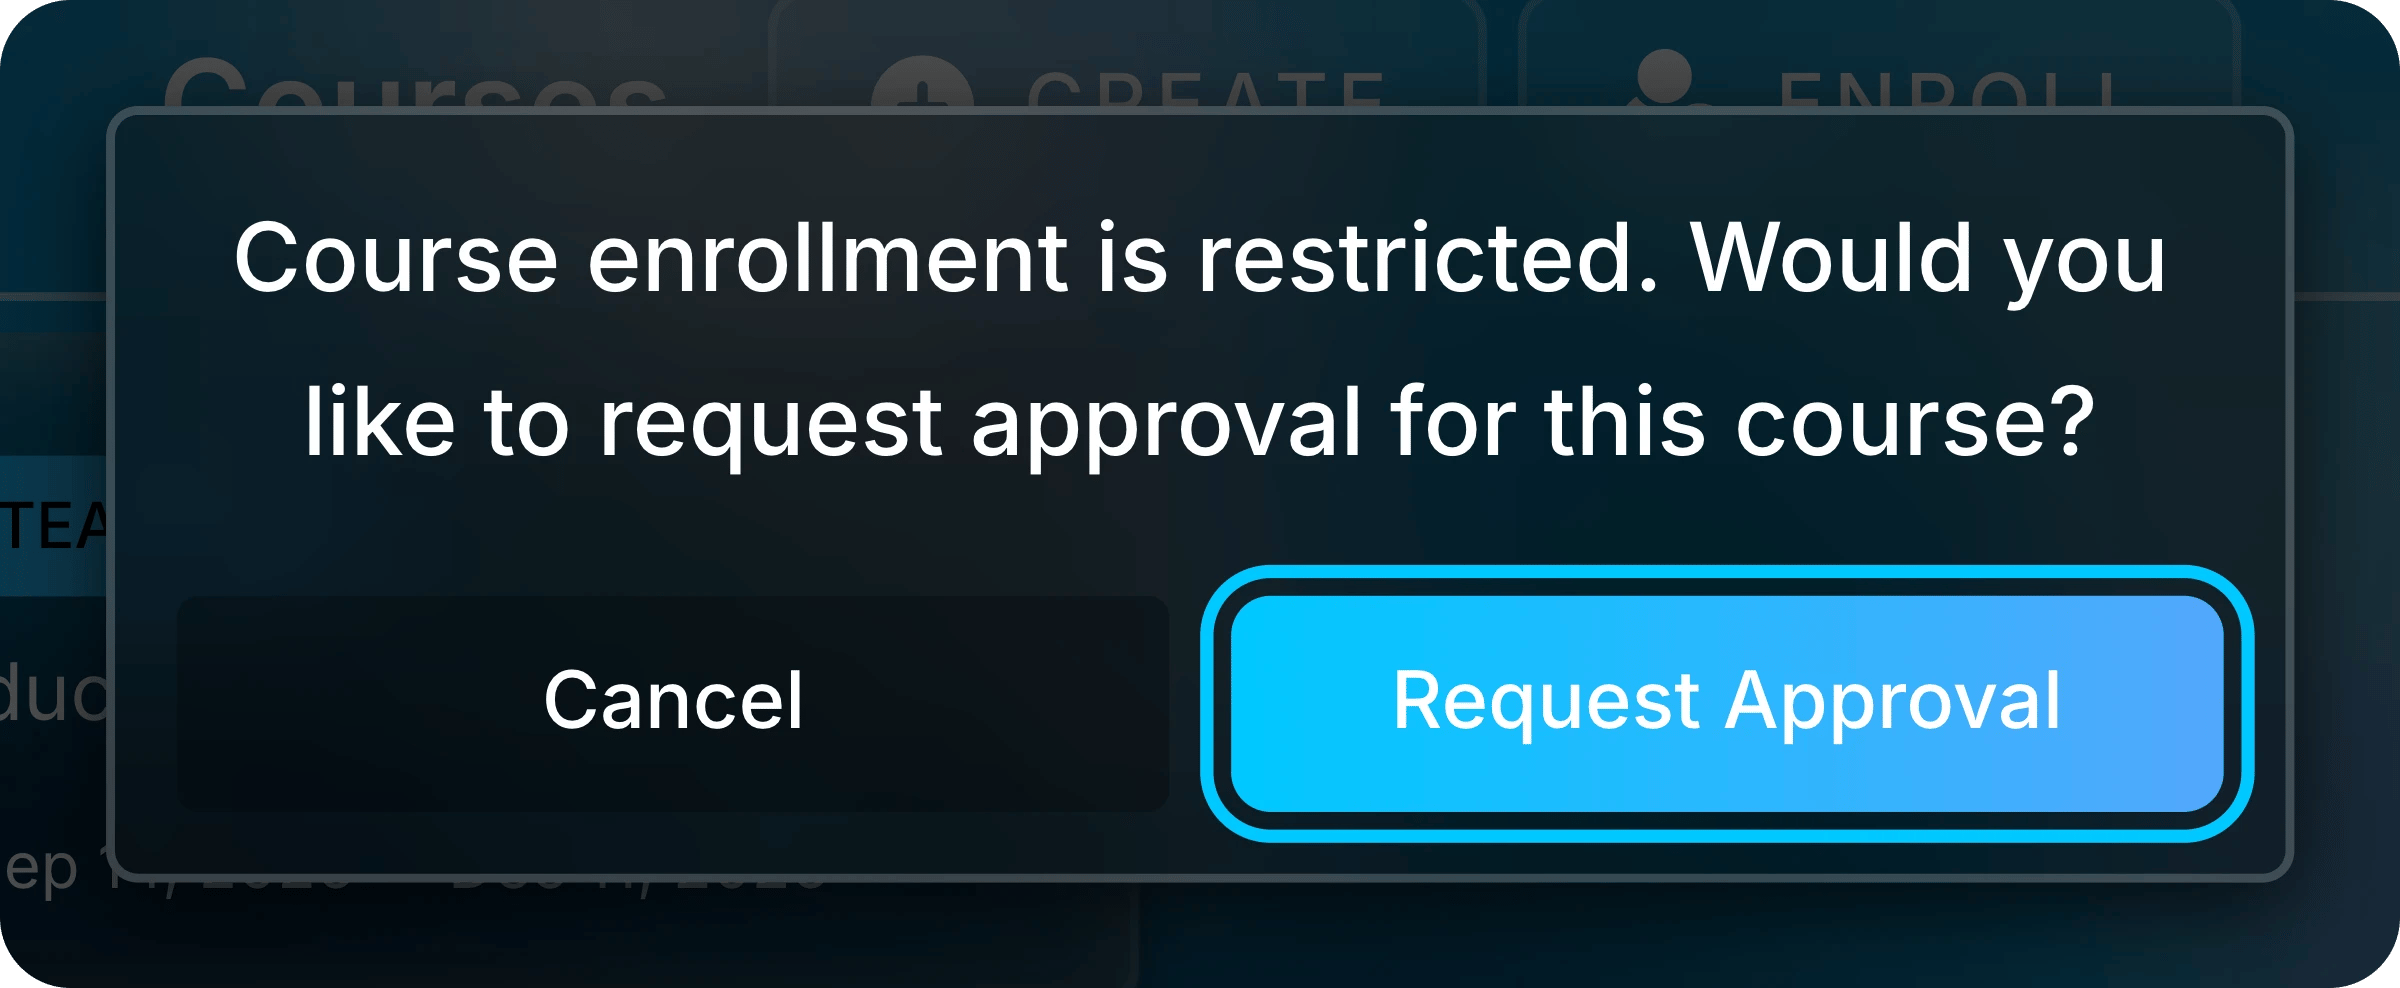
Request approval once. Uflo opens enrollment after it approves the course.
3
Find Enrollment Info
The Course Enrollments window shows your roster beside Enrollment Info. Enrollment Info shows the QR code and, under Get Course, the sharing buttons.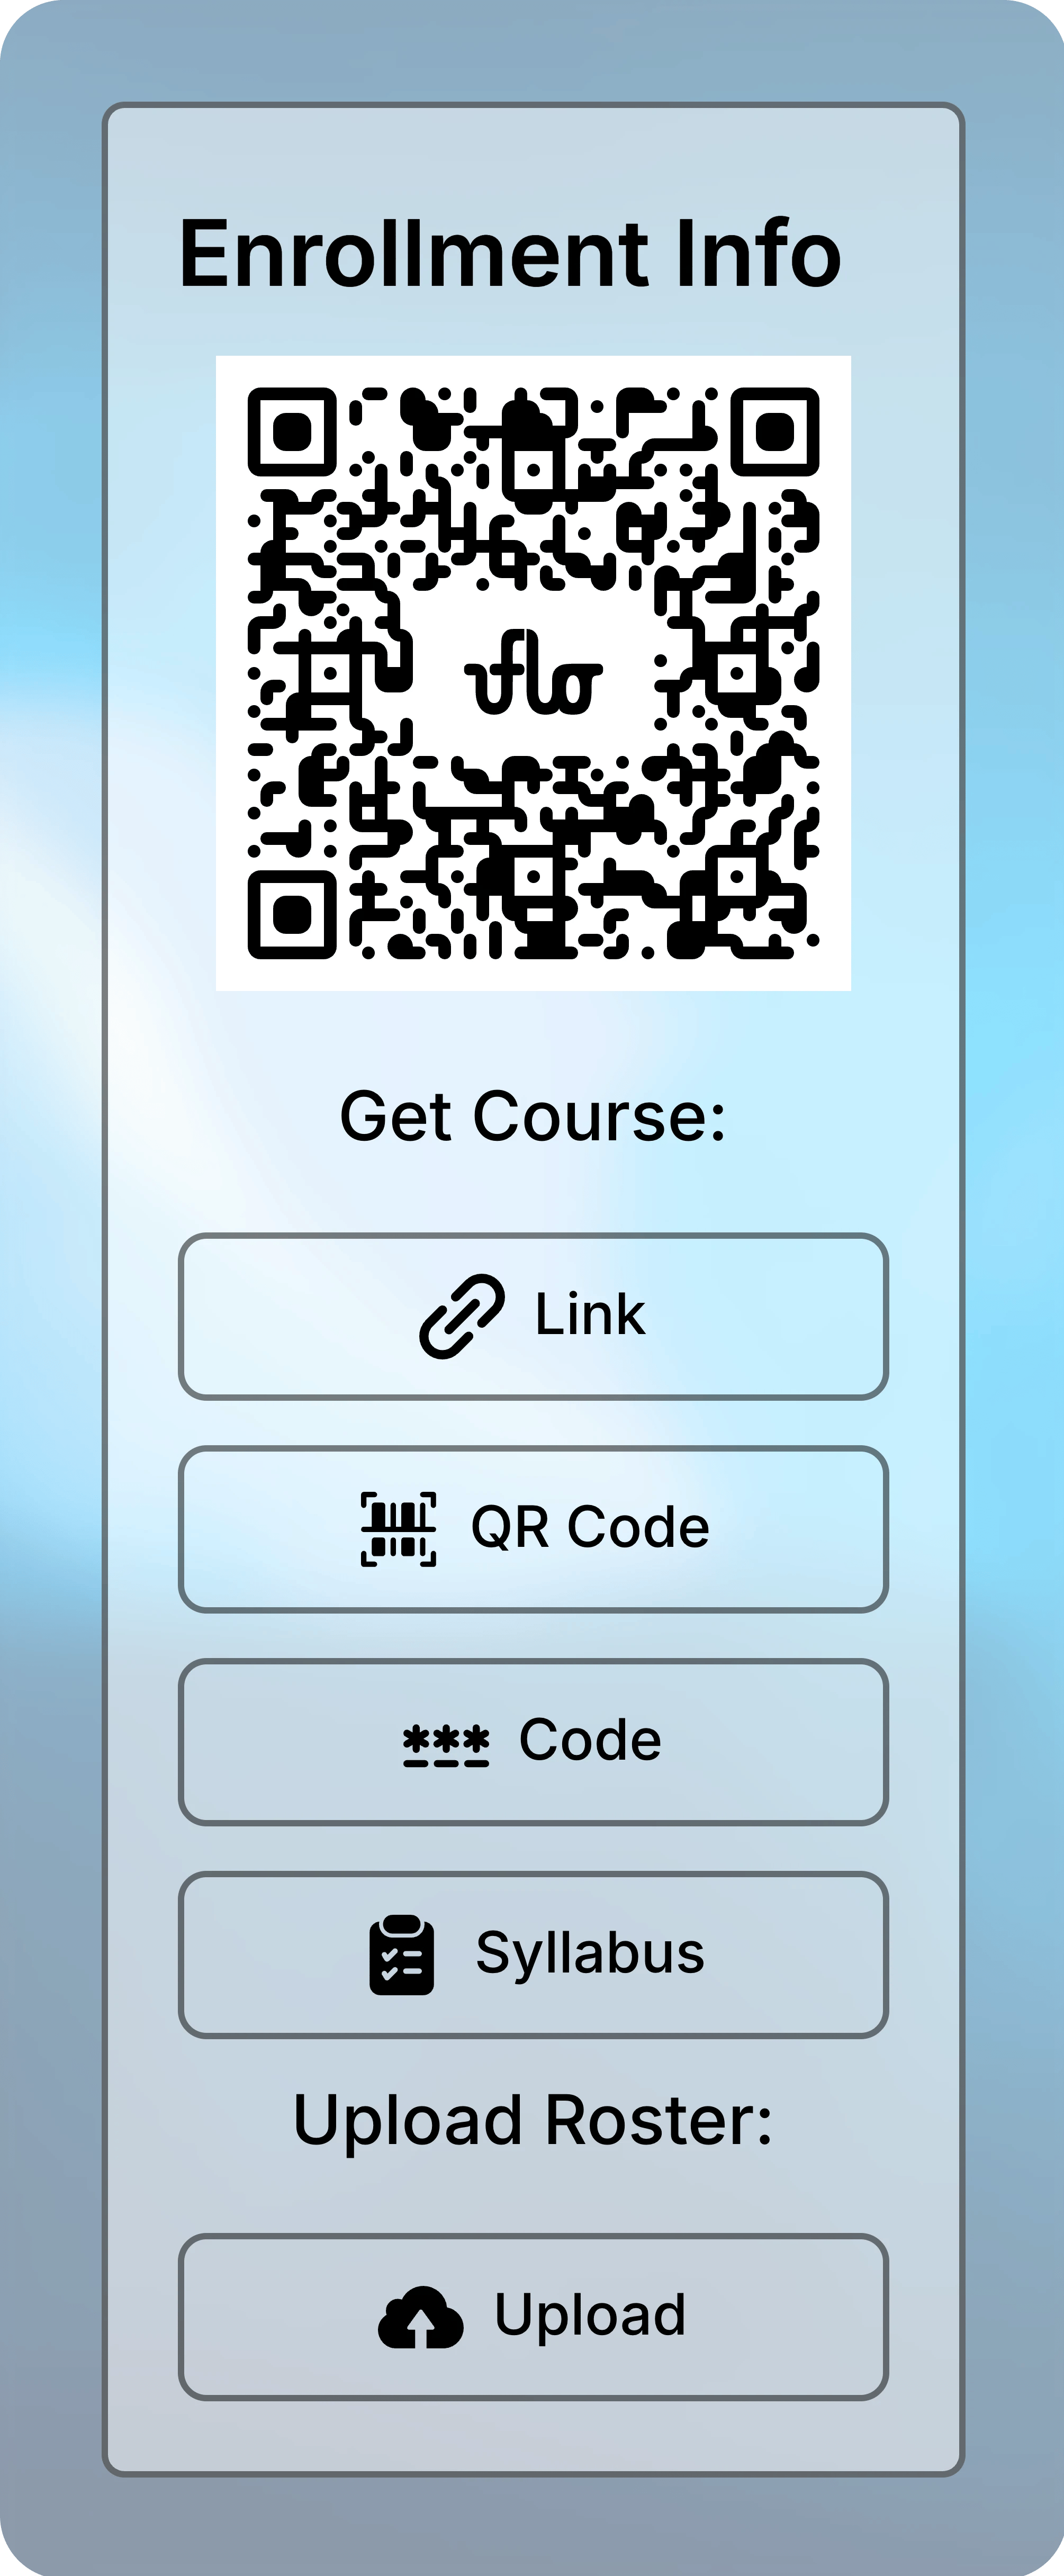
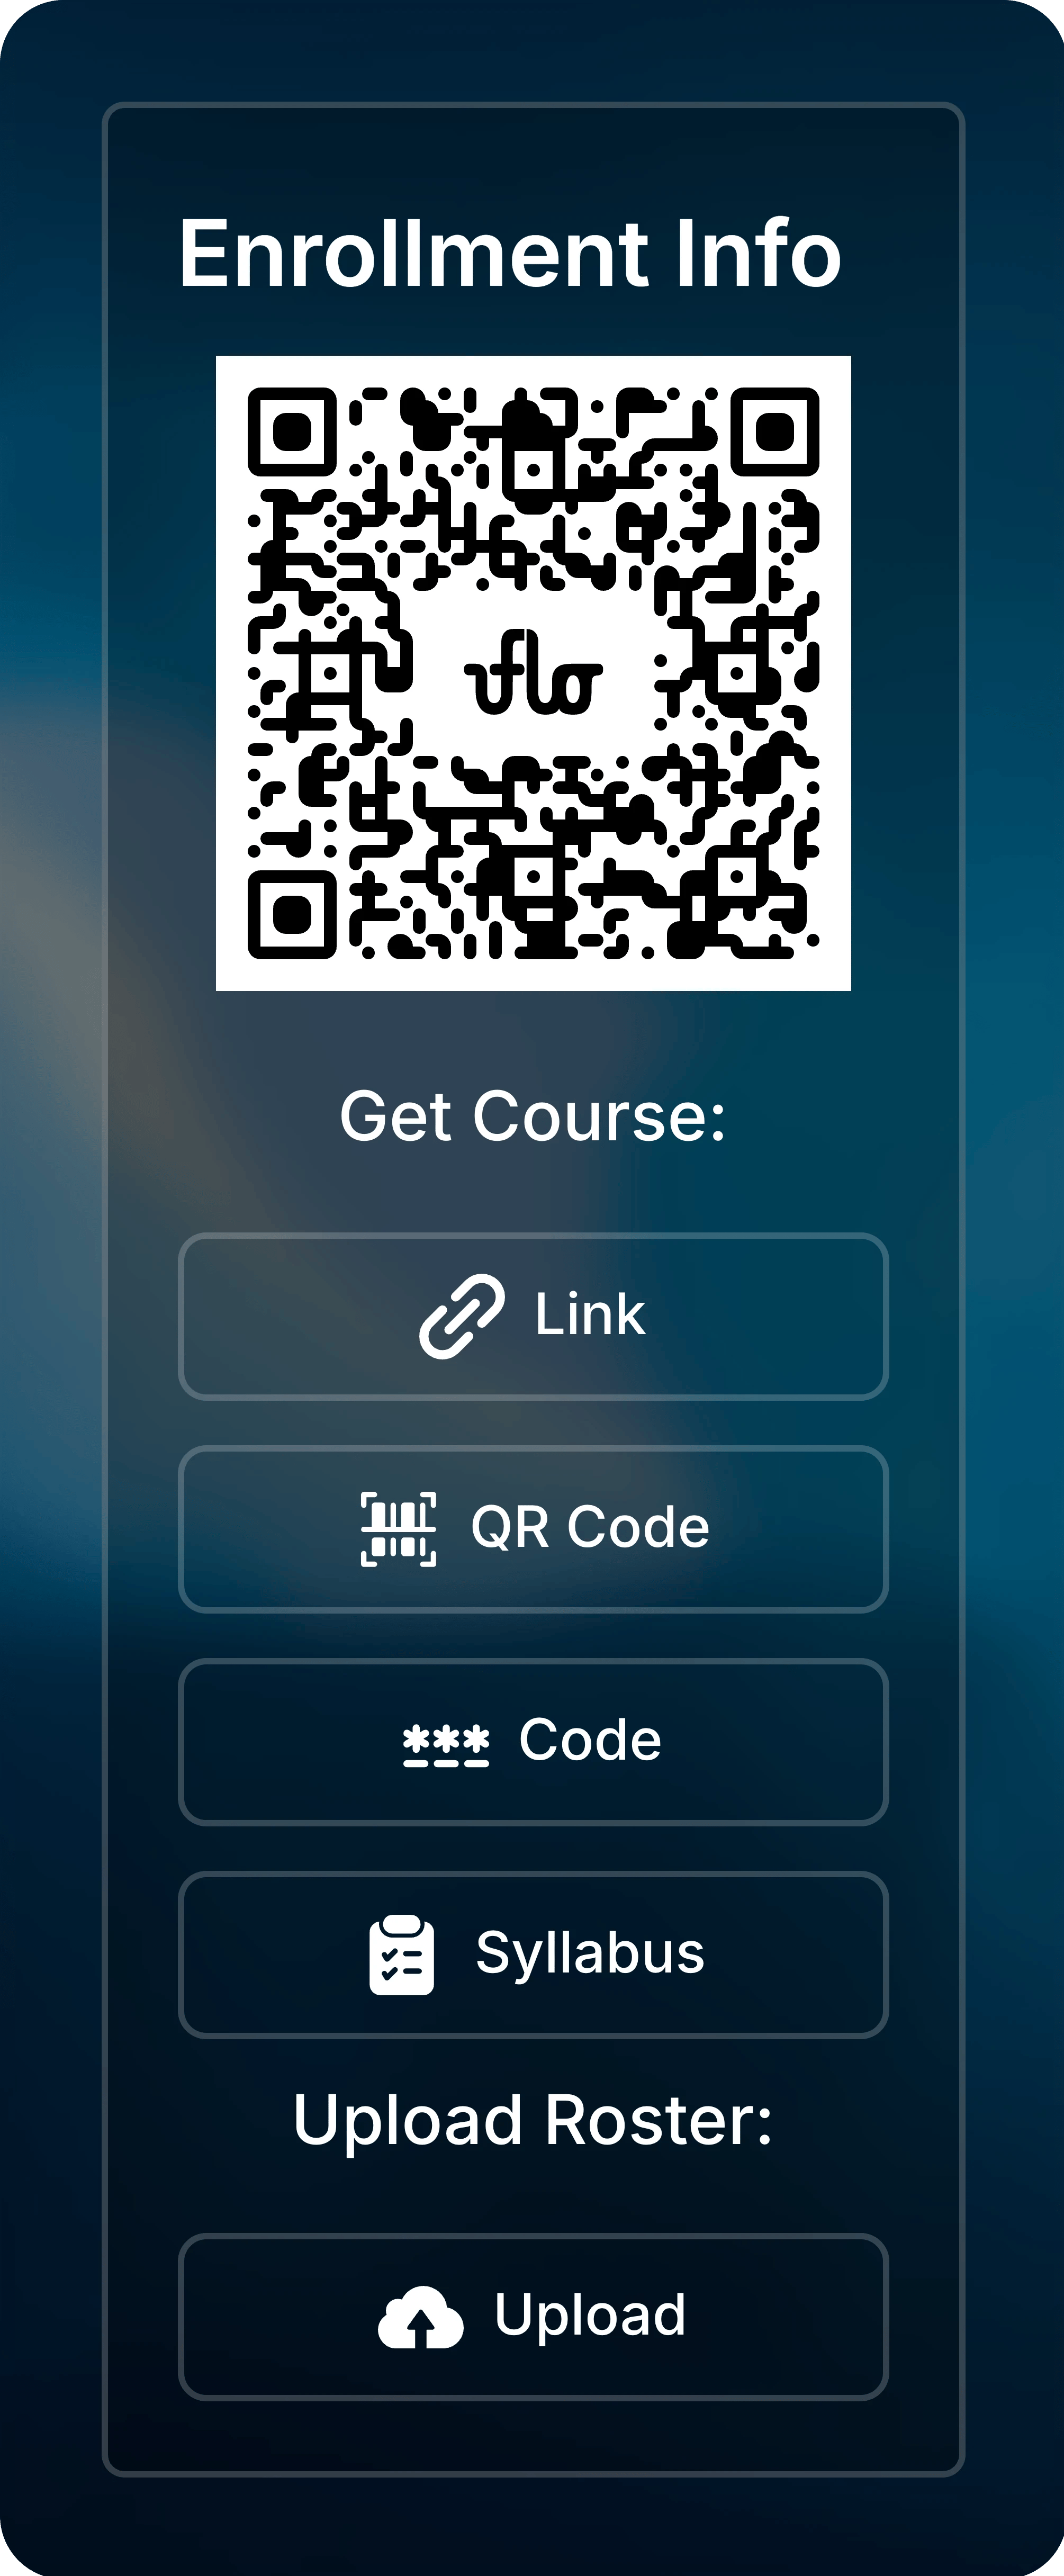
Enrollment Info holds everything students need to join.
Share the Link, QR Code, or Code
Choose the method that suits where you reach students, or share all three.
Enroll in a Course shows students how to use each one.
Add Enrollment Details to Your Syllabus
Select Syllabus in Enrollment Info to copy a ready-made syllabus section.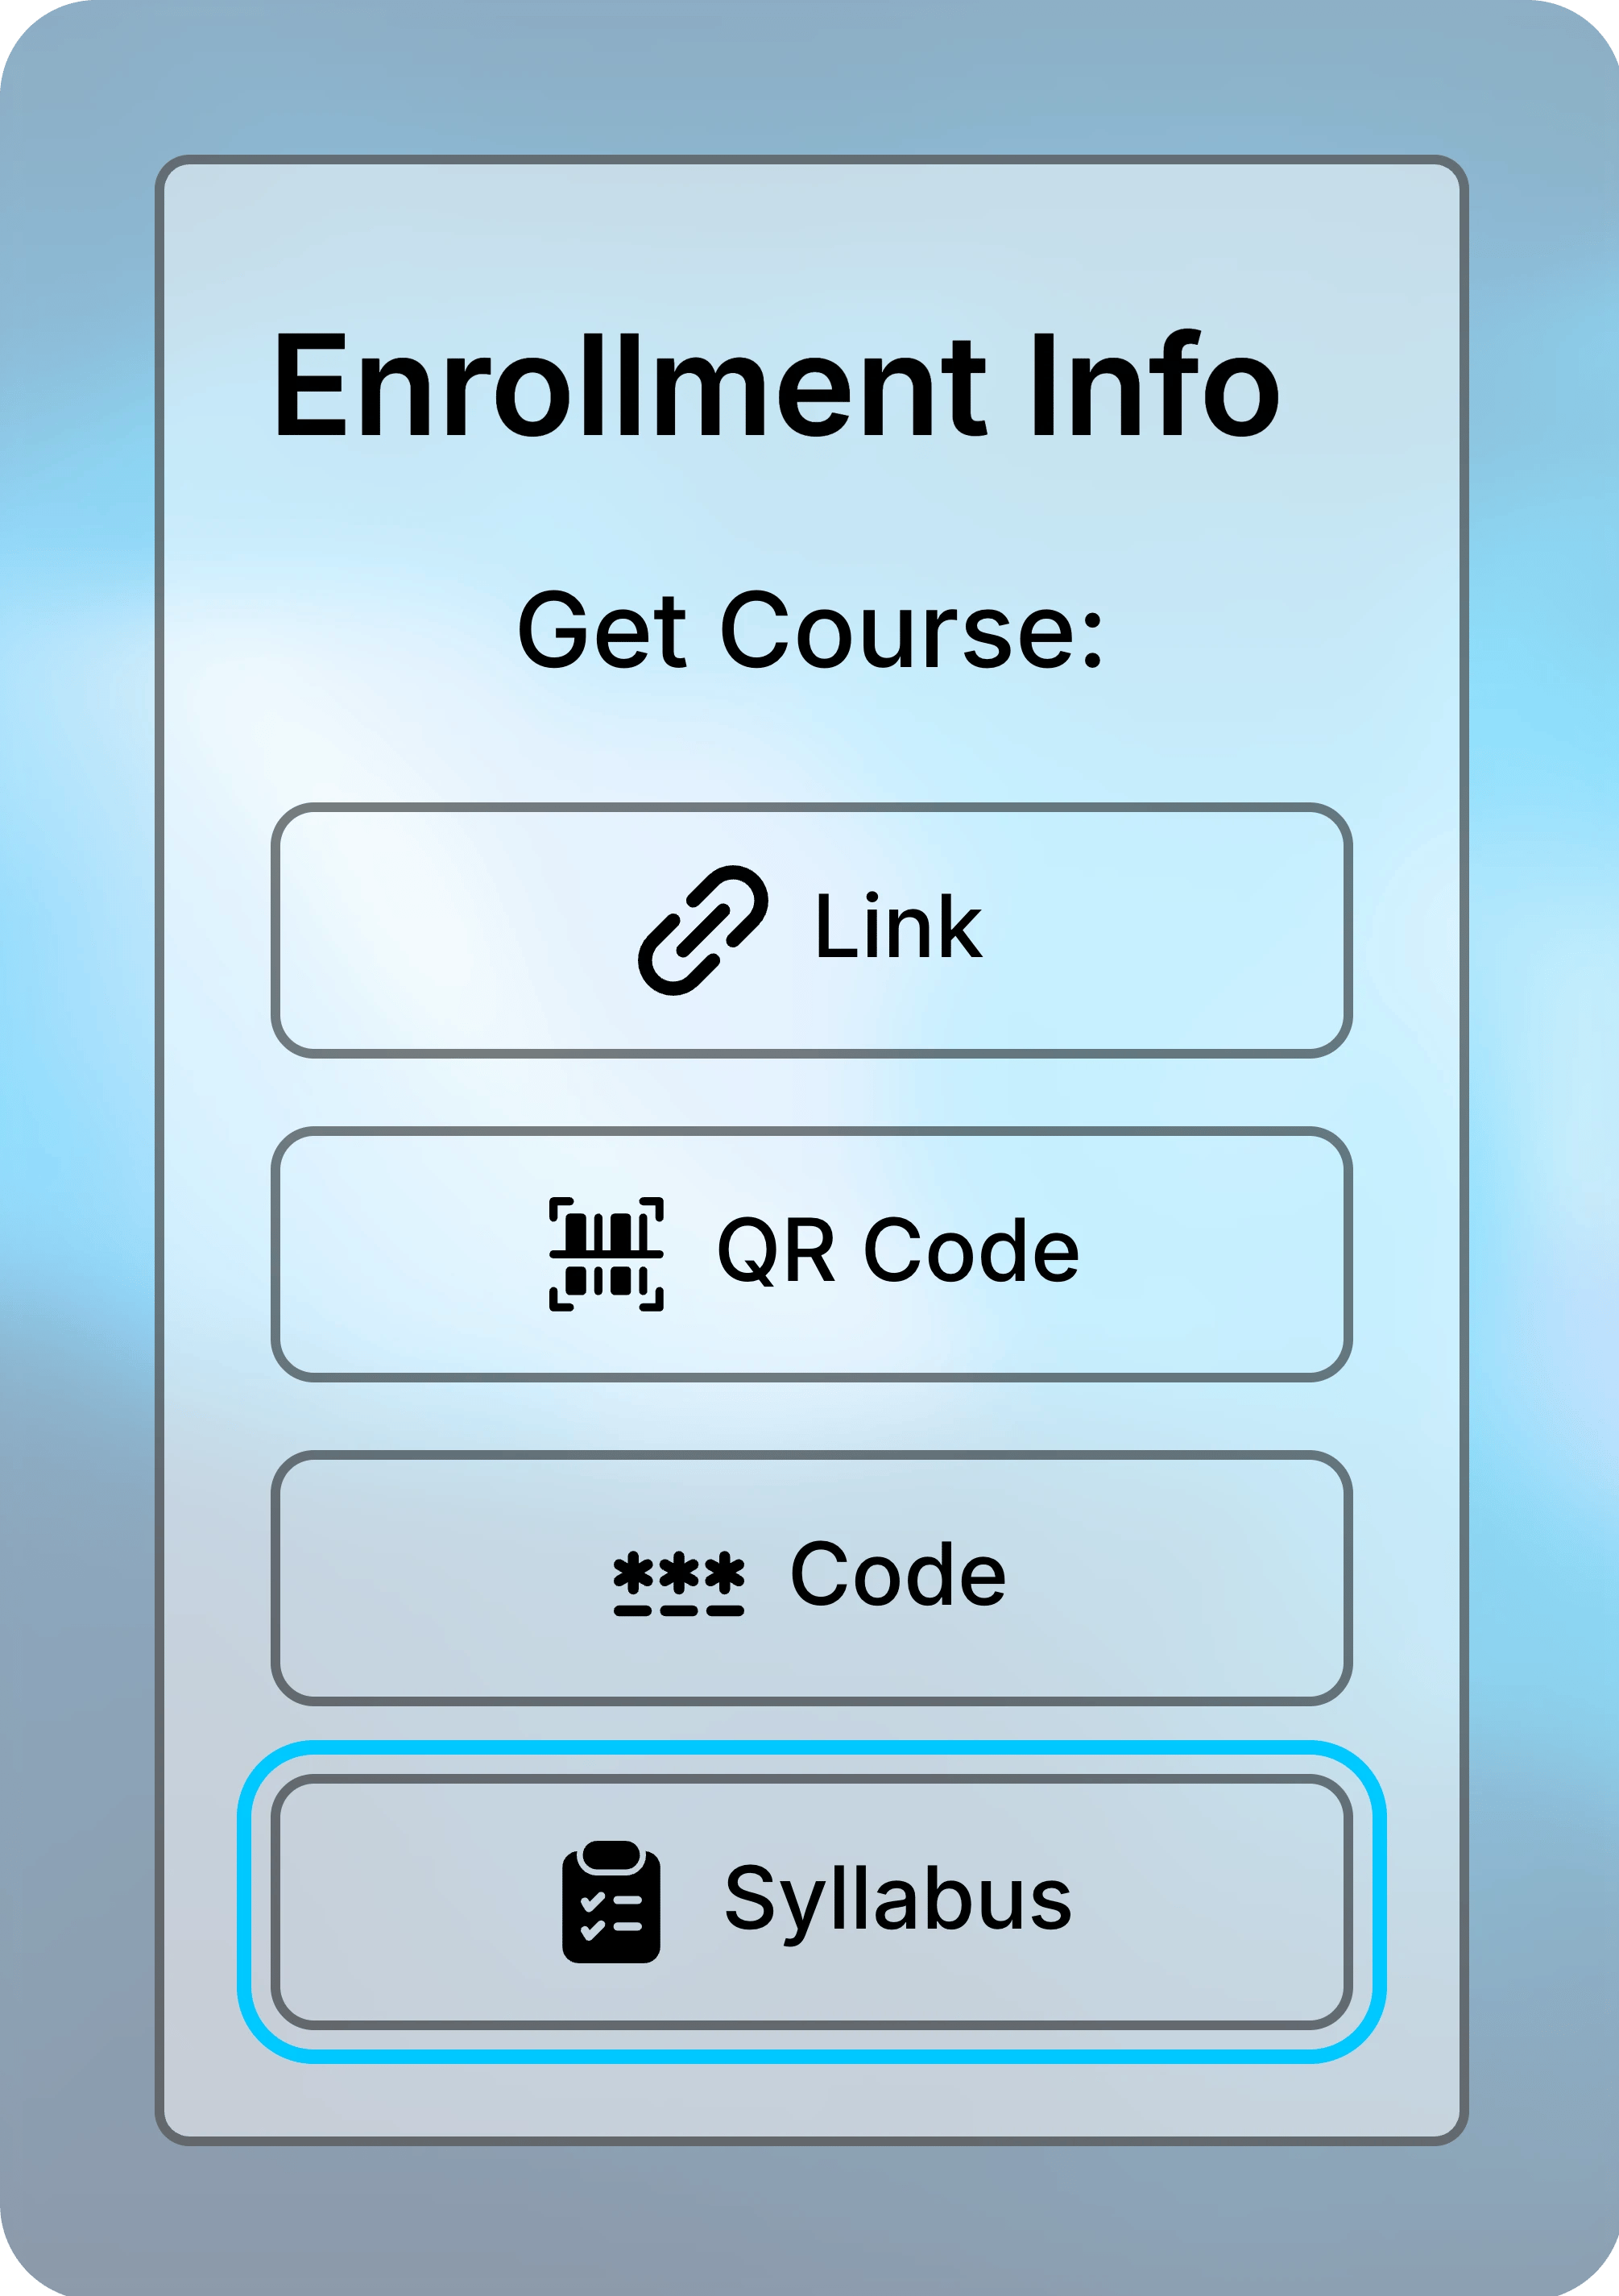
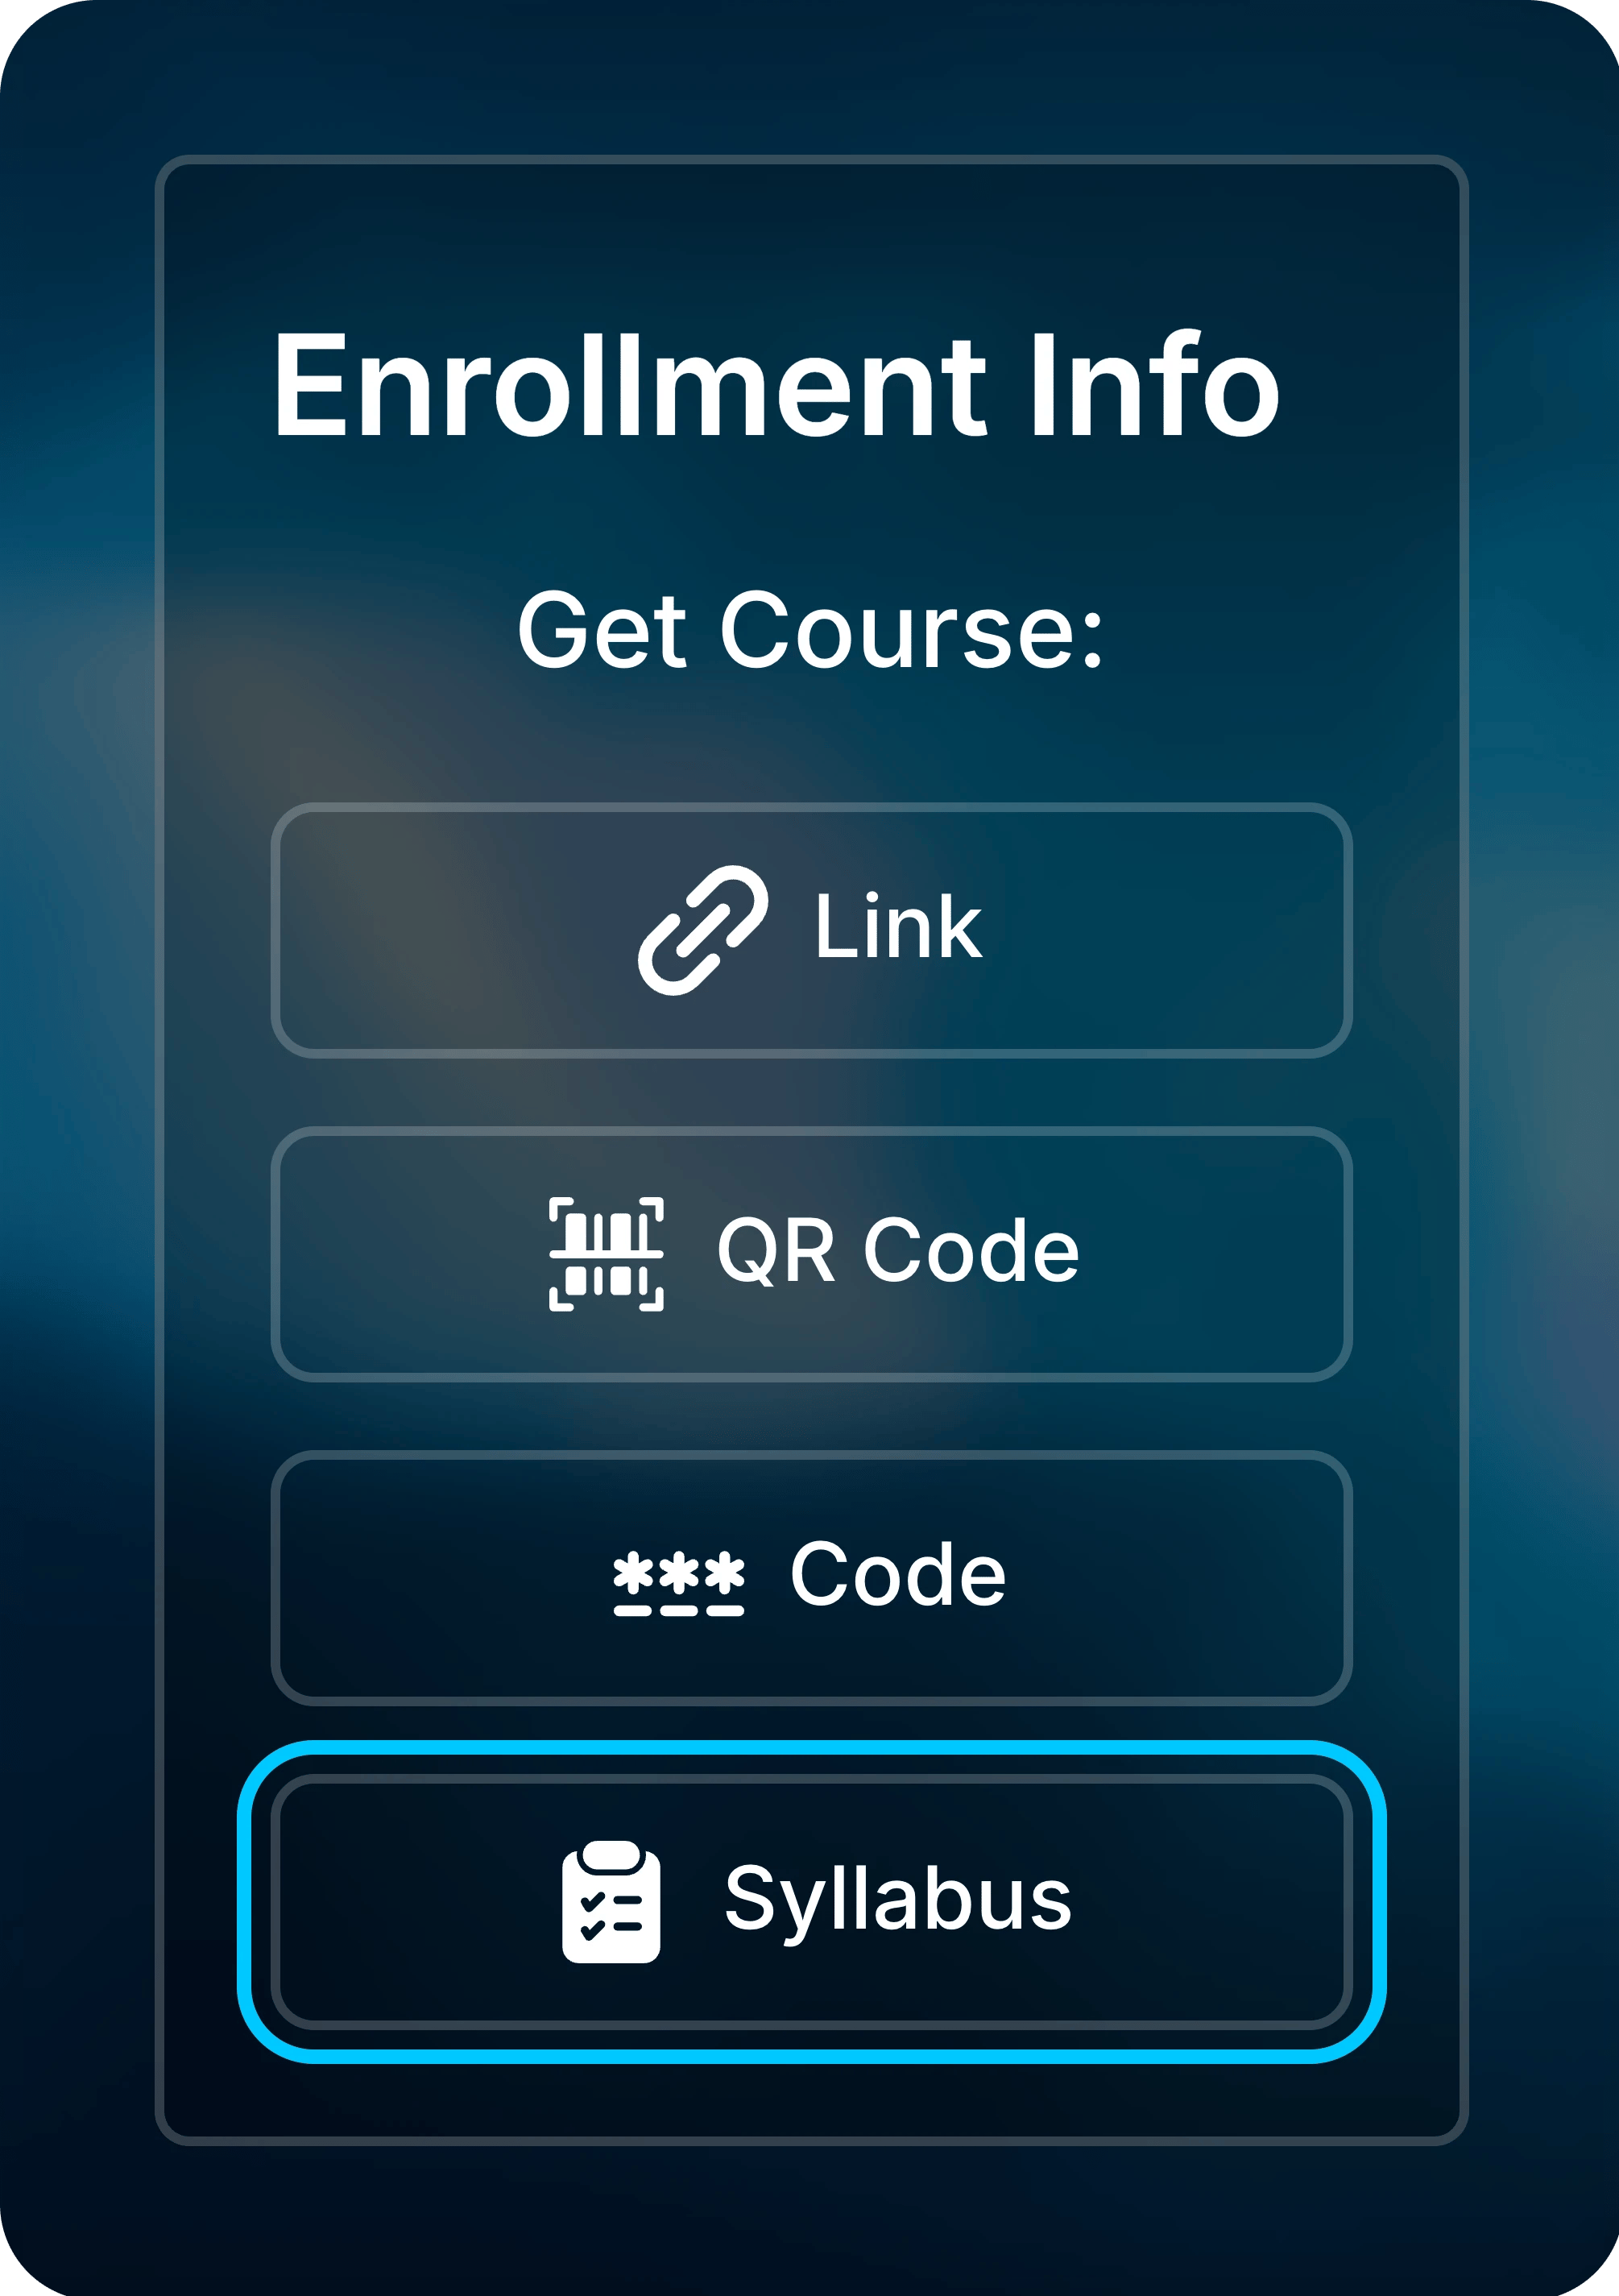
Select Syllabus to copy the section.
What the section includes
What the section includes
- A short introduction to Uflo and its study tools in your course
- Steps to enroll, with the link, QR code, and course code
- Whether the course is free, or its price and access code option
- Steps for completing an assessment in Uflo
- Payment, refund, and discount details, for a paid course
- How students contact Uflo Support
What Students See Next
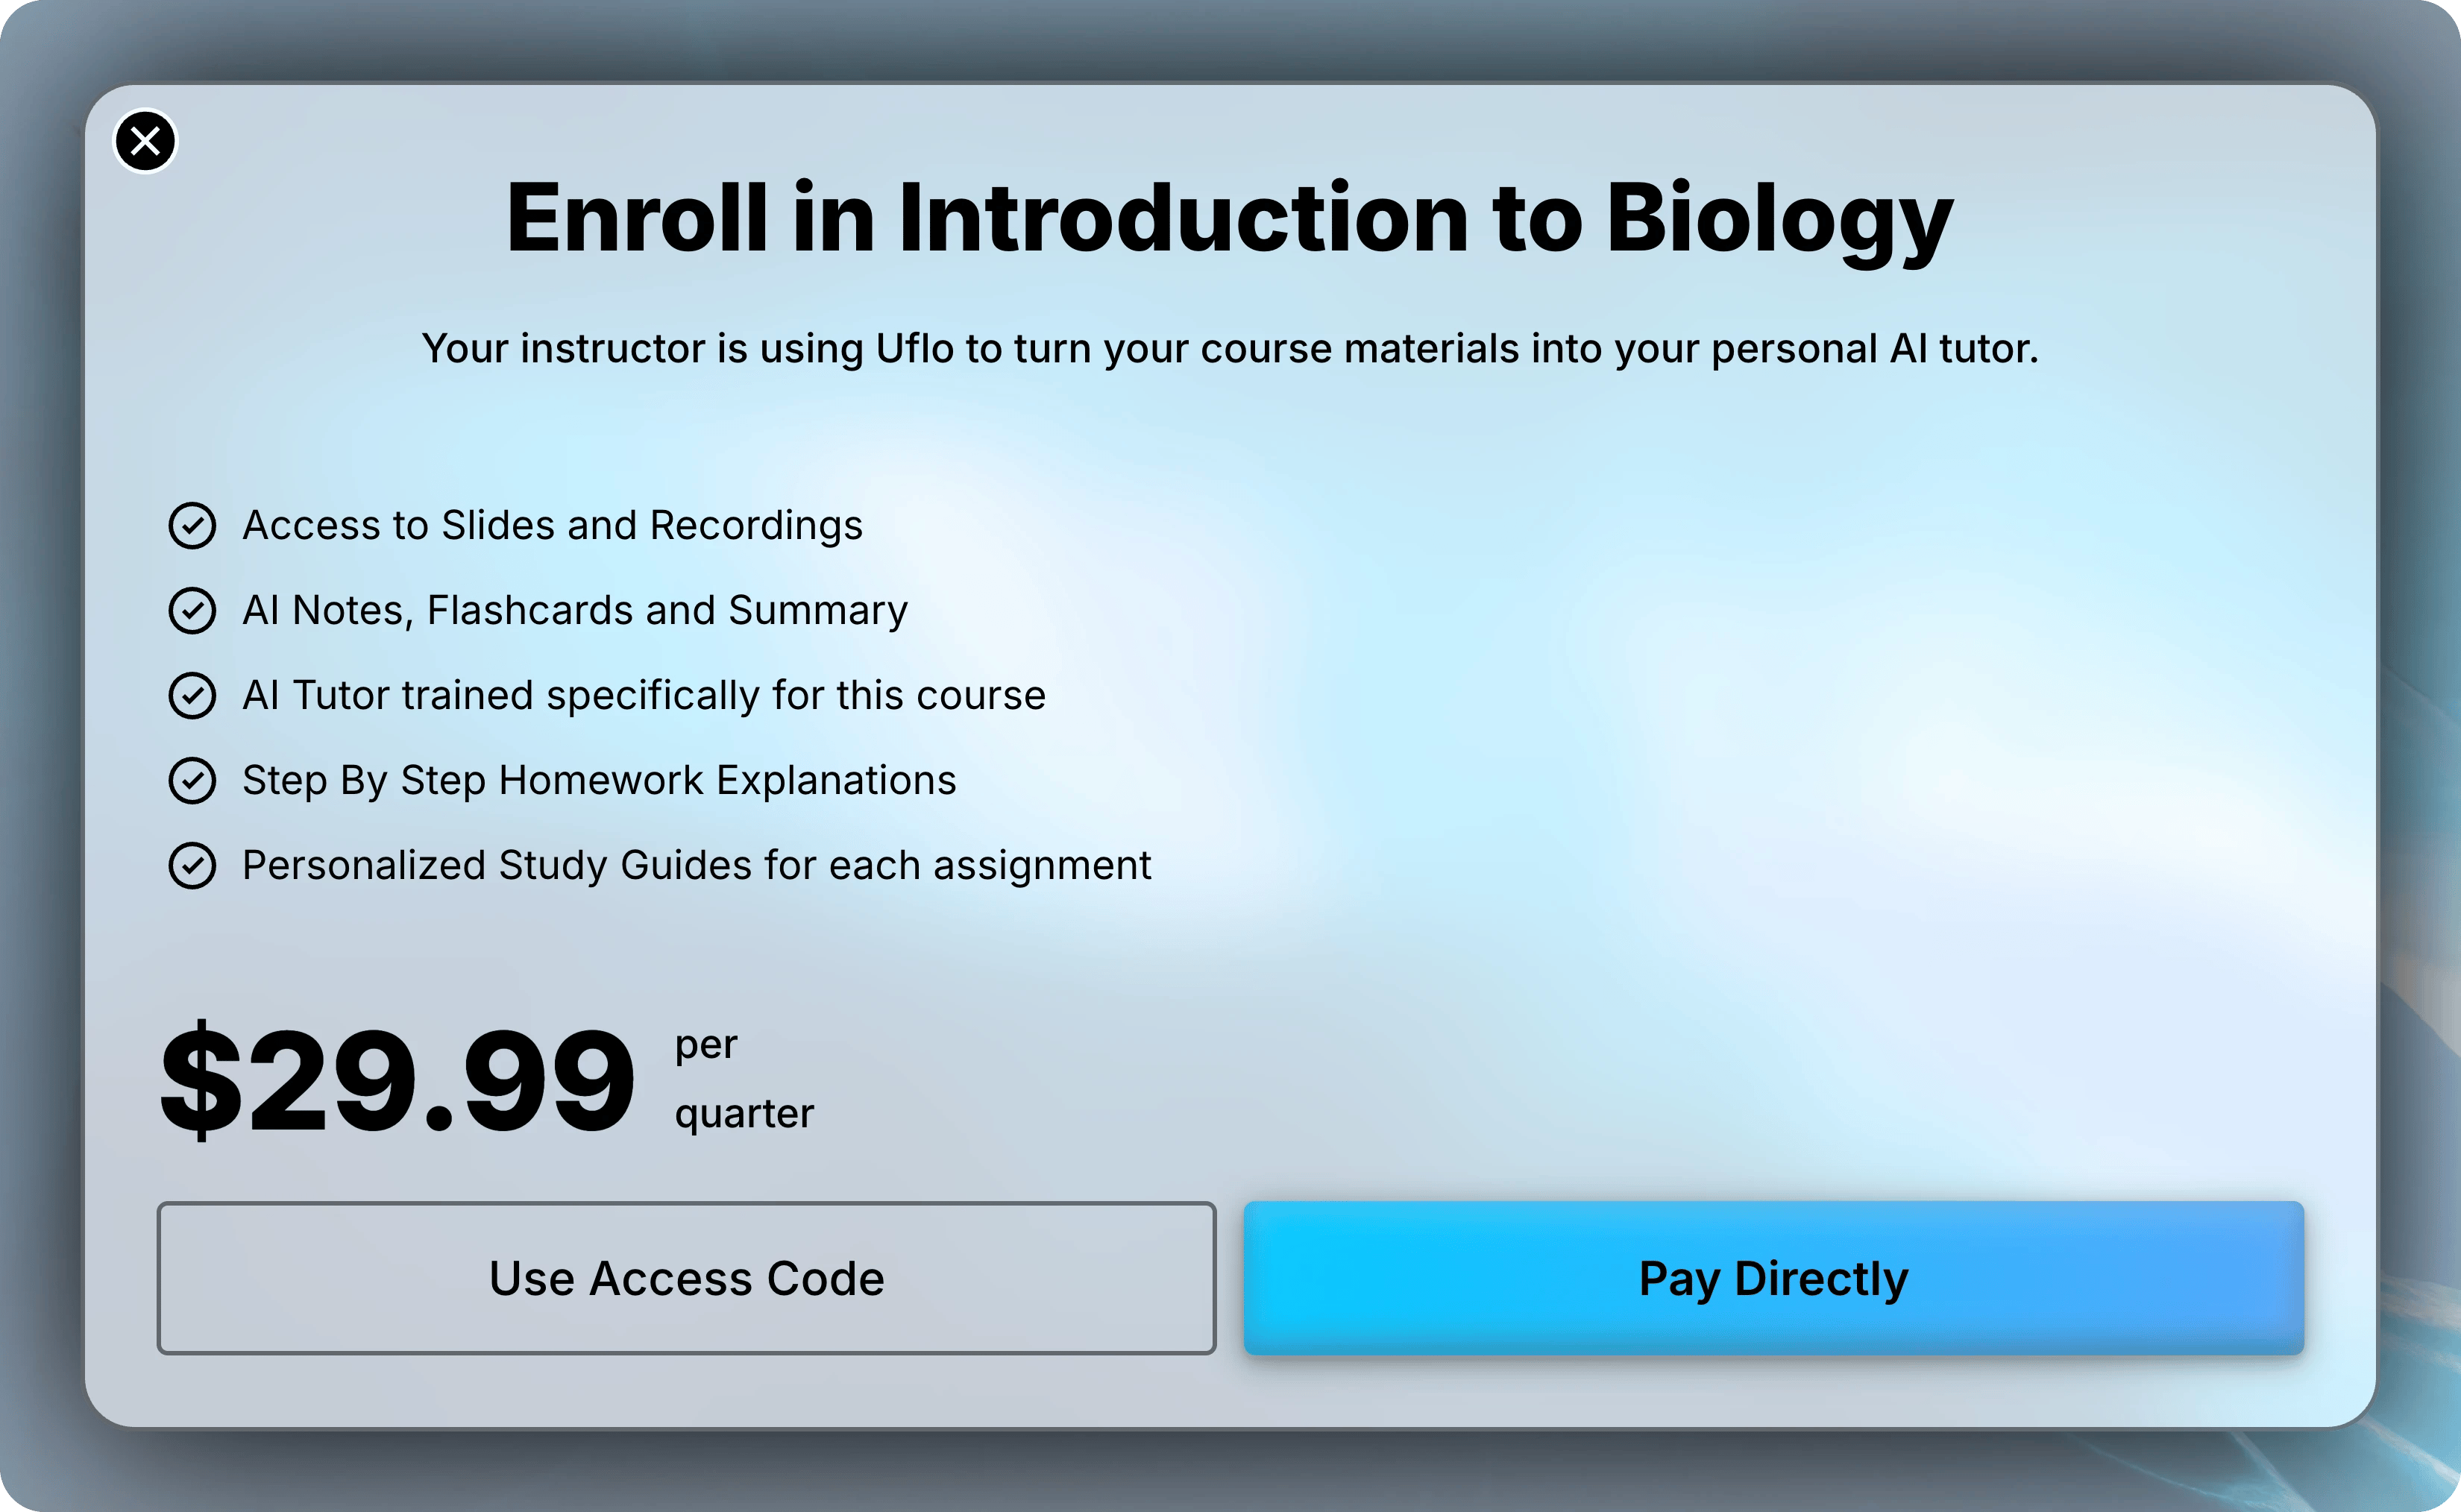
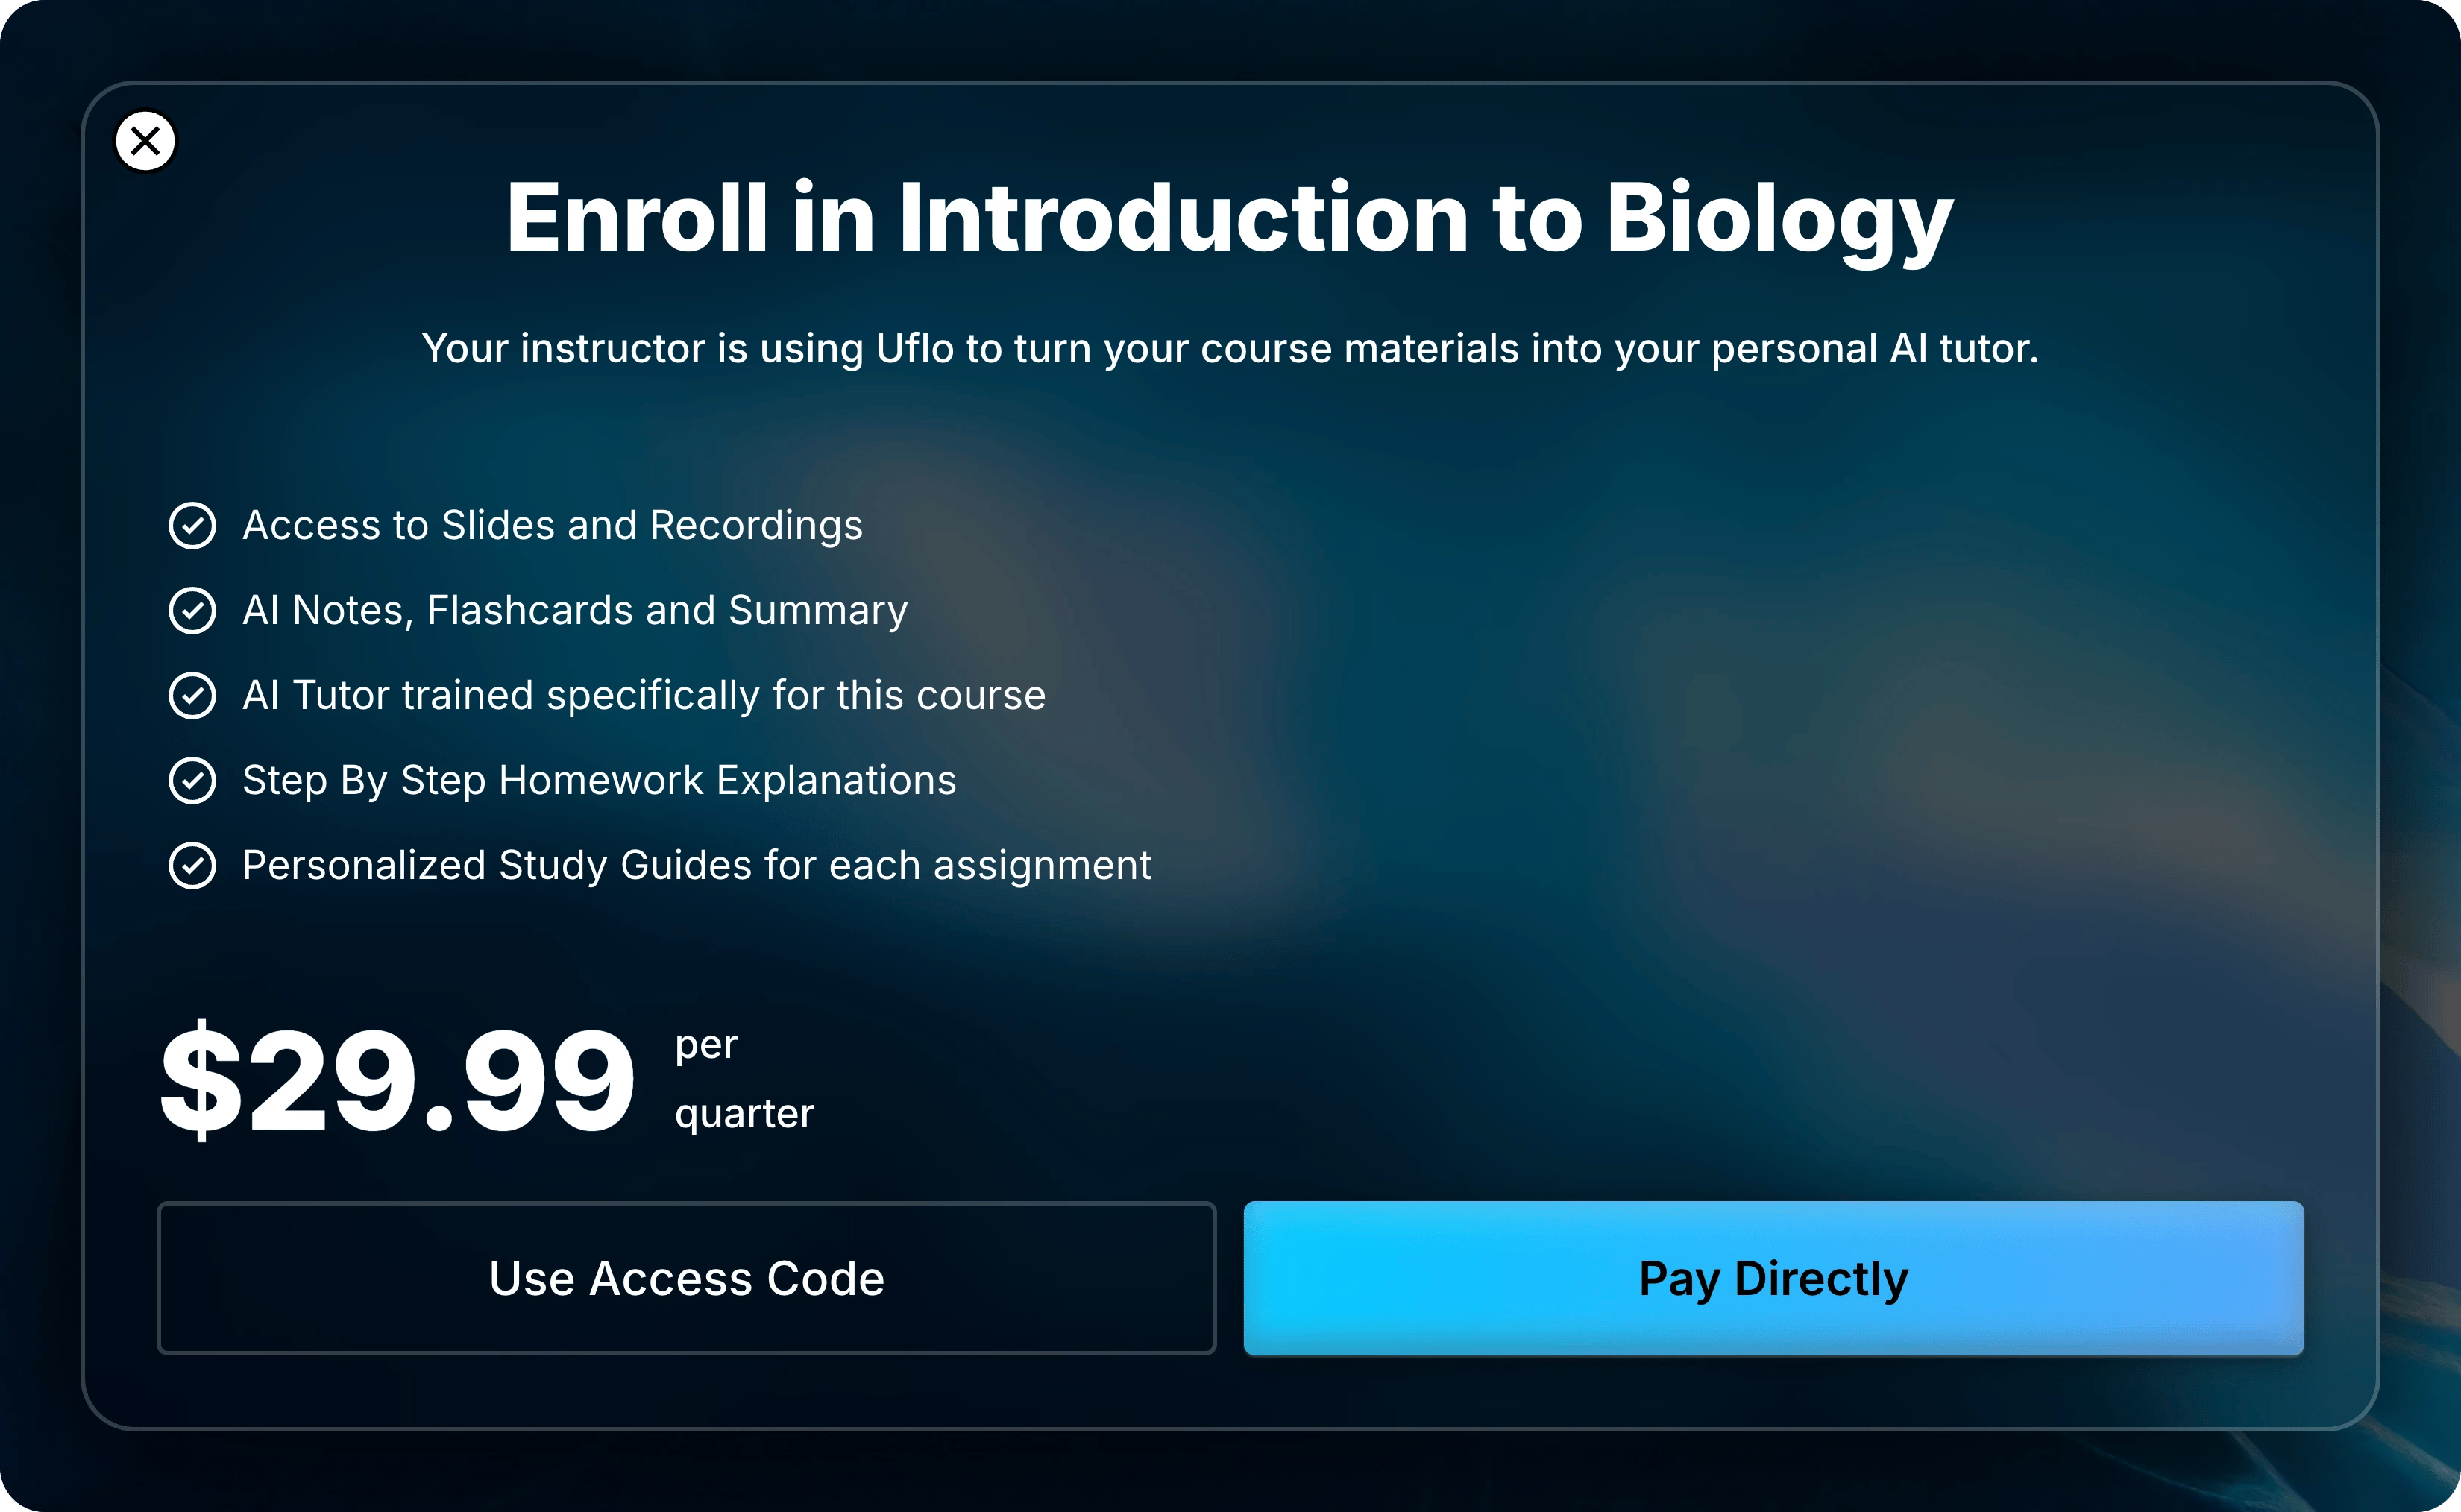
Students confirm the course name and its payment setup in the enrollment popup:- Free Course
- Paid Course
Students select Enroll to join right away.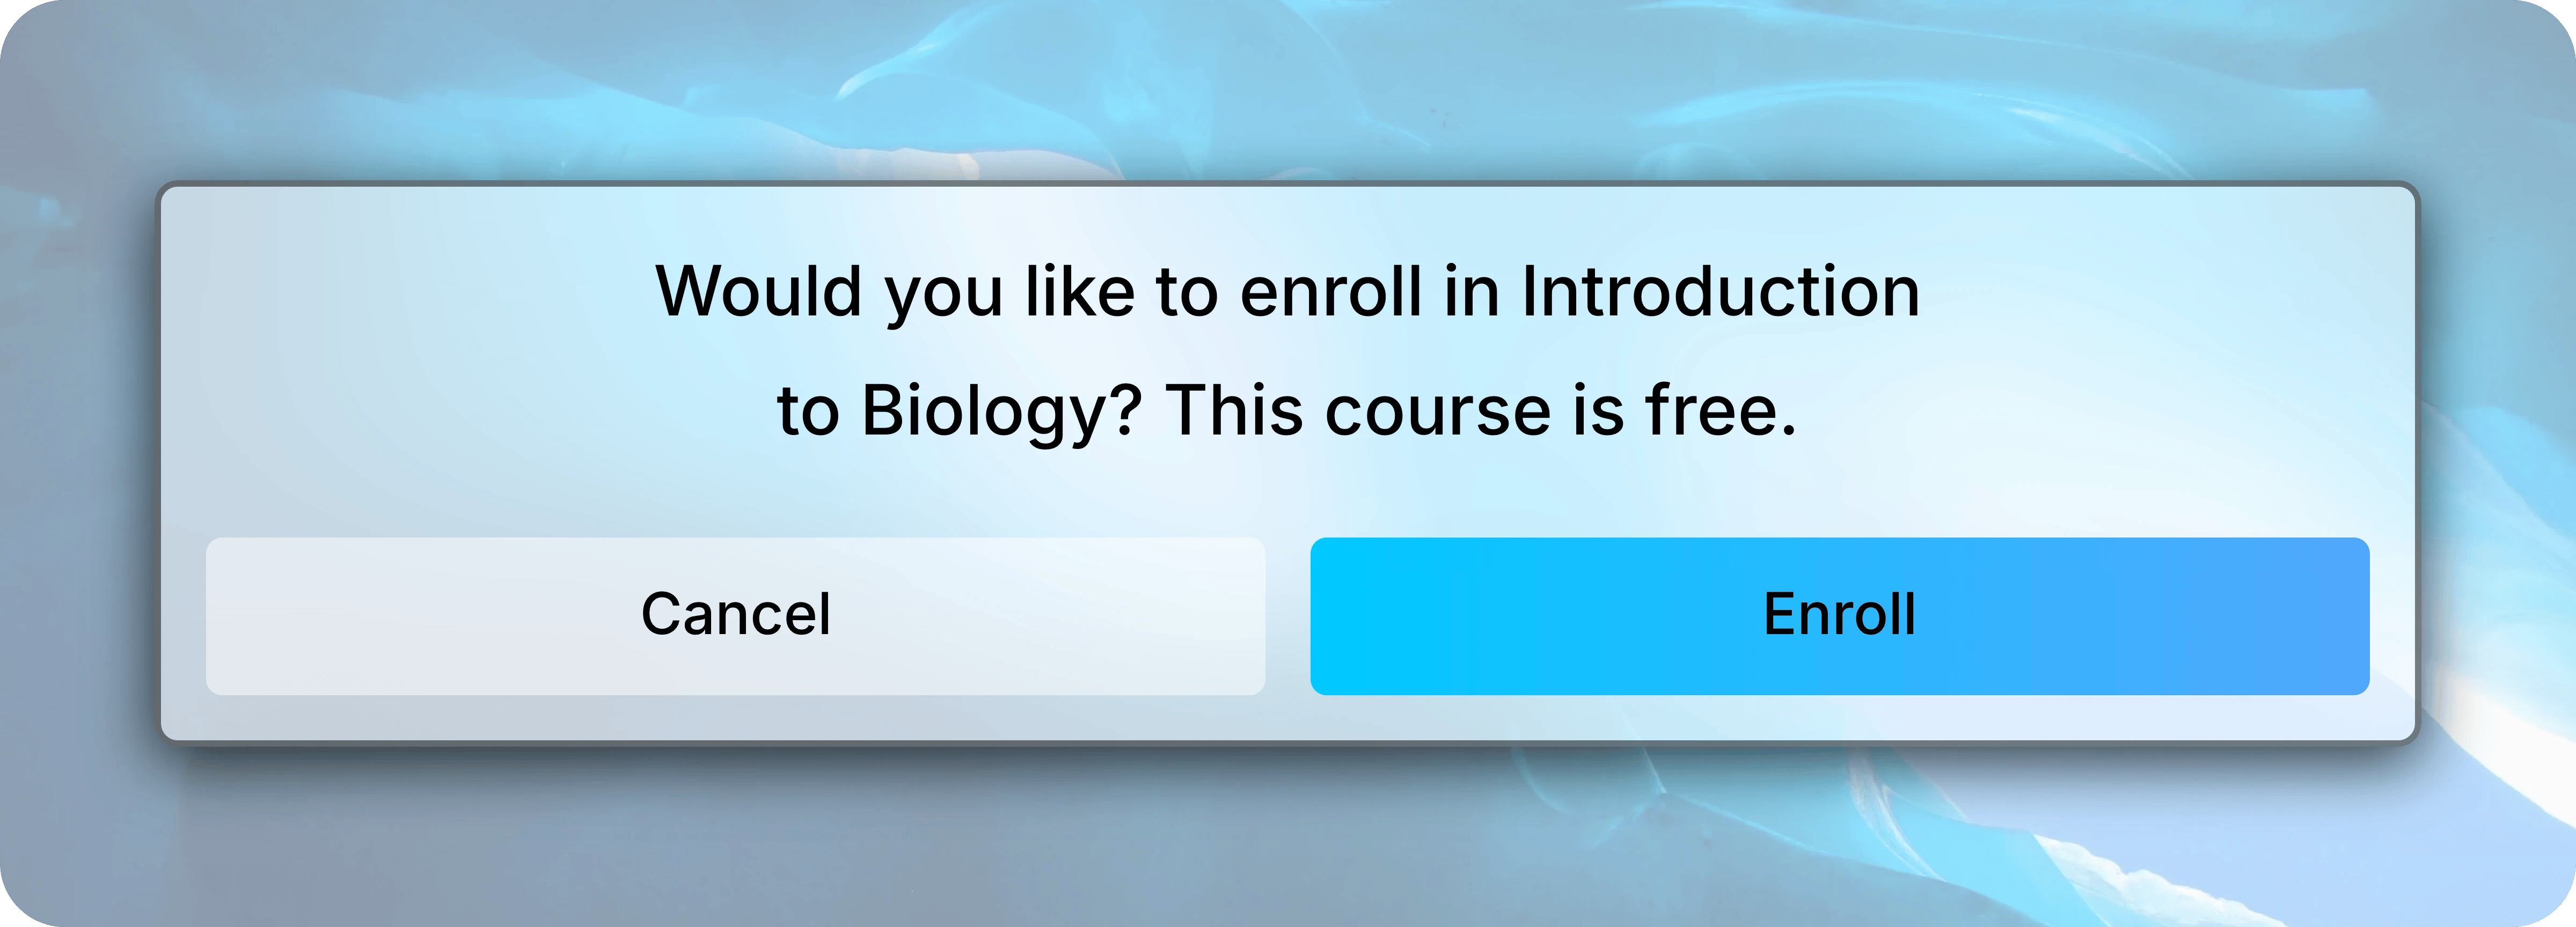
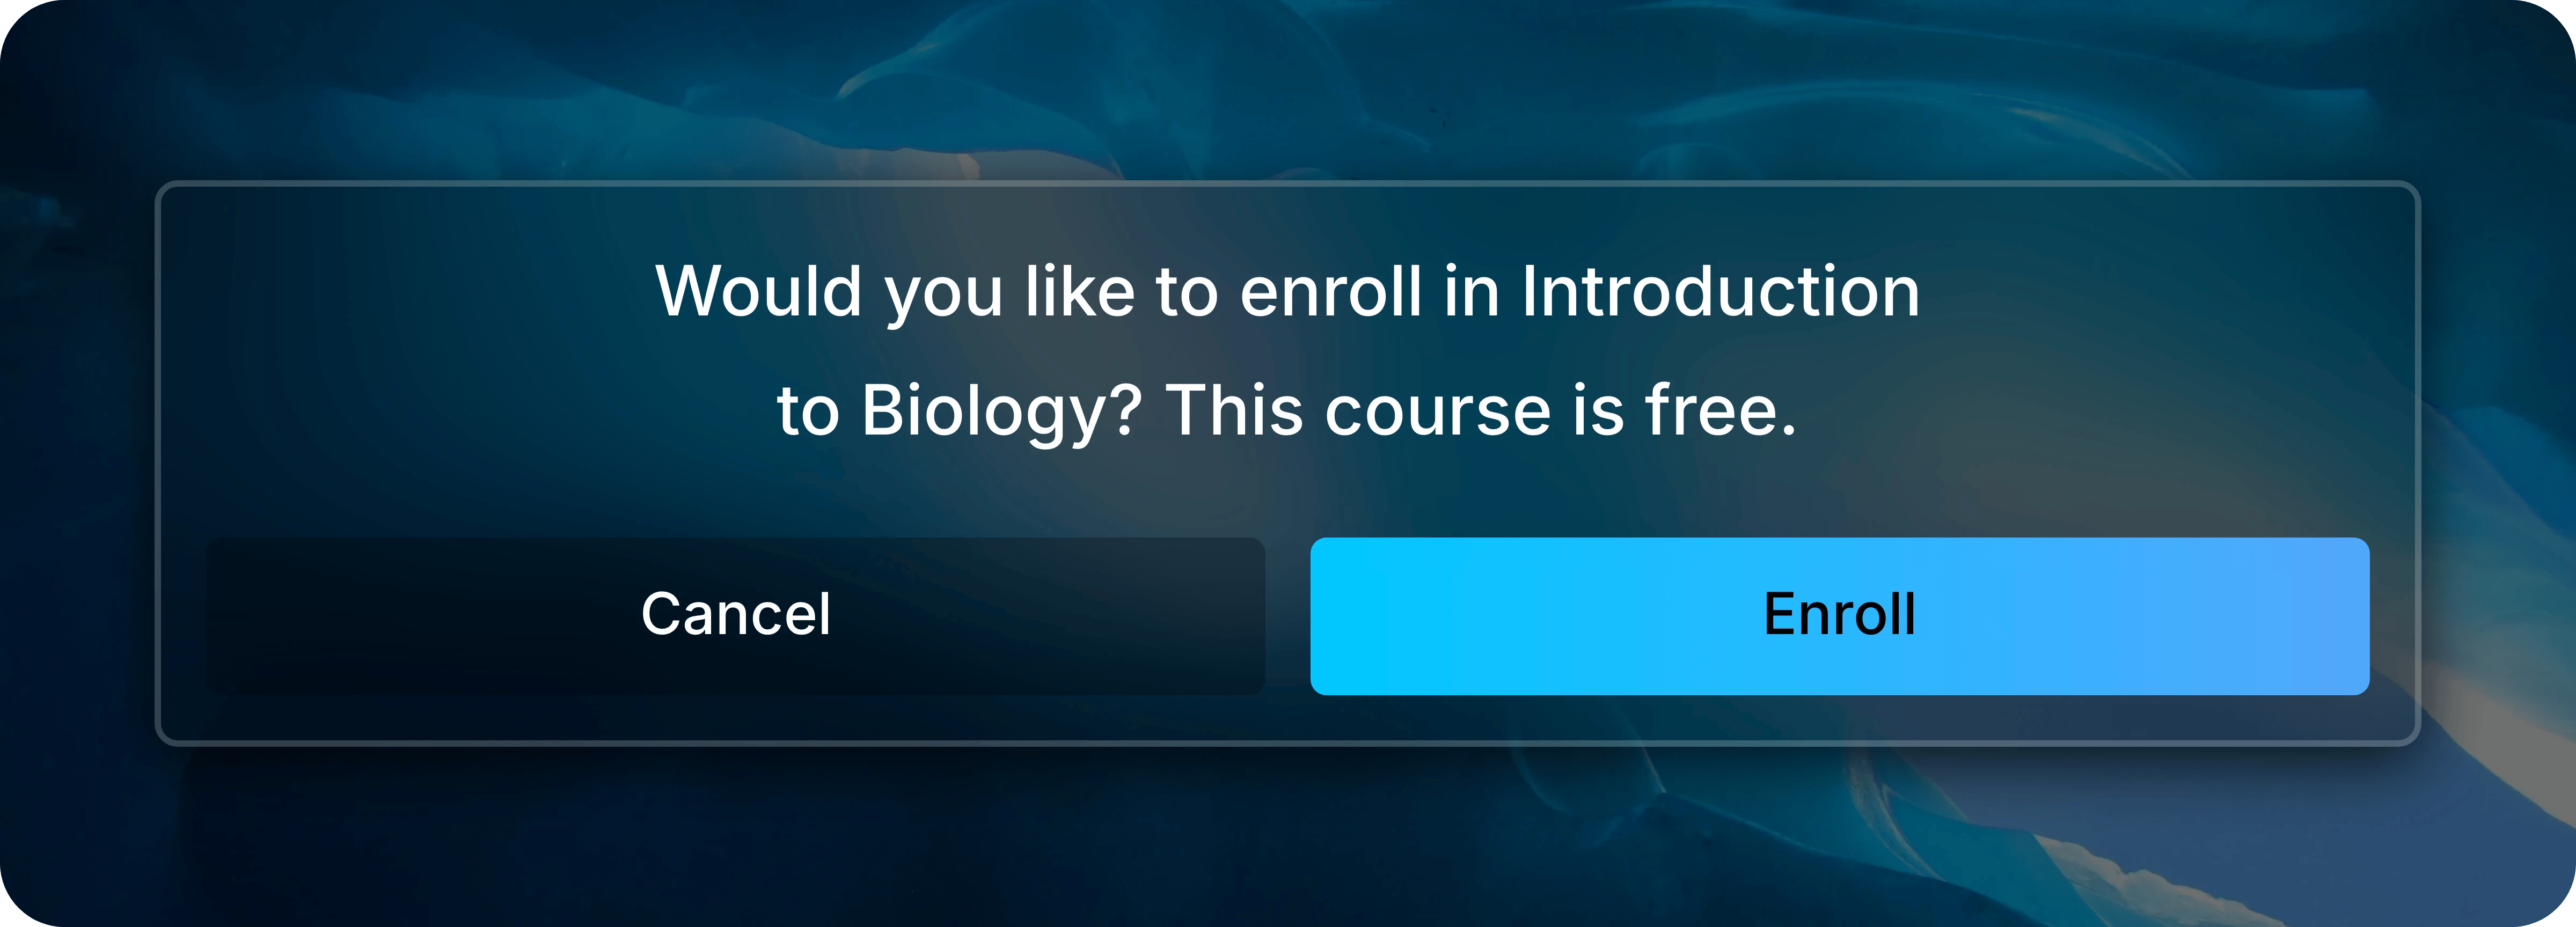
A free course asks students to confirm and enroll.
Common Questions
A student can't find the course. What should I check?
A student can't find the course. What should I check?
Confirm they used this course’s link or code. Each course has its own.Have them sign in with the account they enrolled with and reload Courses. A student who left before confirming or checking out isn’t enrolled and can reopen the link to finish. The student troubleshooting section covers other cases.
Why do students see that enrollment is restricted or disabled?
Why do students see that enrollment is restricted or disabled?
Your course isn’t approved for enrollment yet. Open Enrollments from the course menu and select Request Approval.
A student joined the wrong course. What should they do?
A student joined the wrong course. What should they do?
Send them the link or code for the right course, and they can join it the same way. If they paid or used an access code for the wrong course, they should contact Uflo Support before paying again.
Who helps students with payment or sign-in problems?
Who helps students with payment or sign-in problems?
Uflo Support. Students select Support in the Uflo sidebar or email support@uflo.io. The syllabus section tells them the same.
Next: Manage Roster
Review who has joined and match students to your class list.