
Open Enrollments
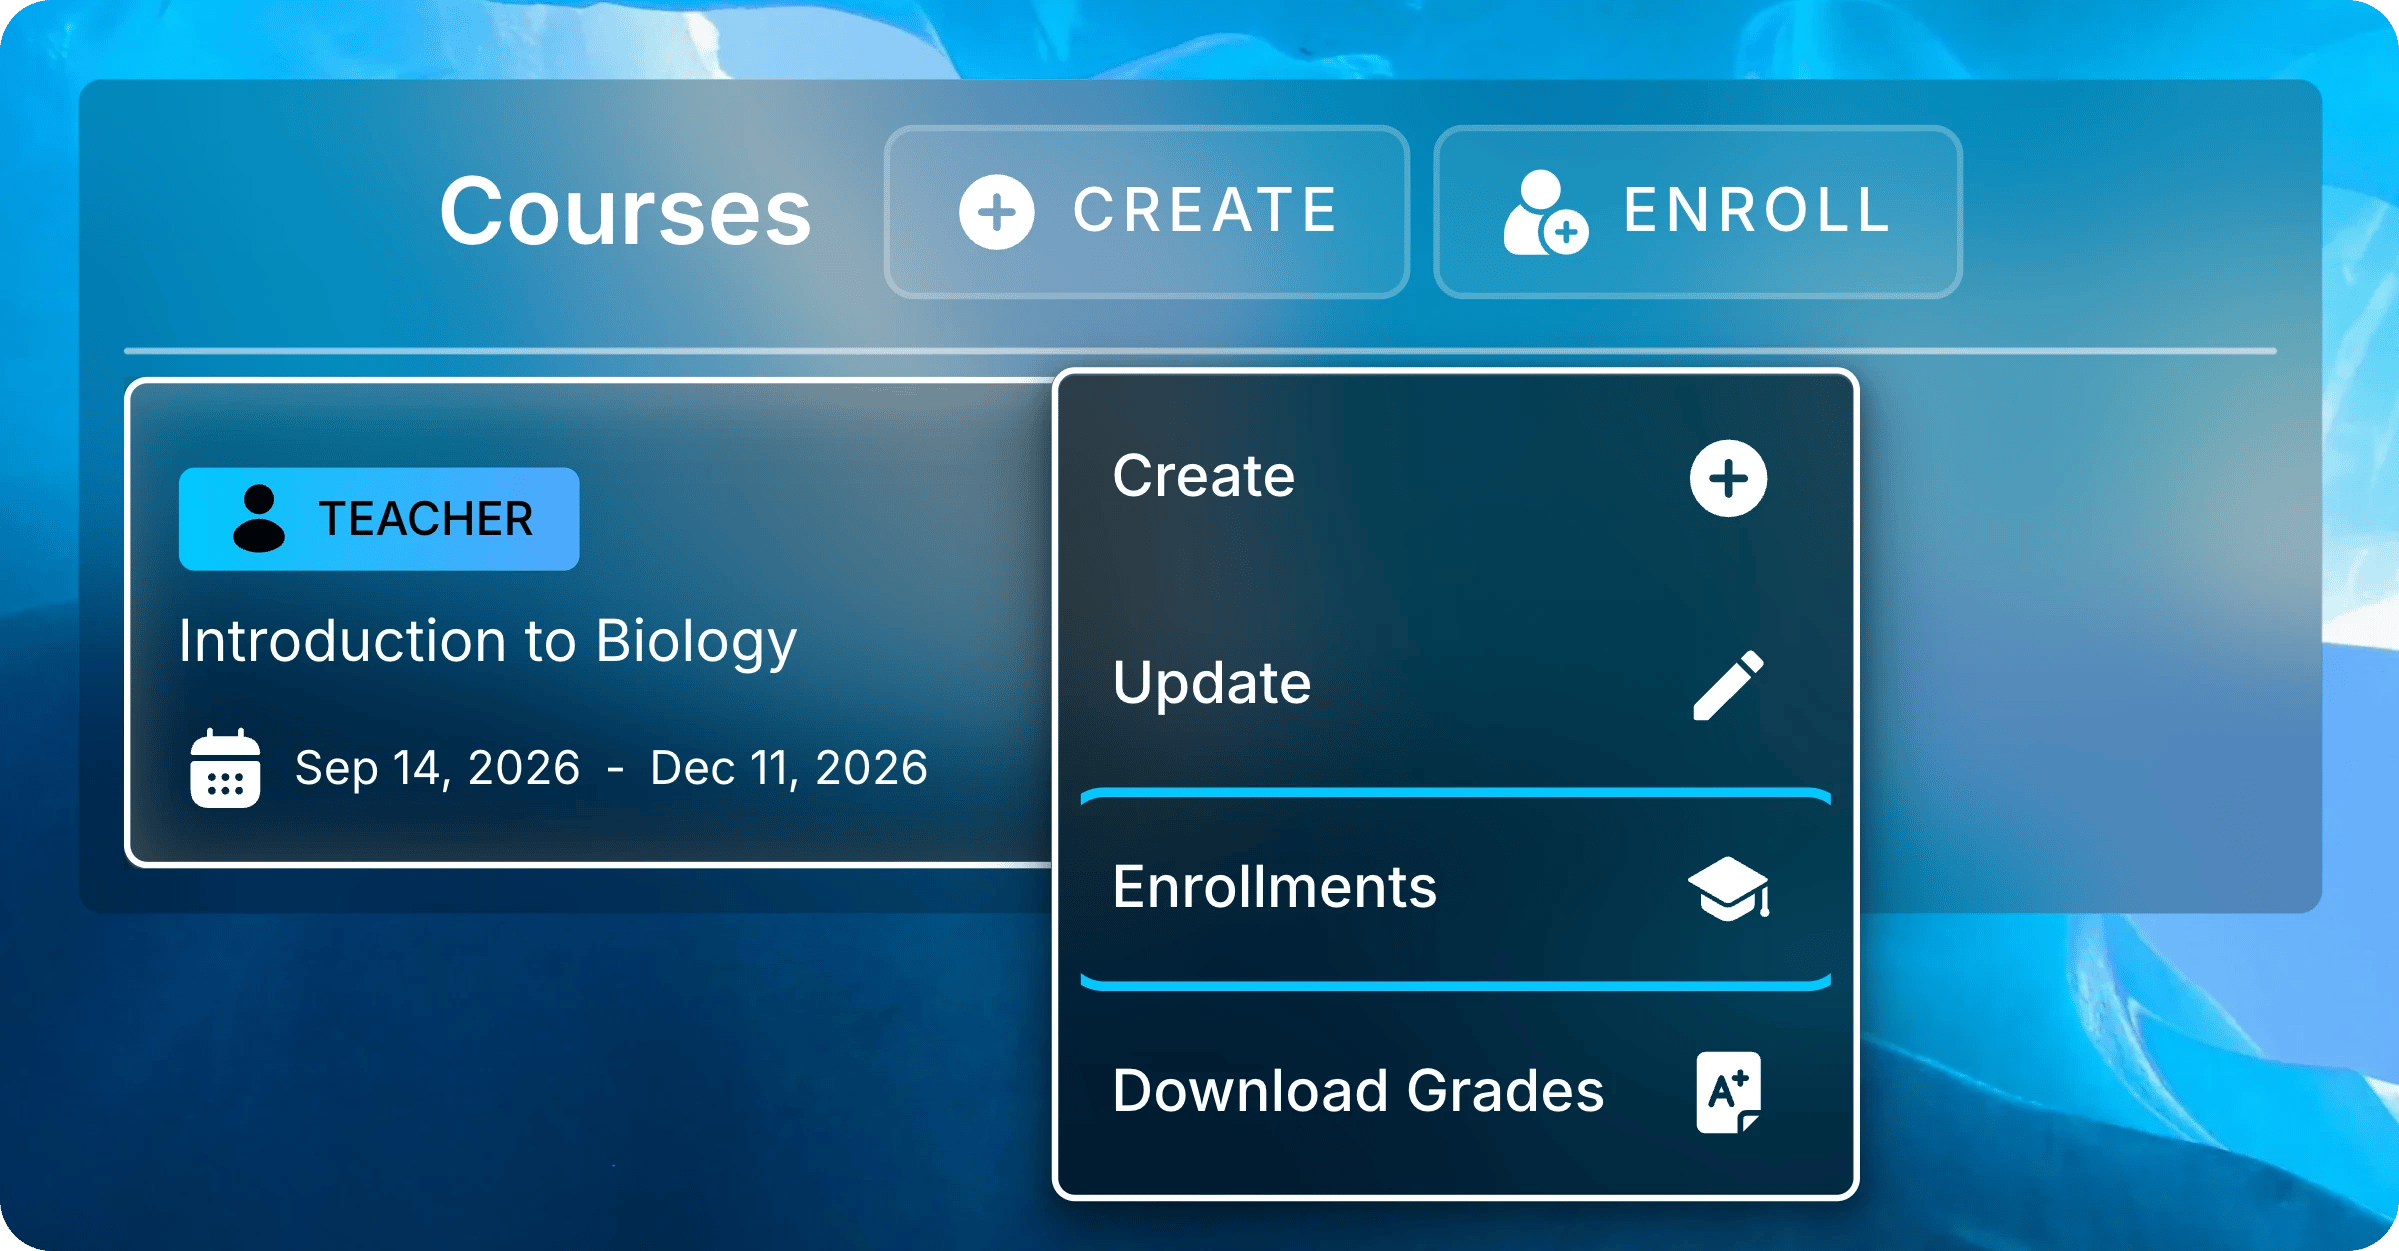
In Courses, right-click your course and select Enrollments.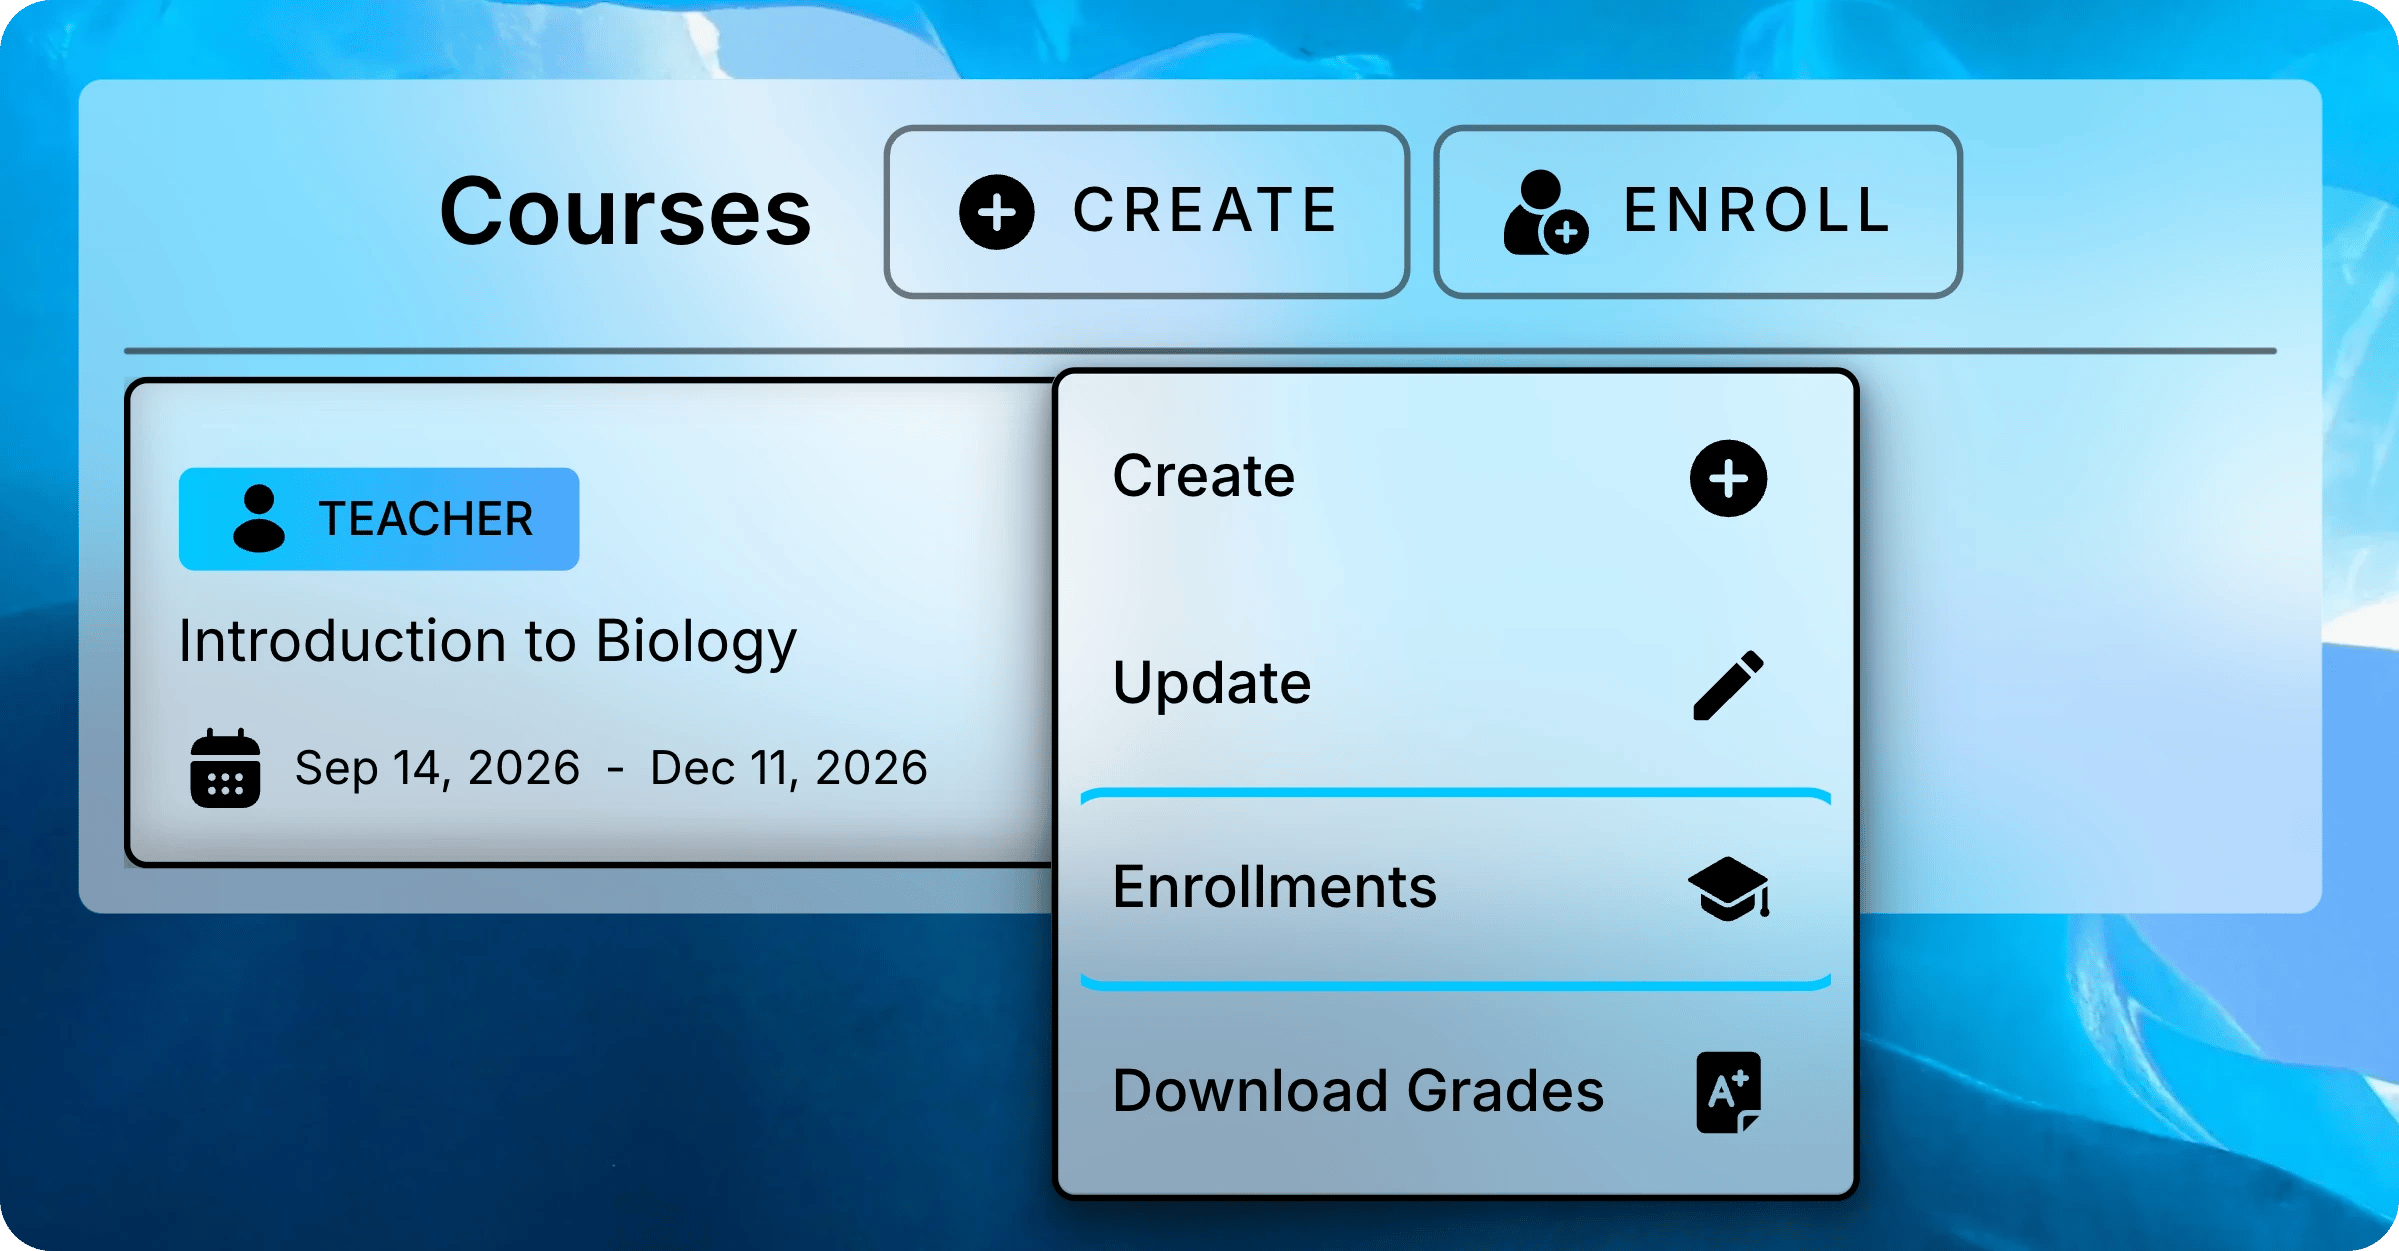
Read the Enrollment List
Teachers appear first, followed by students in alphabetical order.
Teachers always show as synced.
Until you upload a roster, every student does too.
Use the filters above the list to narrow it down.
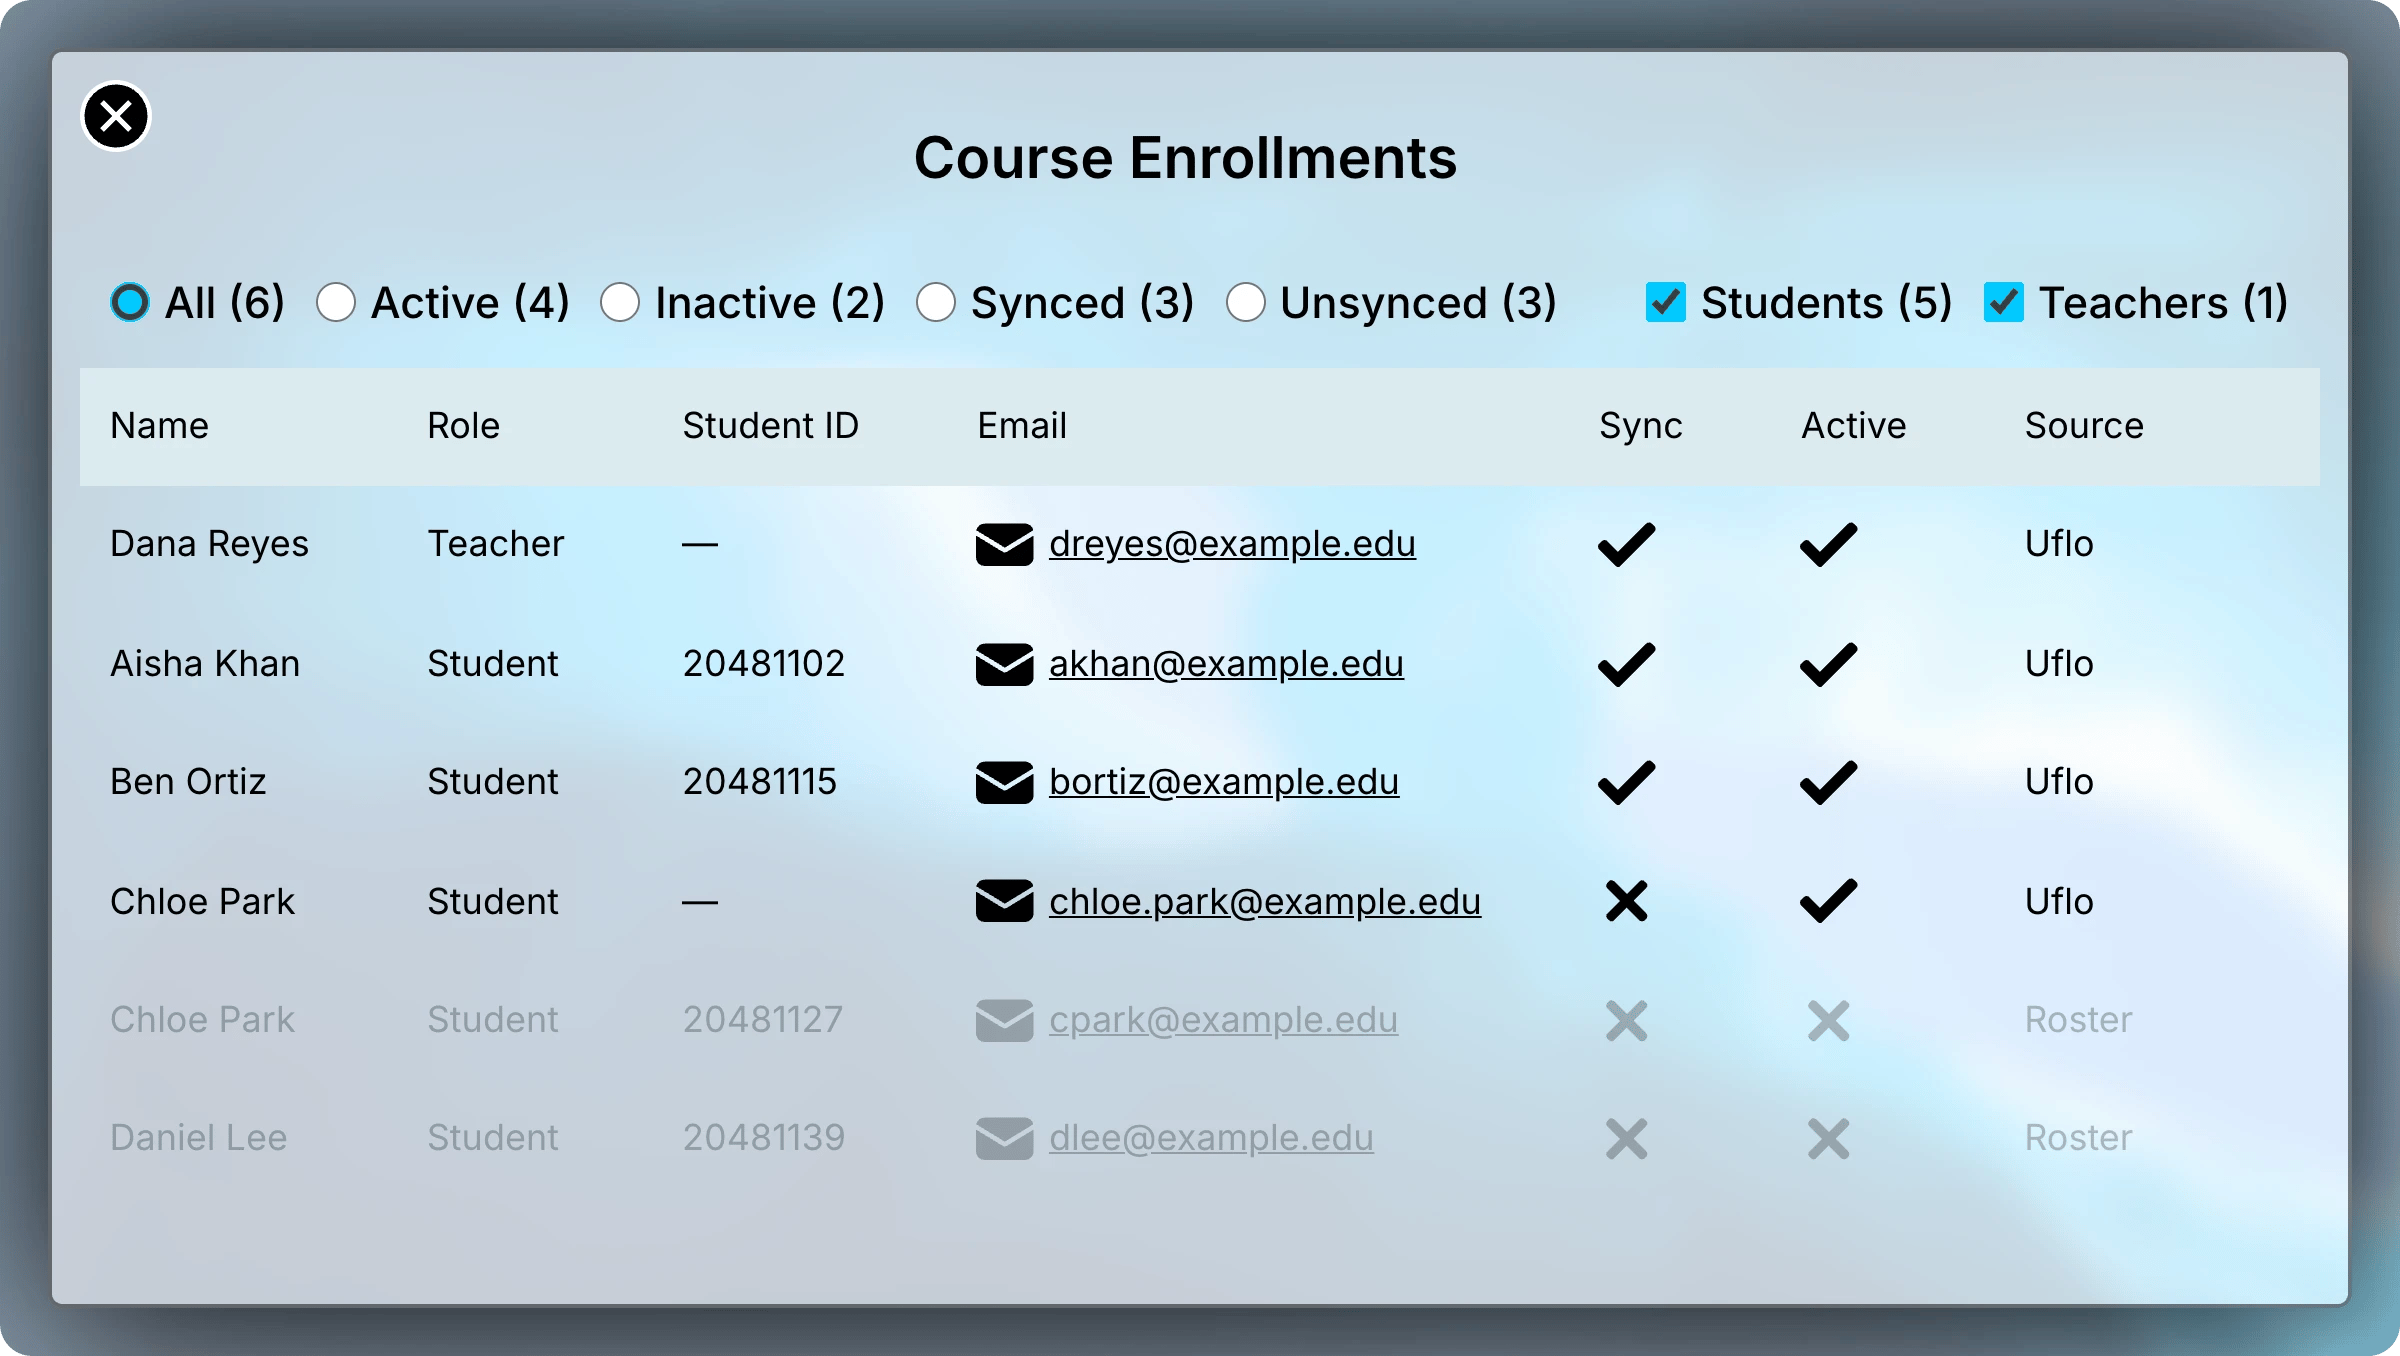
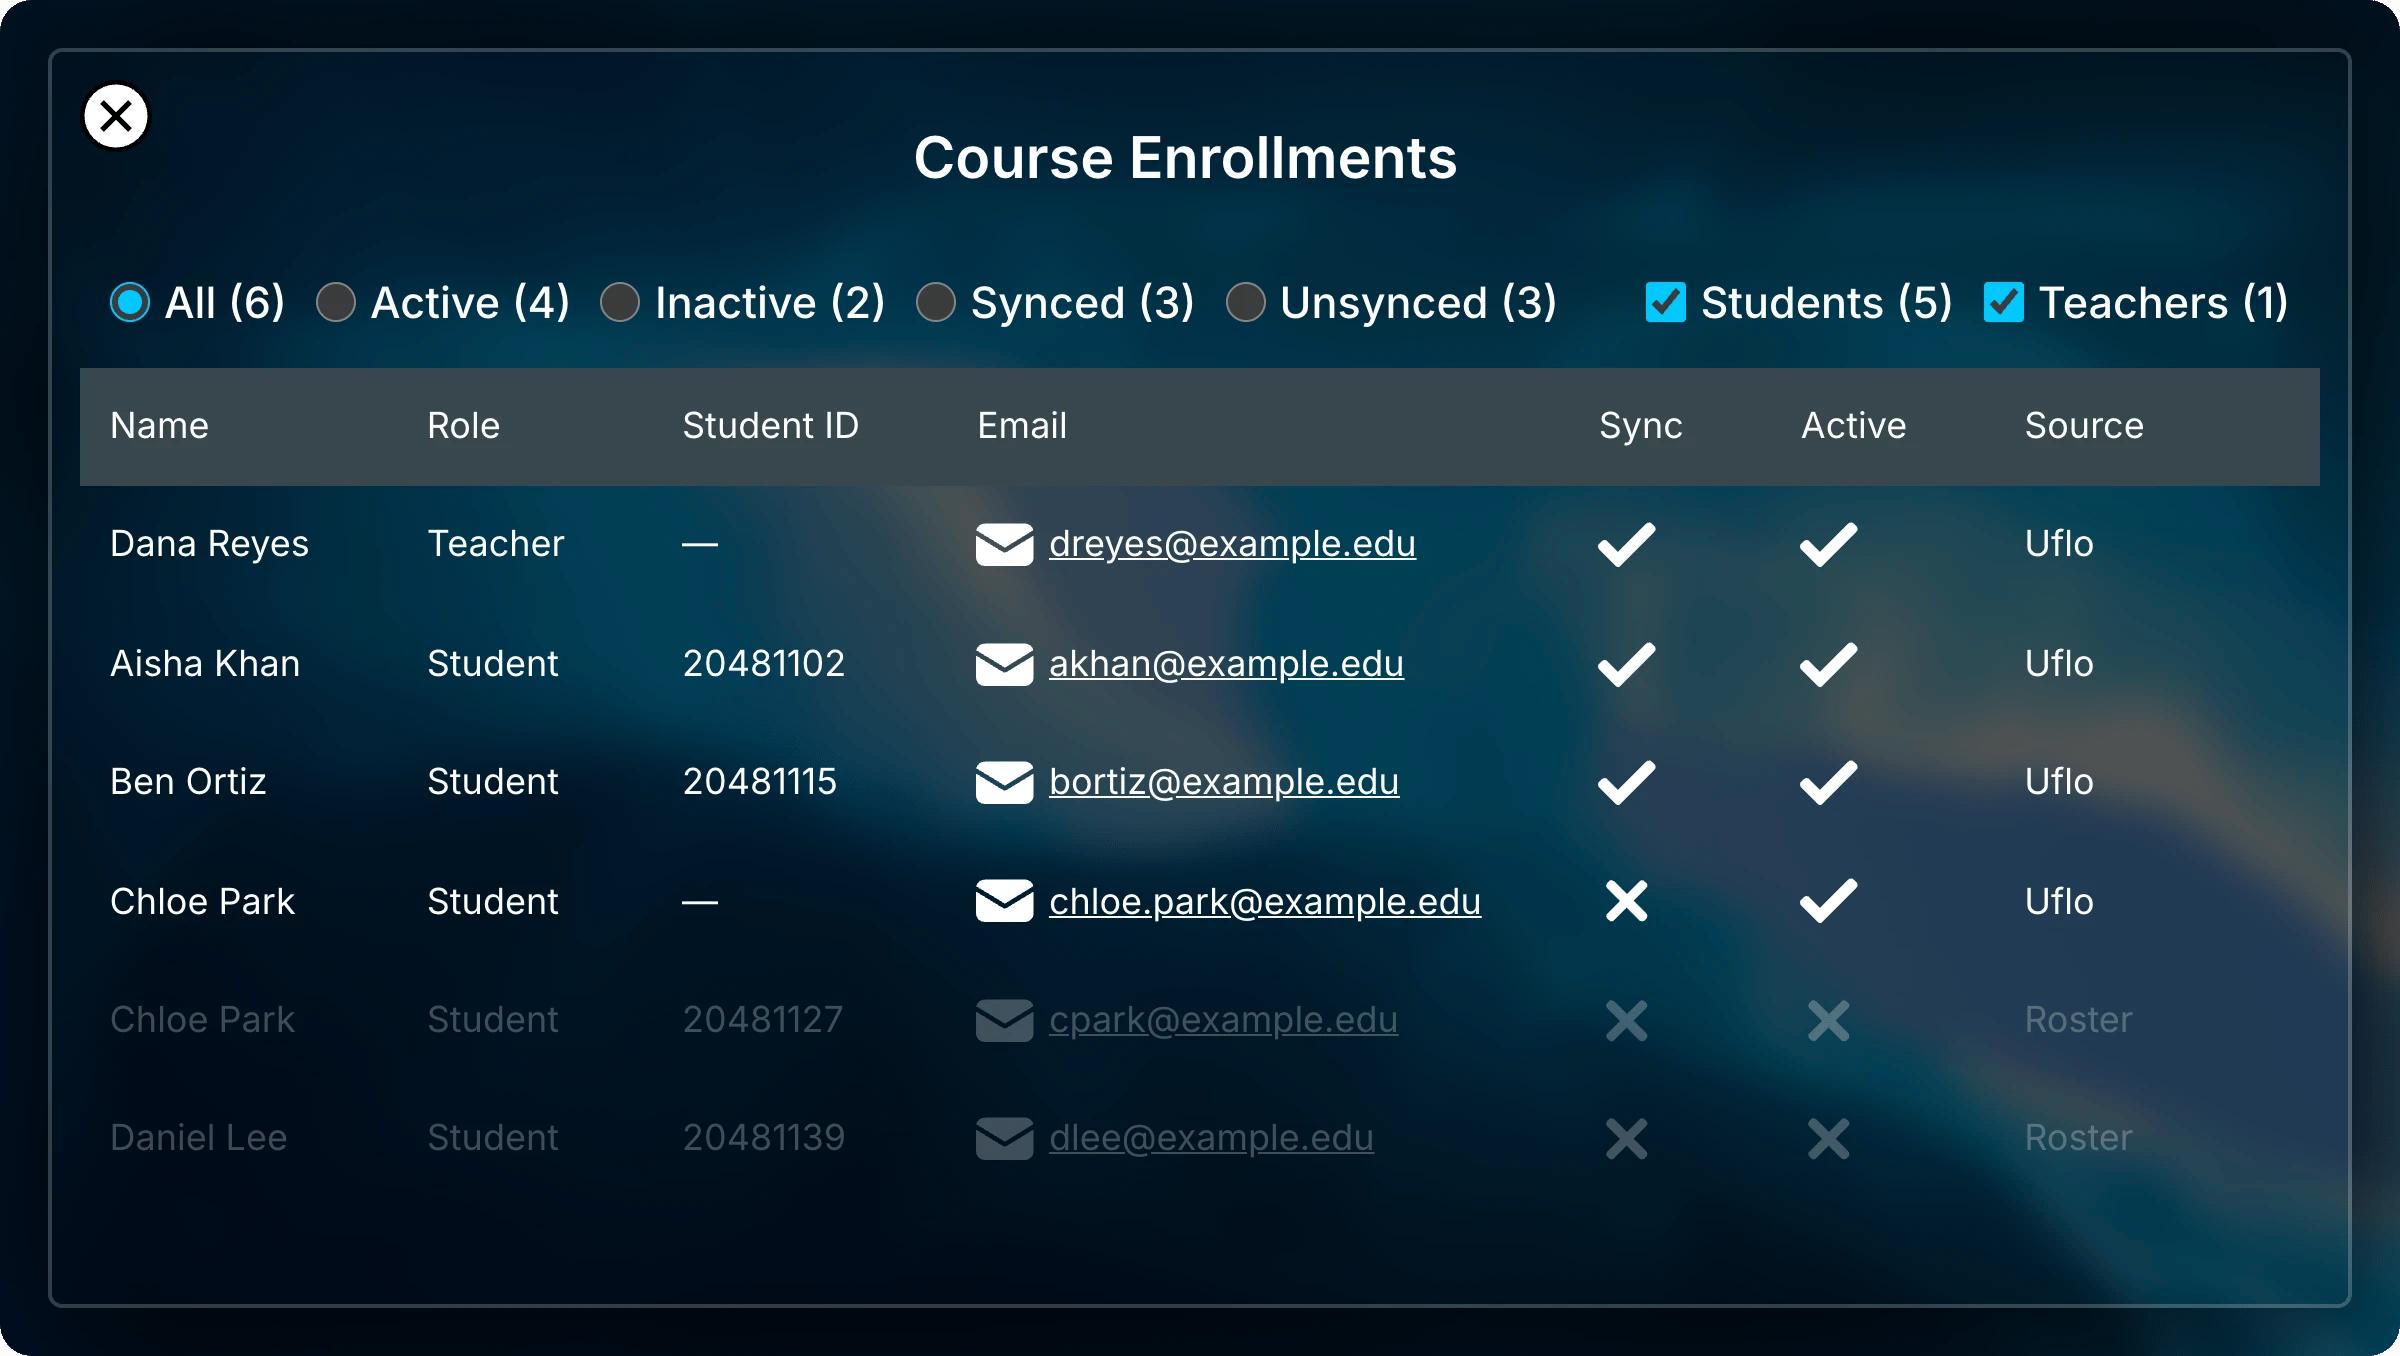
Unsynced rows are students Uflo couldn’t match to your roster.
Every teacher has full course access. Uflo has no teaching assistant or co-teacher roles.
Upload a Roster
Paper exams and LMS imports identify students by student ID, so upload a roster before you process them. Assessments taken in Uflo don’t need one.1
Export Your Class List
Export your class list as a CSV from your school’s student system or LMS.
The first row must hold column names.
Include student ID, name, and email columns.Use the student IDs that appear on paper exams and in LMS exports.
2
Select Upload
In Enrollments, find Upload Roster under Enrollment Info.
Select Upload and choose the CSV file you exported.
3
Map Your Columns
Uflo reads your file and preselects the columns whose names look like a student ID, name, or email.
Check each choice before you continue.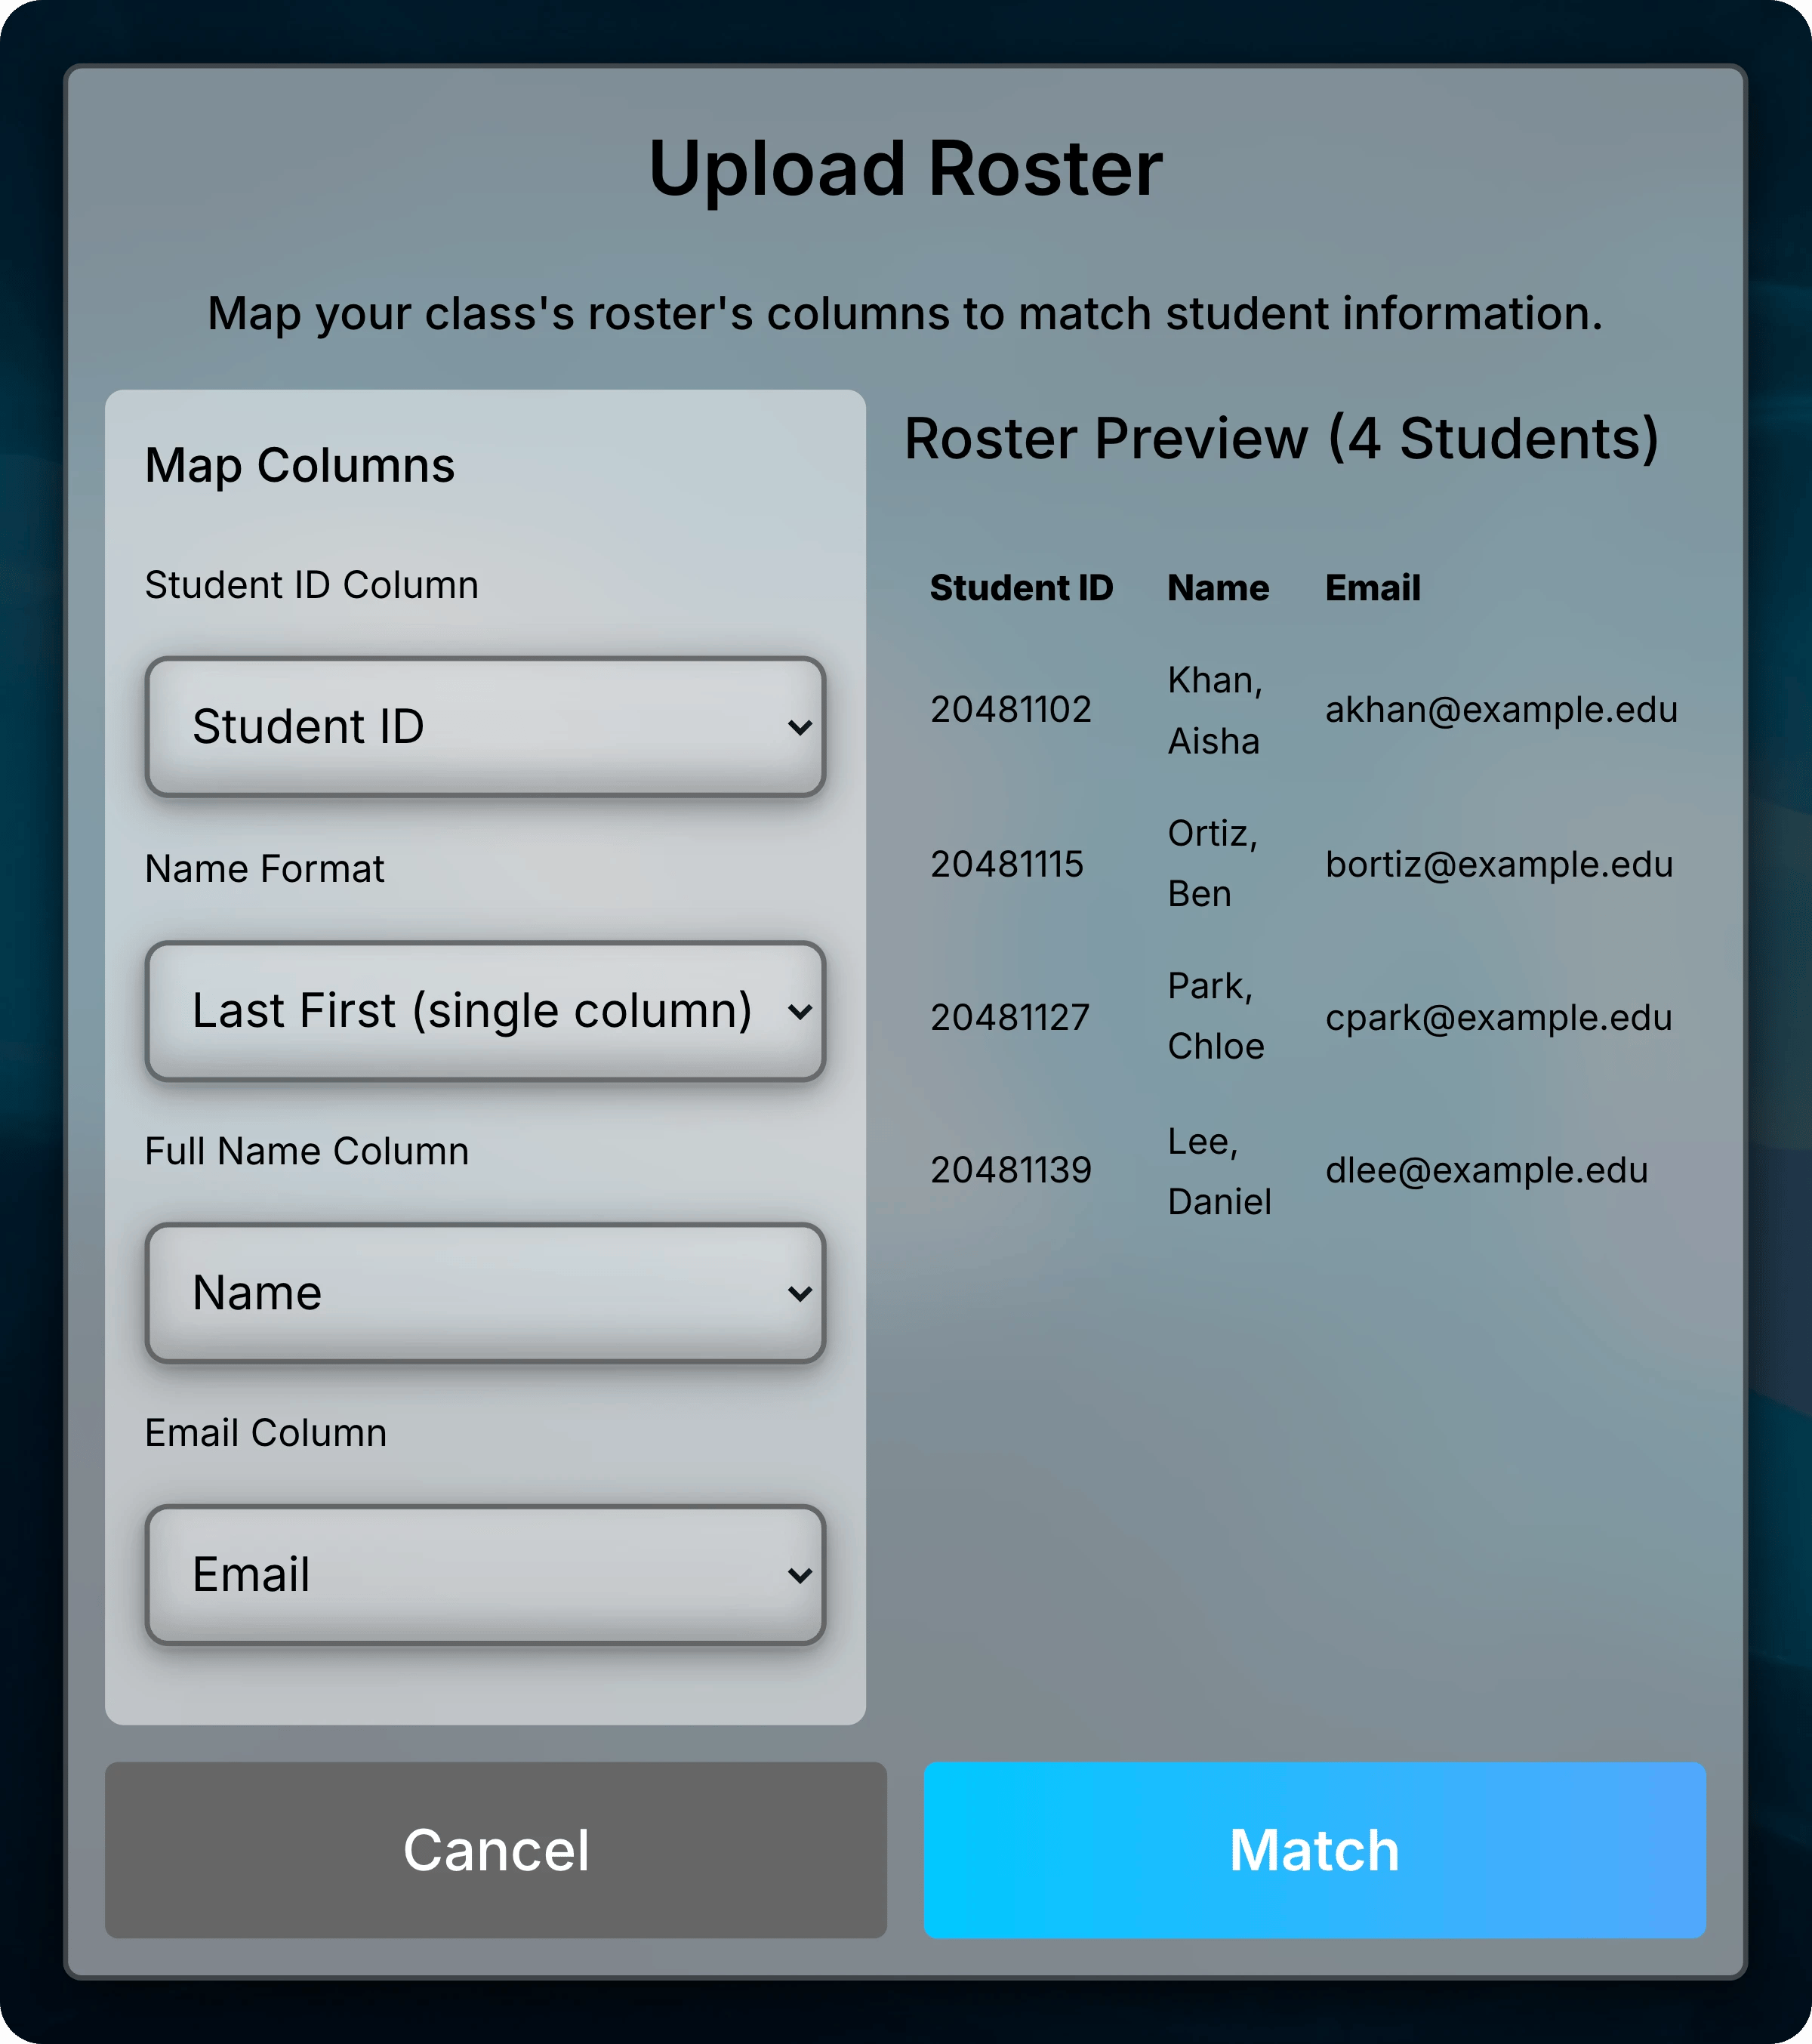
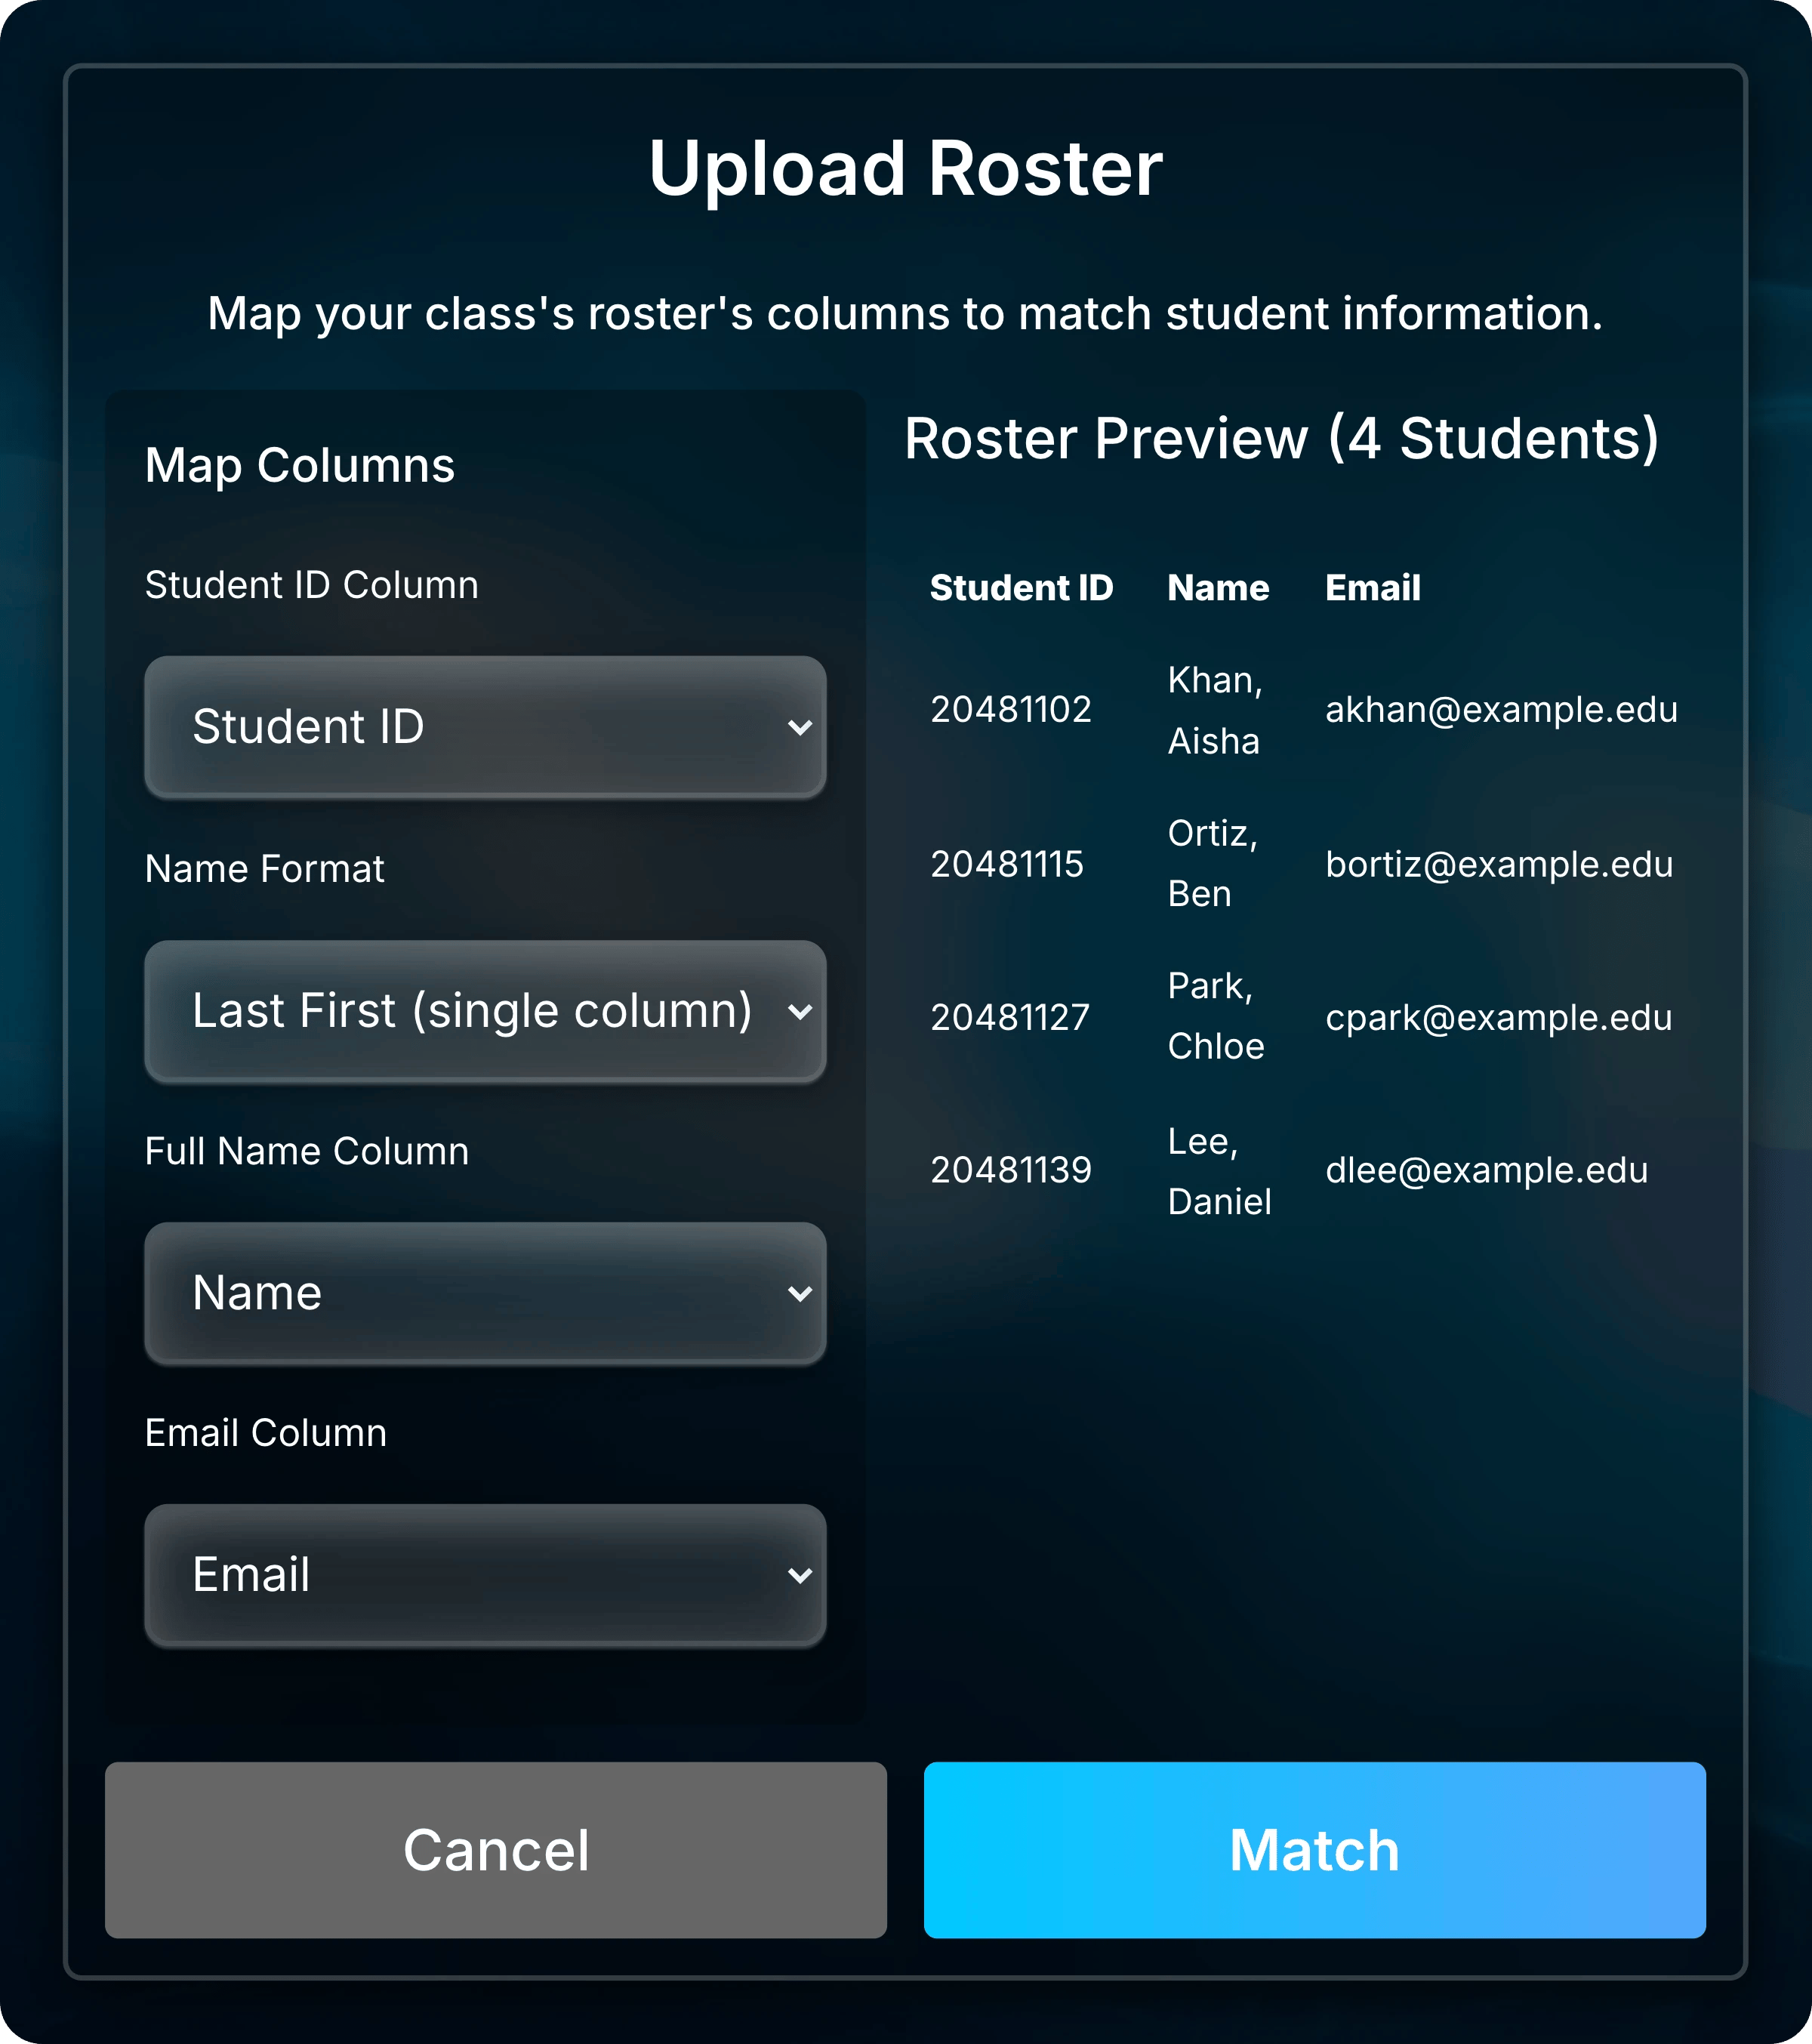
Roster Preview shows the first five rows and the number of students Uflo read.
Check that the number matches your class.
How Automatic Matching Works
Uflo compares each roster row with your enrolled students in this order:- Email: the roster email matches the student’s Uflo email. If your roster lists usernames, Uflo compares them with the part of each email before the @.
- Student ID: otherwise, the roster ID matches the ID in the student’s Uflo profile.
Match Students by Hand
Match a student yourself when neither their email nor their student ID matches the roster. For example, Chloe Park joined with chloe.park@example.edu, but your roster lists cpark@example.edu and Chloe’s profile has no student ID.1
Show Unsynced Rows
Select Unsynced in Enrollments.
The student appears twice: once as a Uflo row for their account, and once as a Roster row.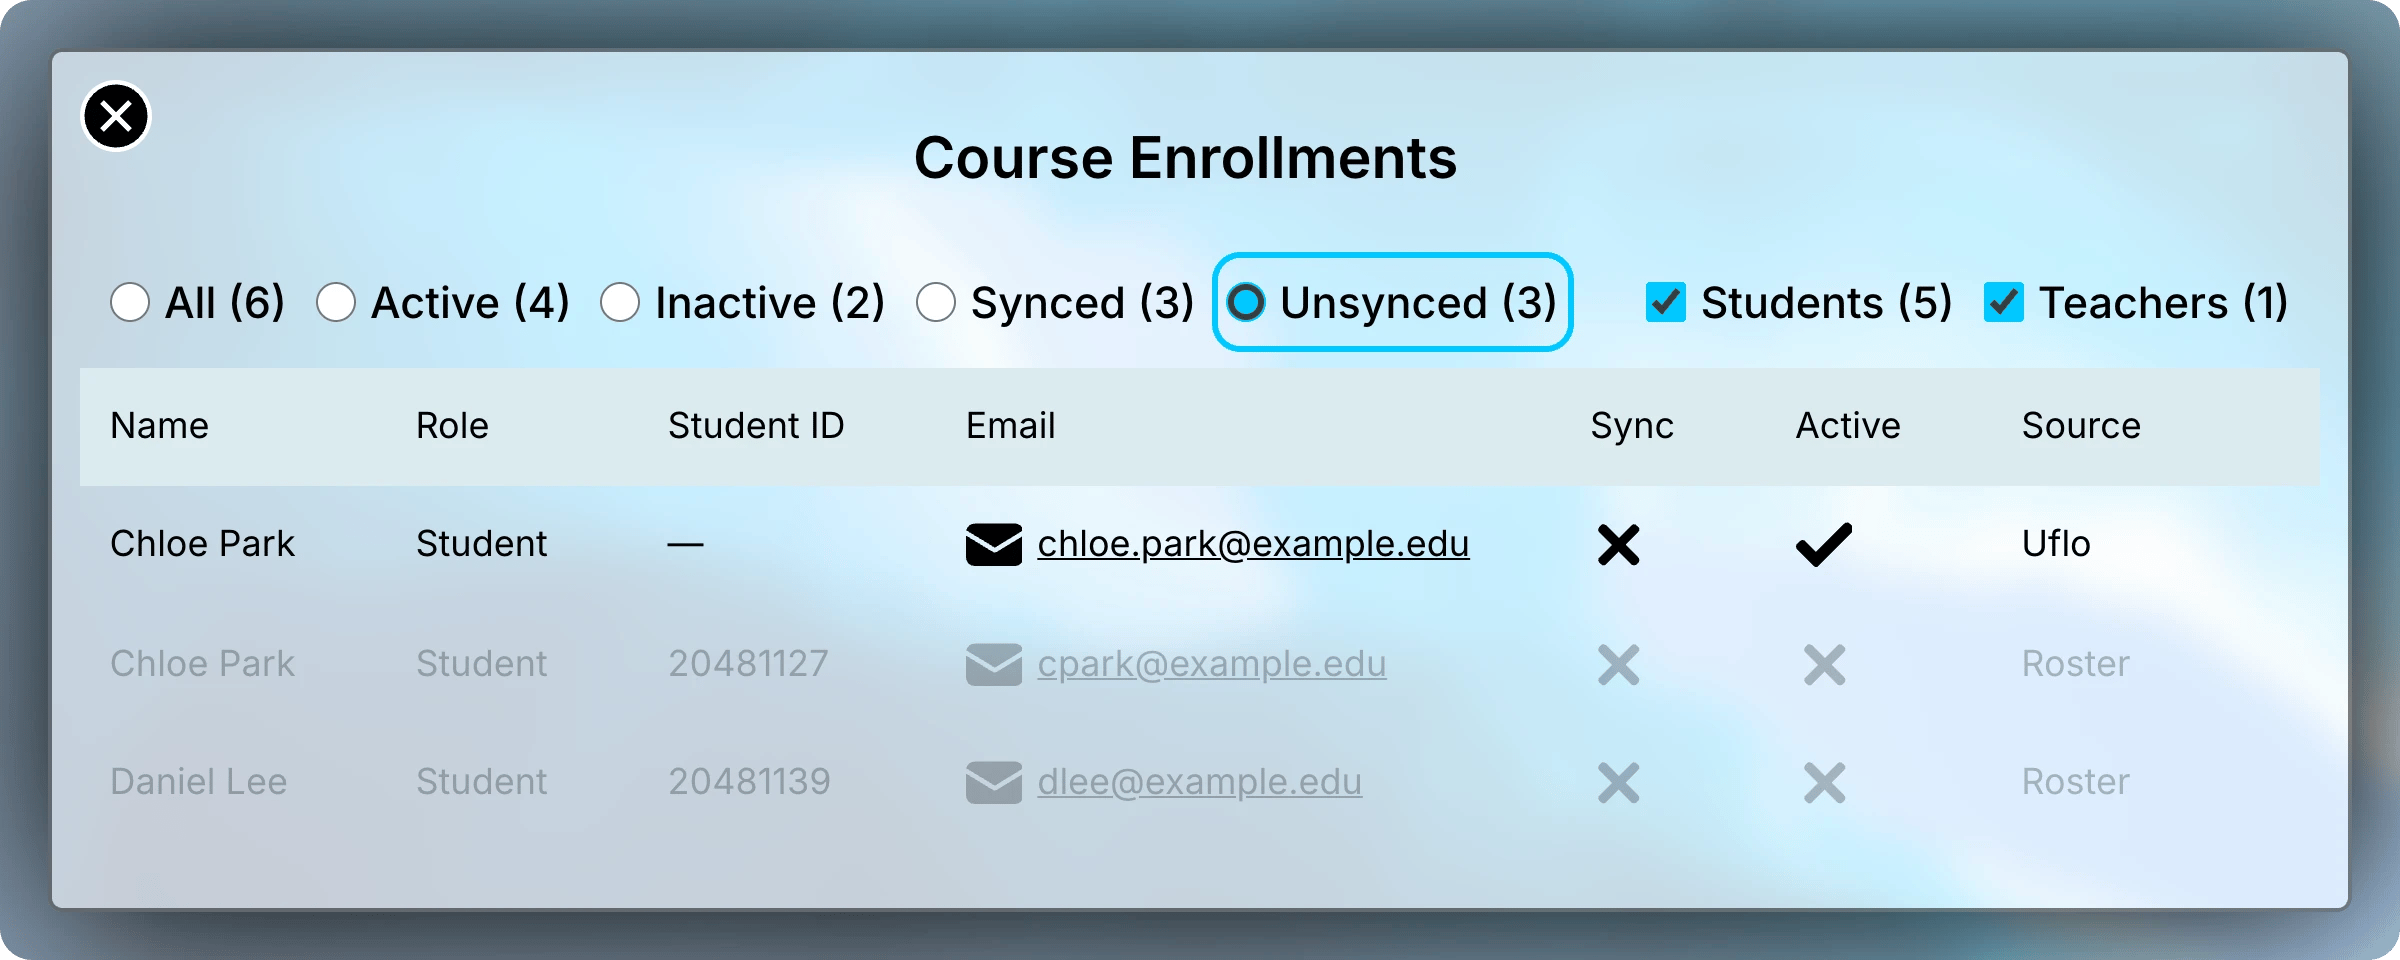
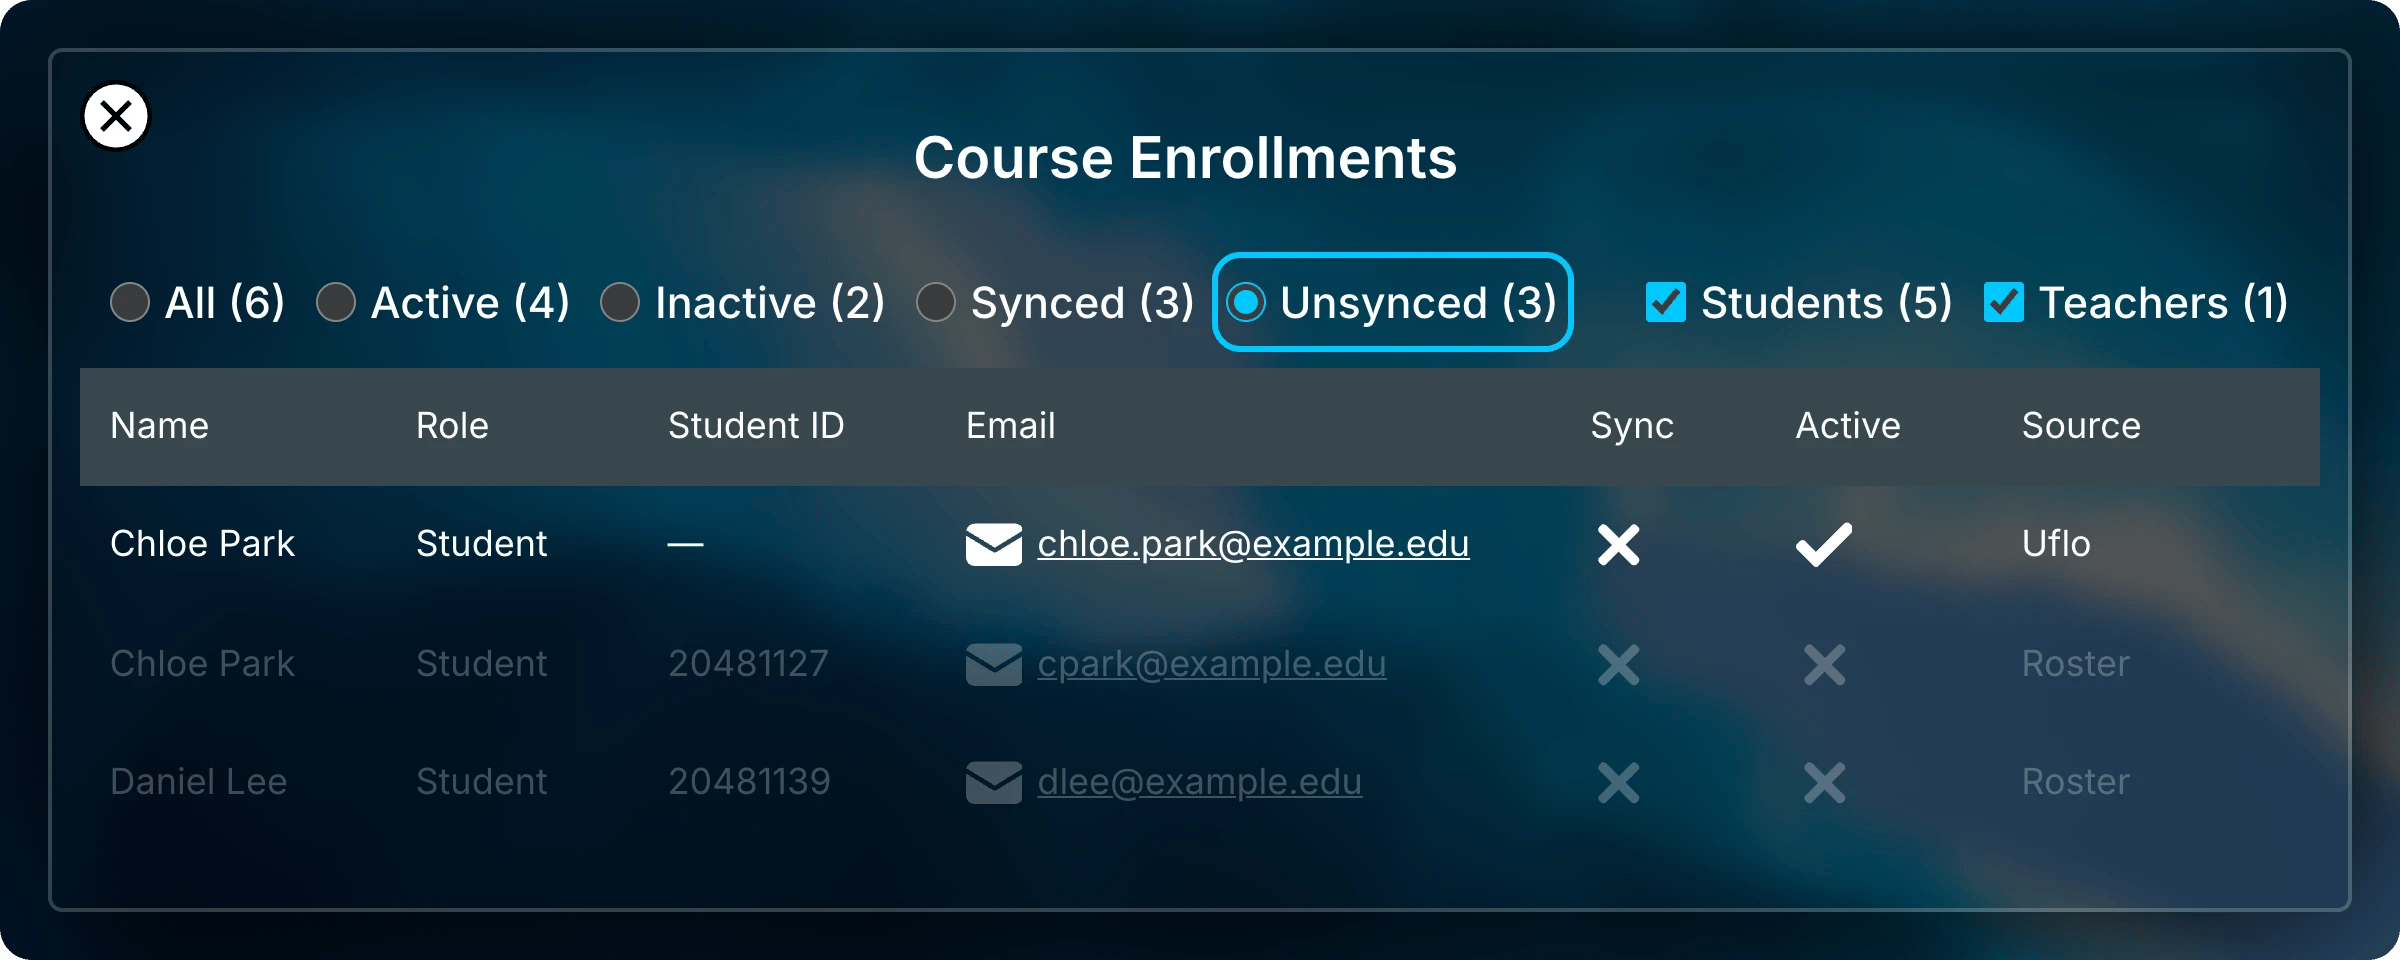
Unsynced shows students Uflo couldn’t match to your roster.
2
Open Match Students
Right-click either row, then select Match Students.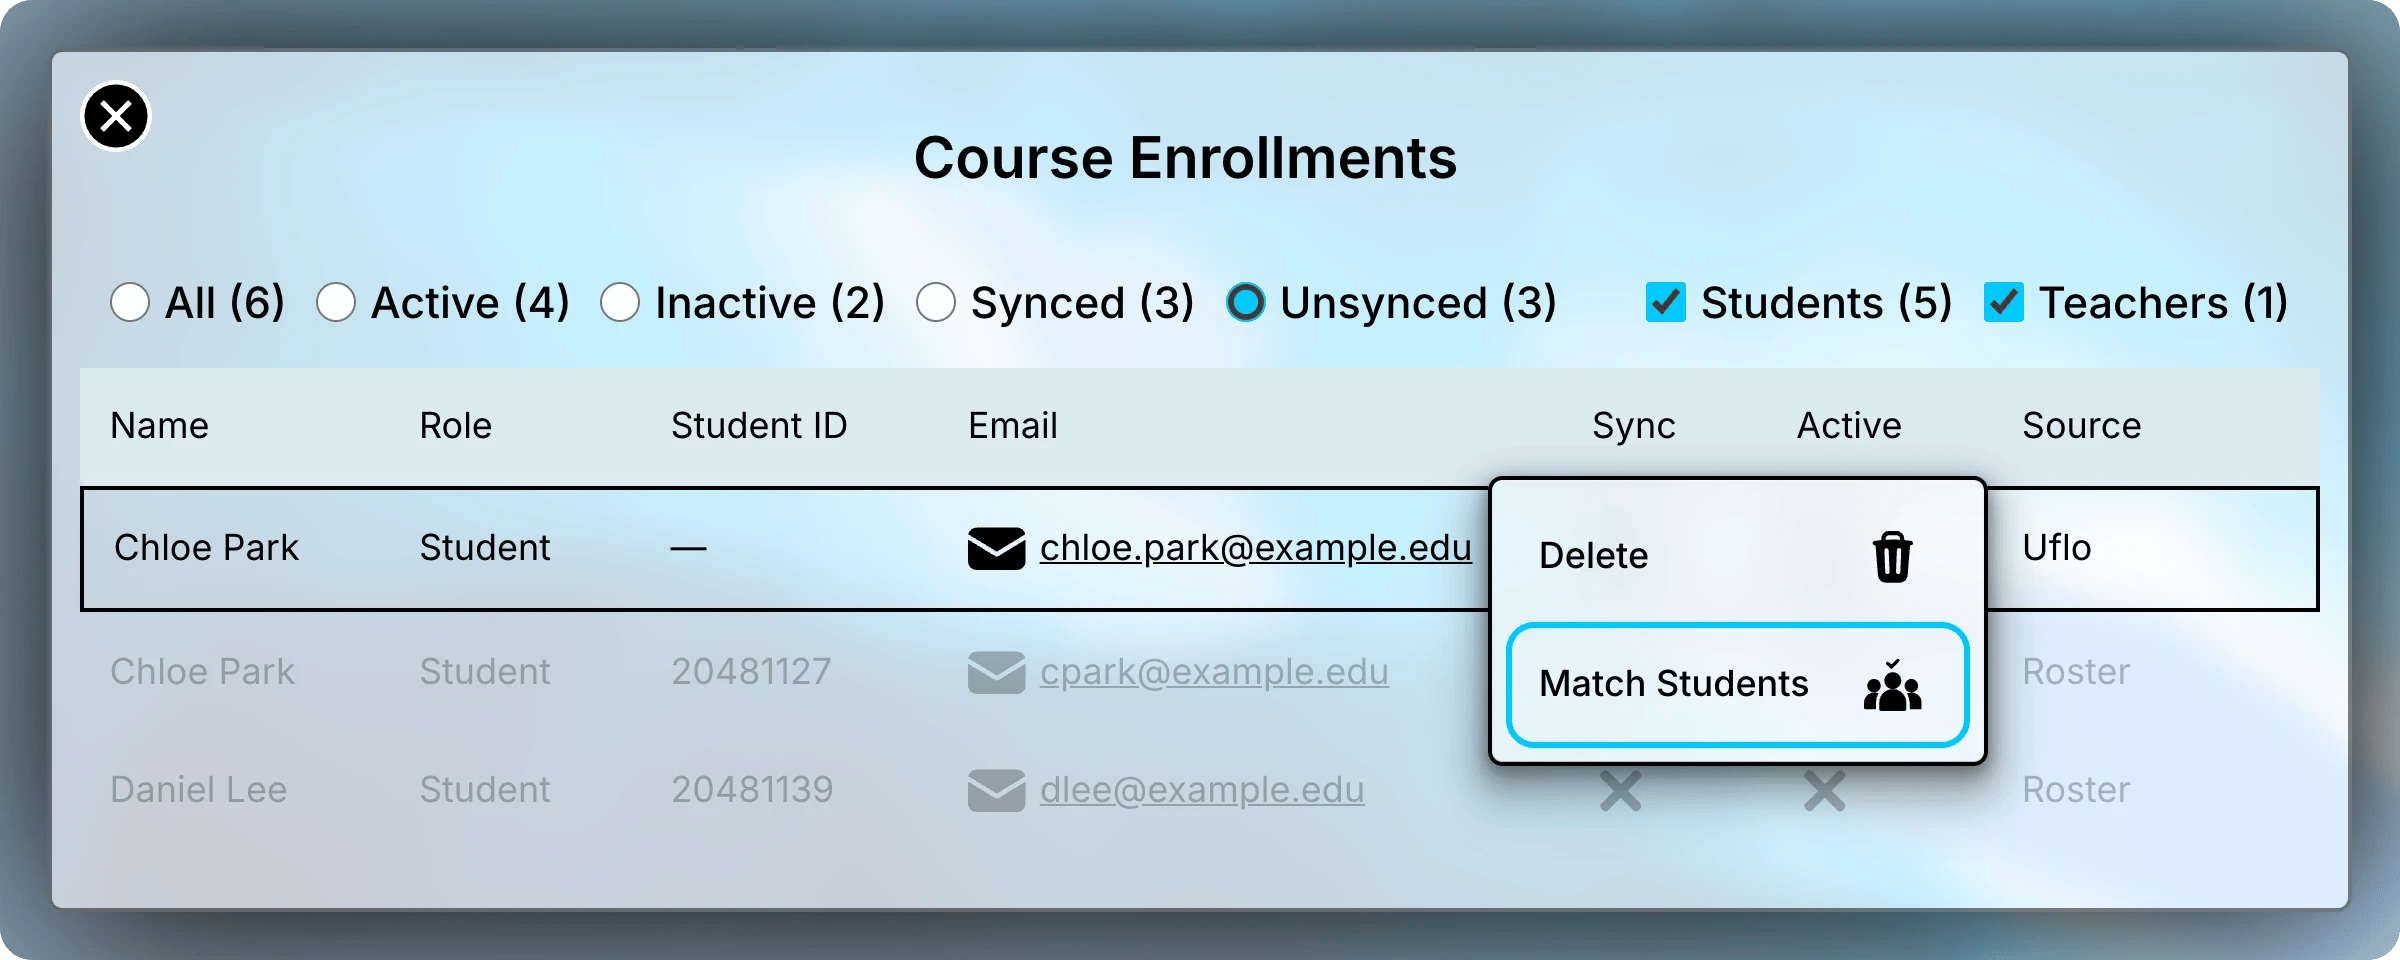
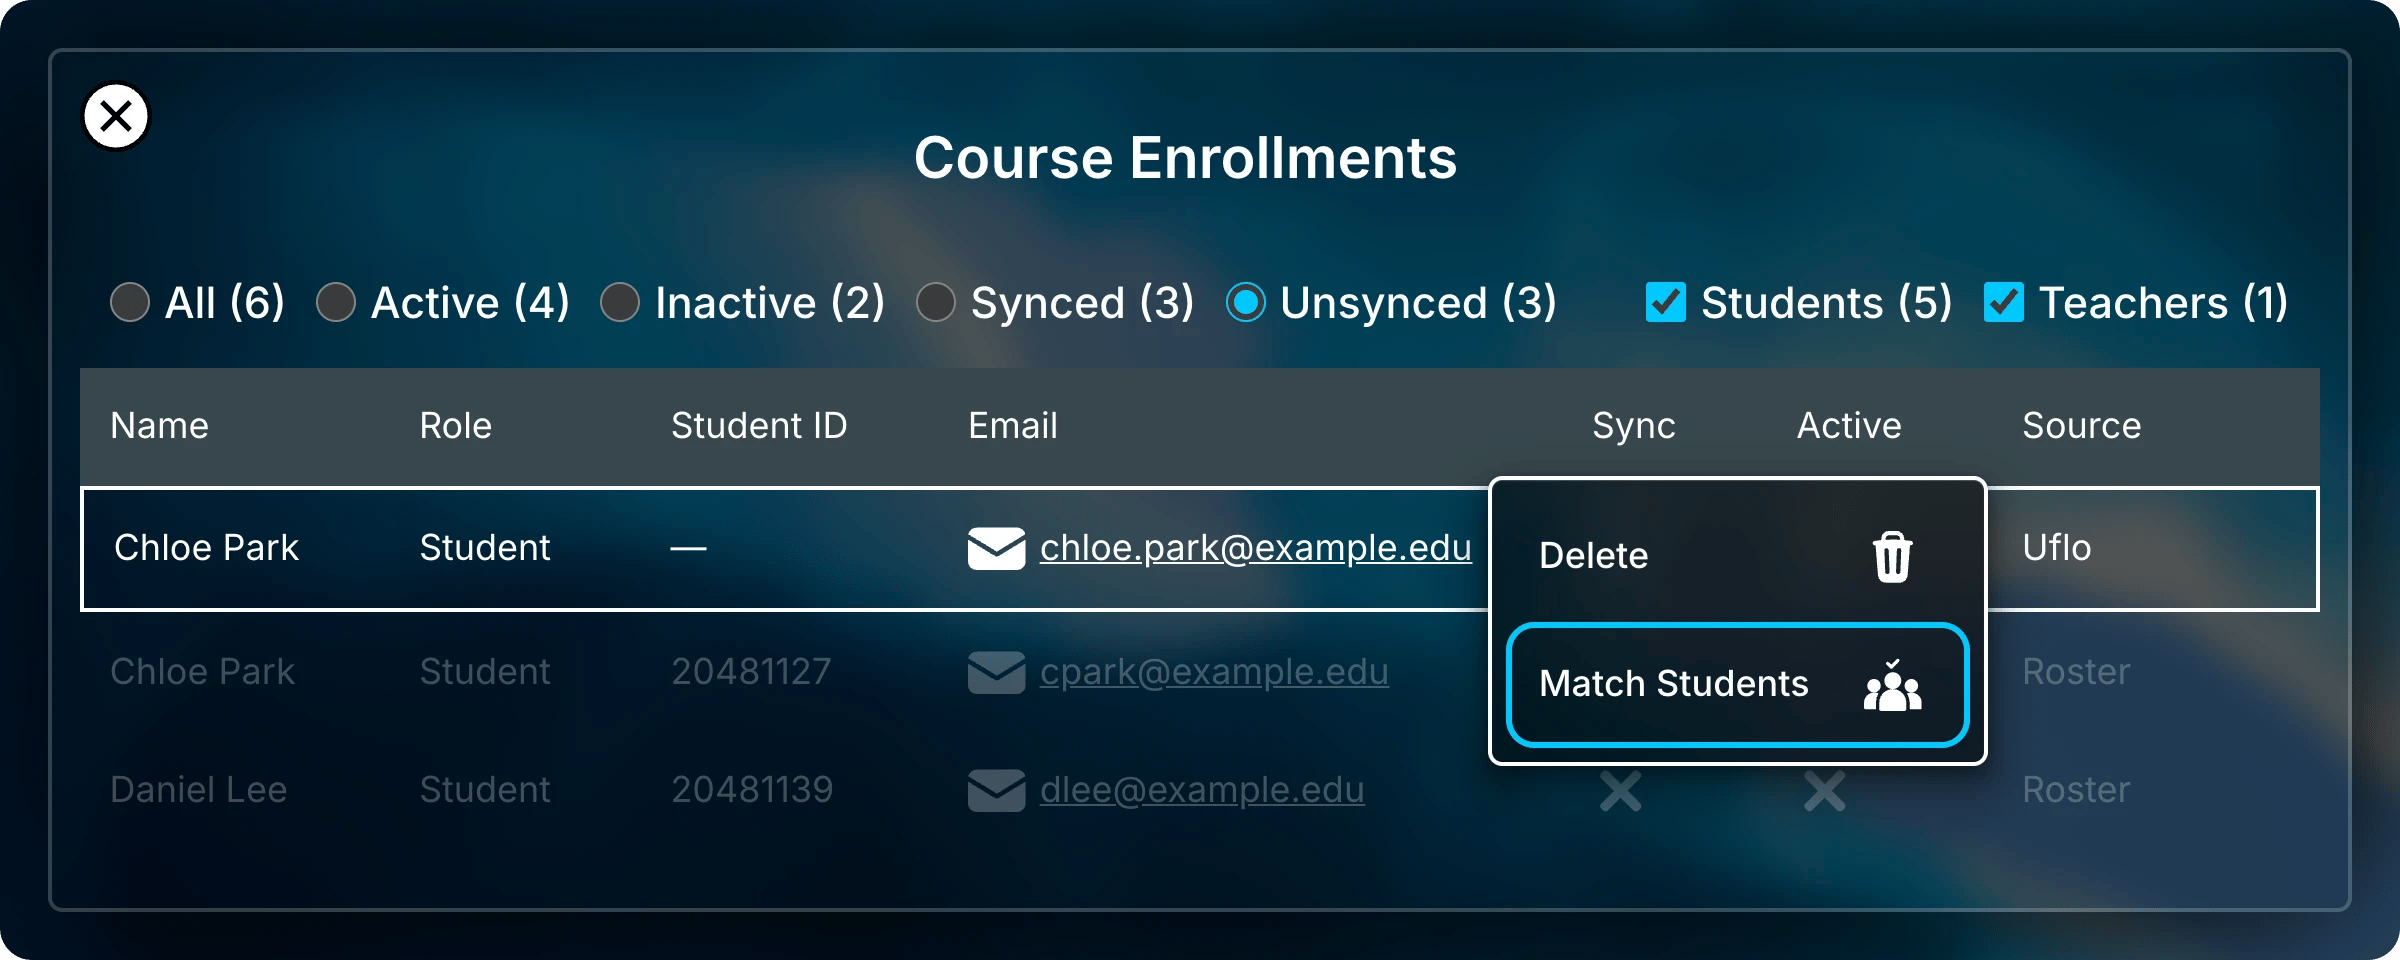
Right-click a row and select Match Students.
3
Choose the Matching Row
In Match Student, pick the student’s other row and select Match.
The list shows unsynced roster rows for a Uflo row and unsynced accounts for a Roster row.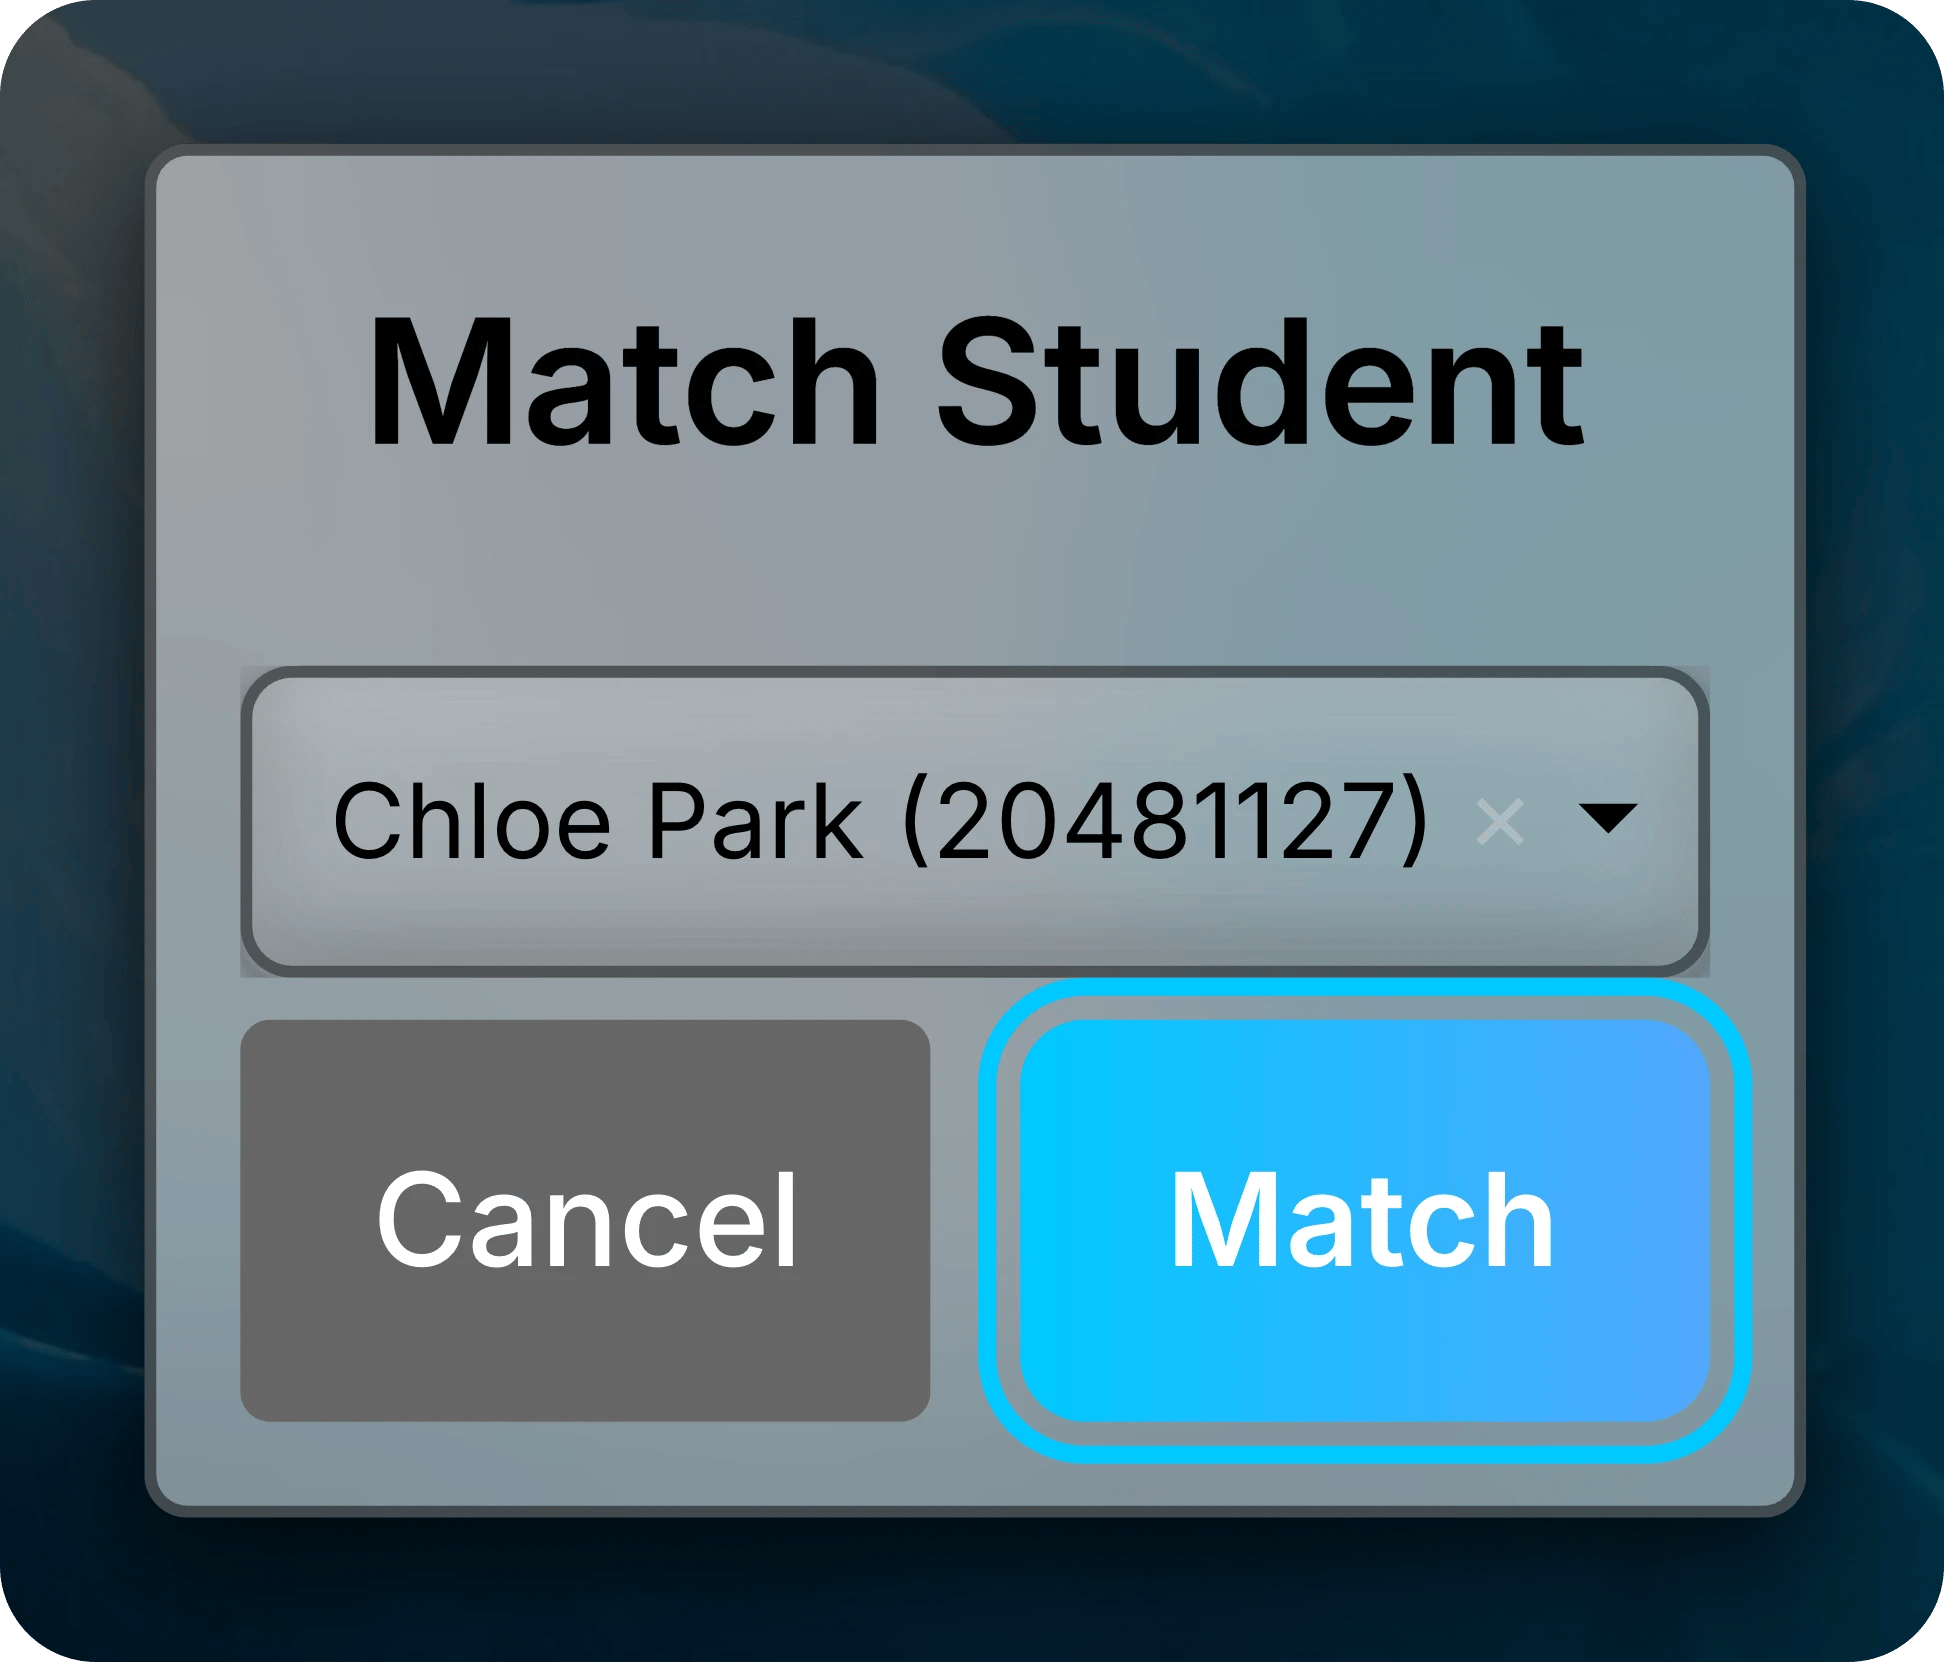
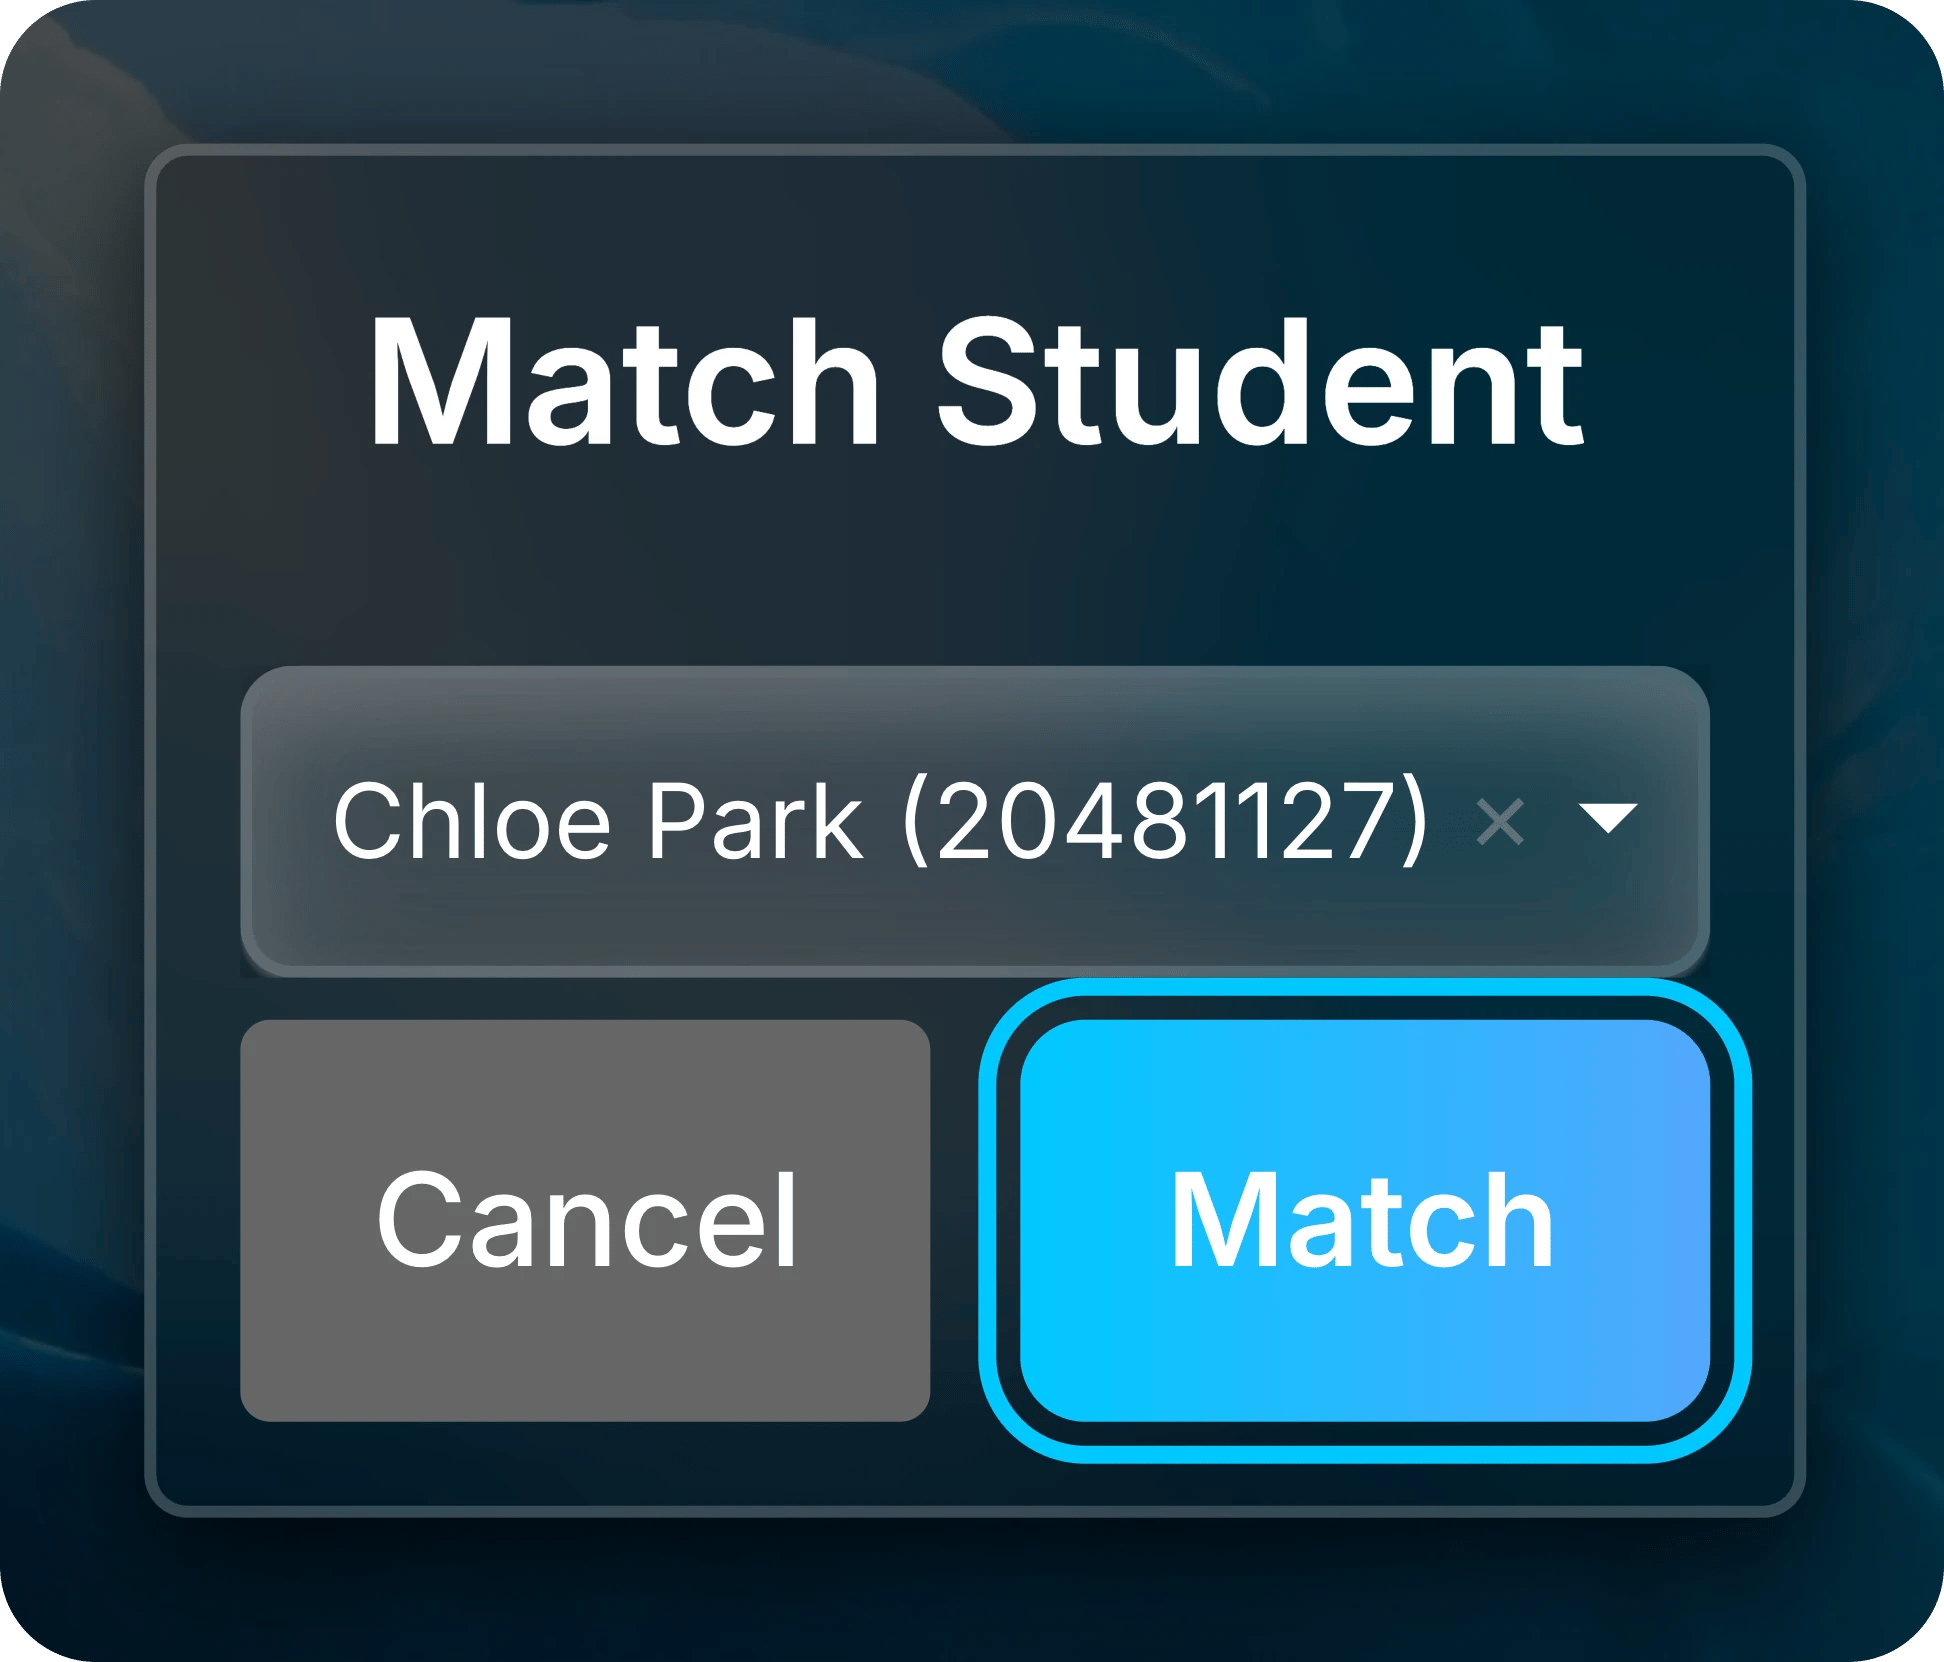
Pick the student’s other row and select Match.
Student IDs
You can require every student to enter a student ID before your course opens. Contact Uflo Support to turn it on.Common Questions
Why does Enrollments ask me to request approval?
Why does Enrollments ask me to request approval?
Uflo must approve your course before students can join it.
Select Request Approval to ask Uflo. Enroll Students explains course approval.
Why is a student unsynced after joining?
Why is a student unsynced after joining?
Their Uflo email and student ID don’t match any row in your roster.
Ask them to add or correct their student ID in Settings → Profile, or match them by hand.
If they just fixed their ID and still show as unsynced, close and reopen Enrollments.
Why are some students inactive?
Why are some students inactive?
A Roster row is always inactive. It’s a student on your class list without a matching Uflo account, usually because they haven’t joined yet.
Share your enrollment link or code with them.A Uflo row is inactive when that person can no longer open the course.
Why does the preview show fewer students than my file?
Why does the preview show fewer students than my file?
Uflo skips rows with more or fewer cells than the header row.
Fix those rows in your spreadsheet, export the CSV again, and upload it.
Related Pages
Process Scanned Exams
Upload scanned paper exams and match each one to a student.